Model Making
Prototypes and models I have made for various projects.
Fiberglass swing
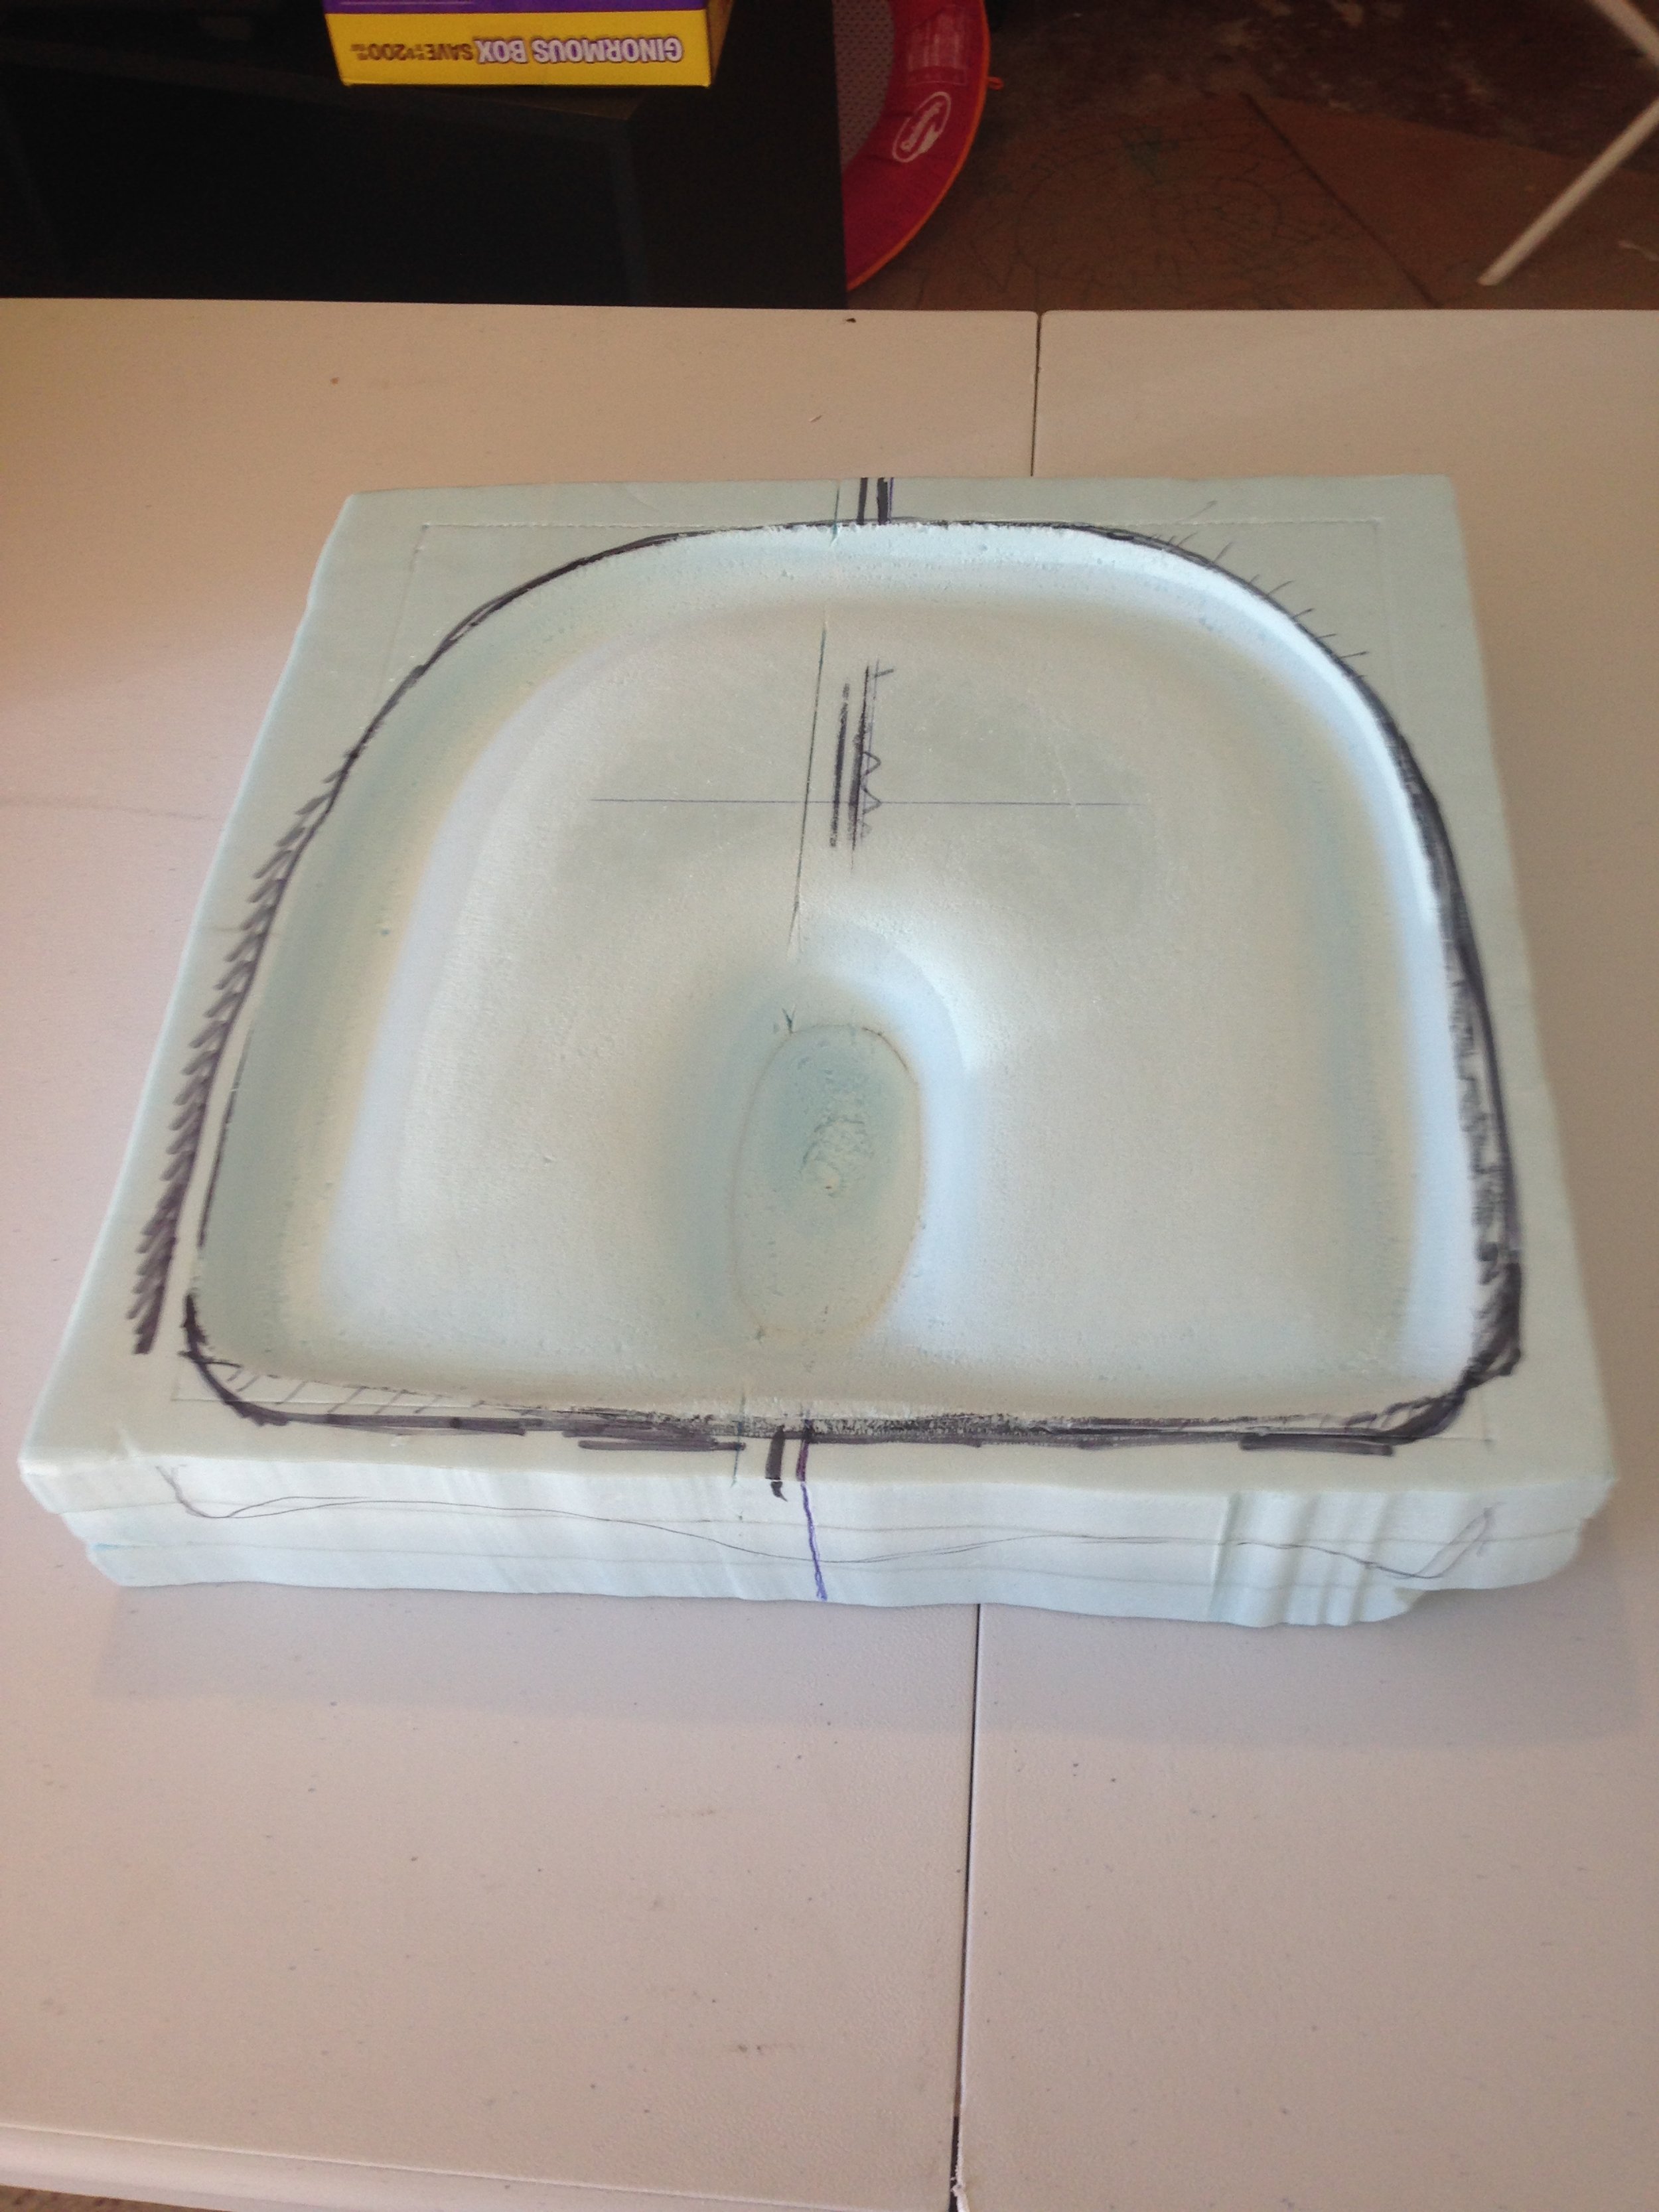
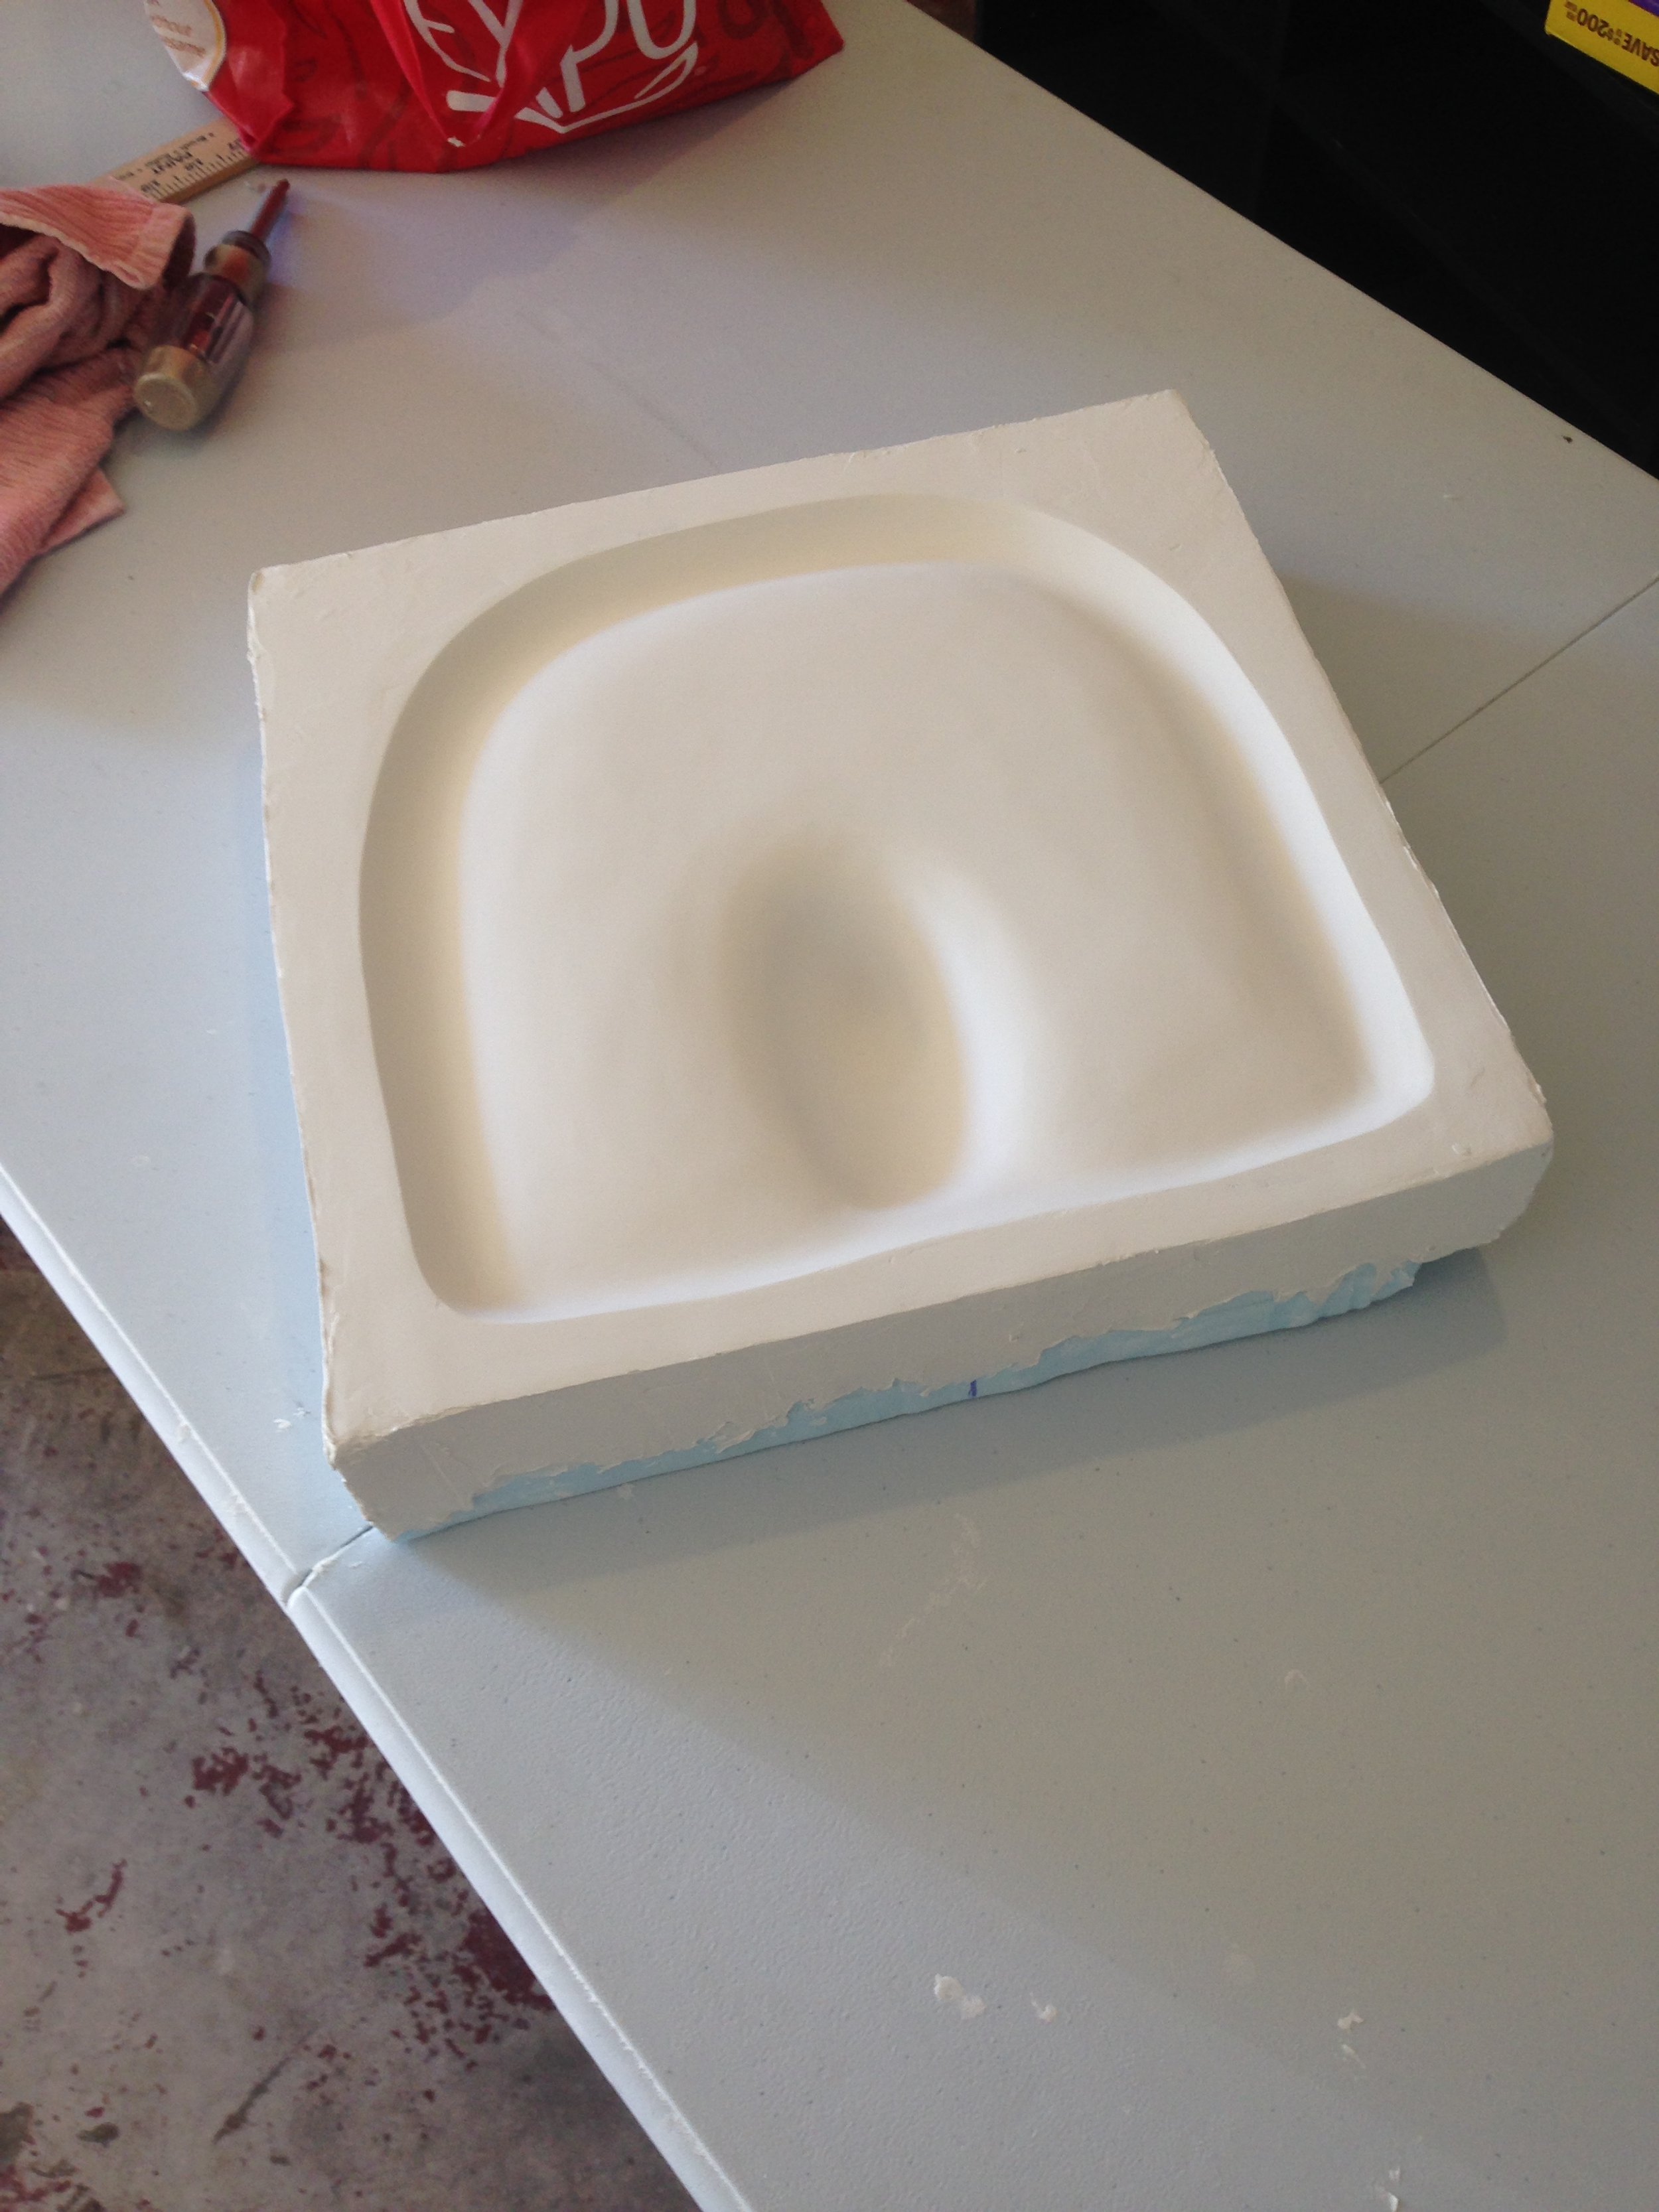
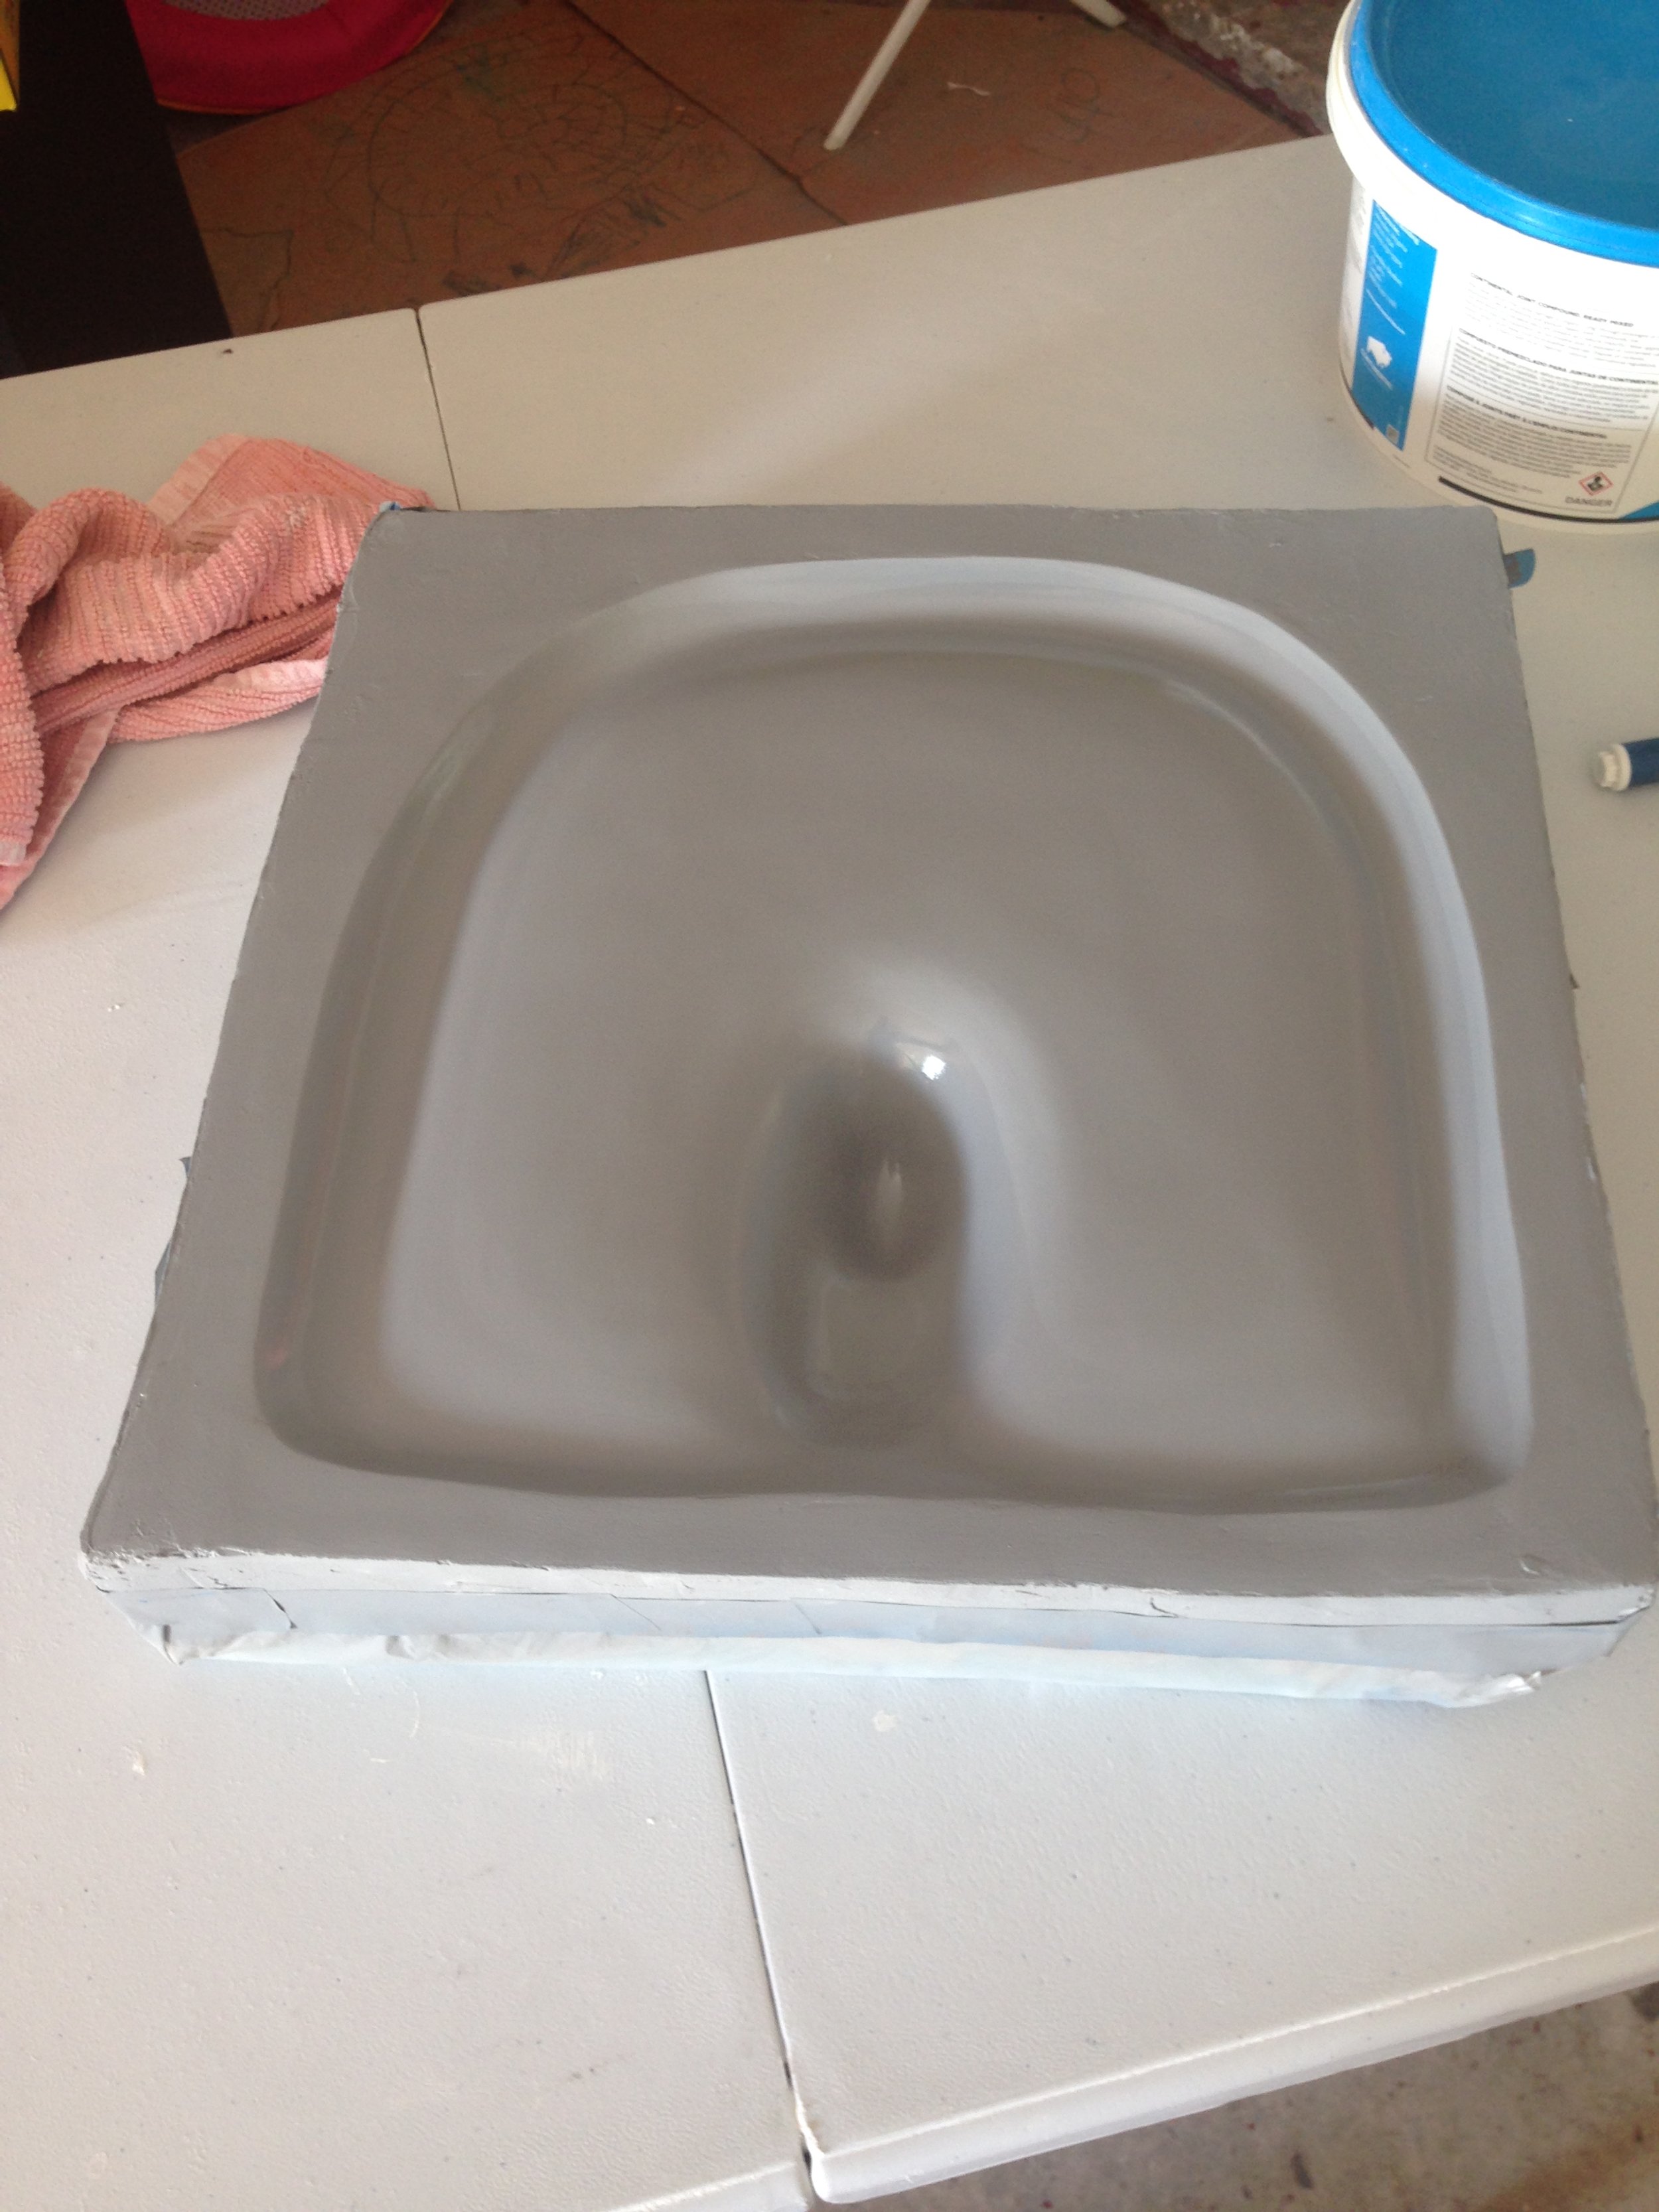
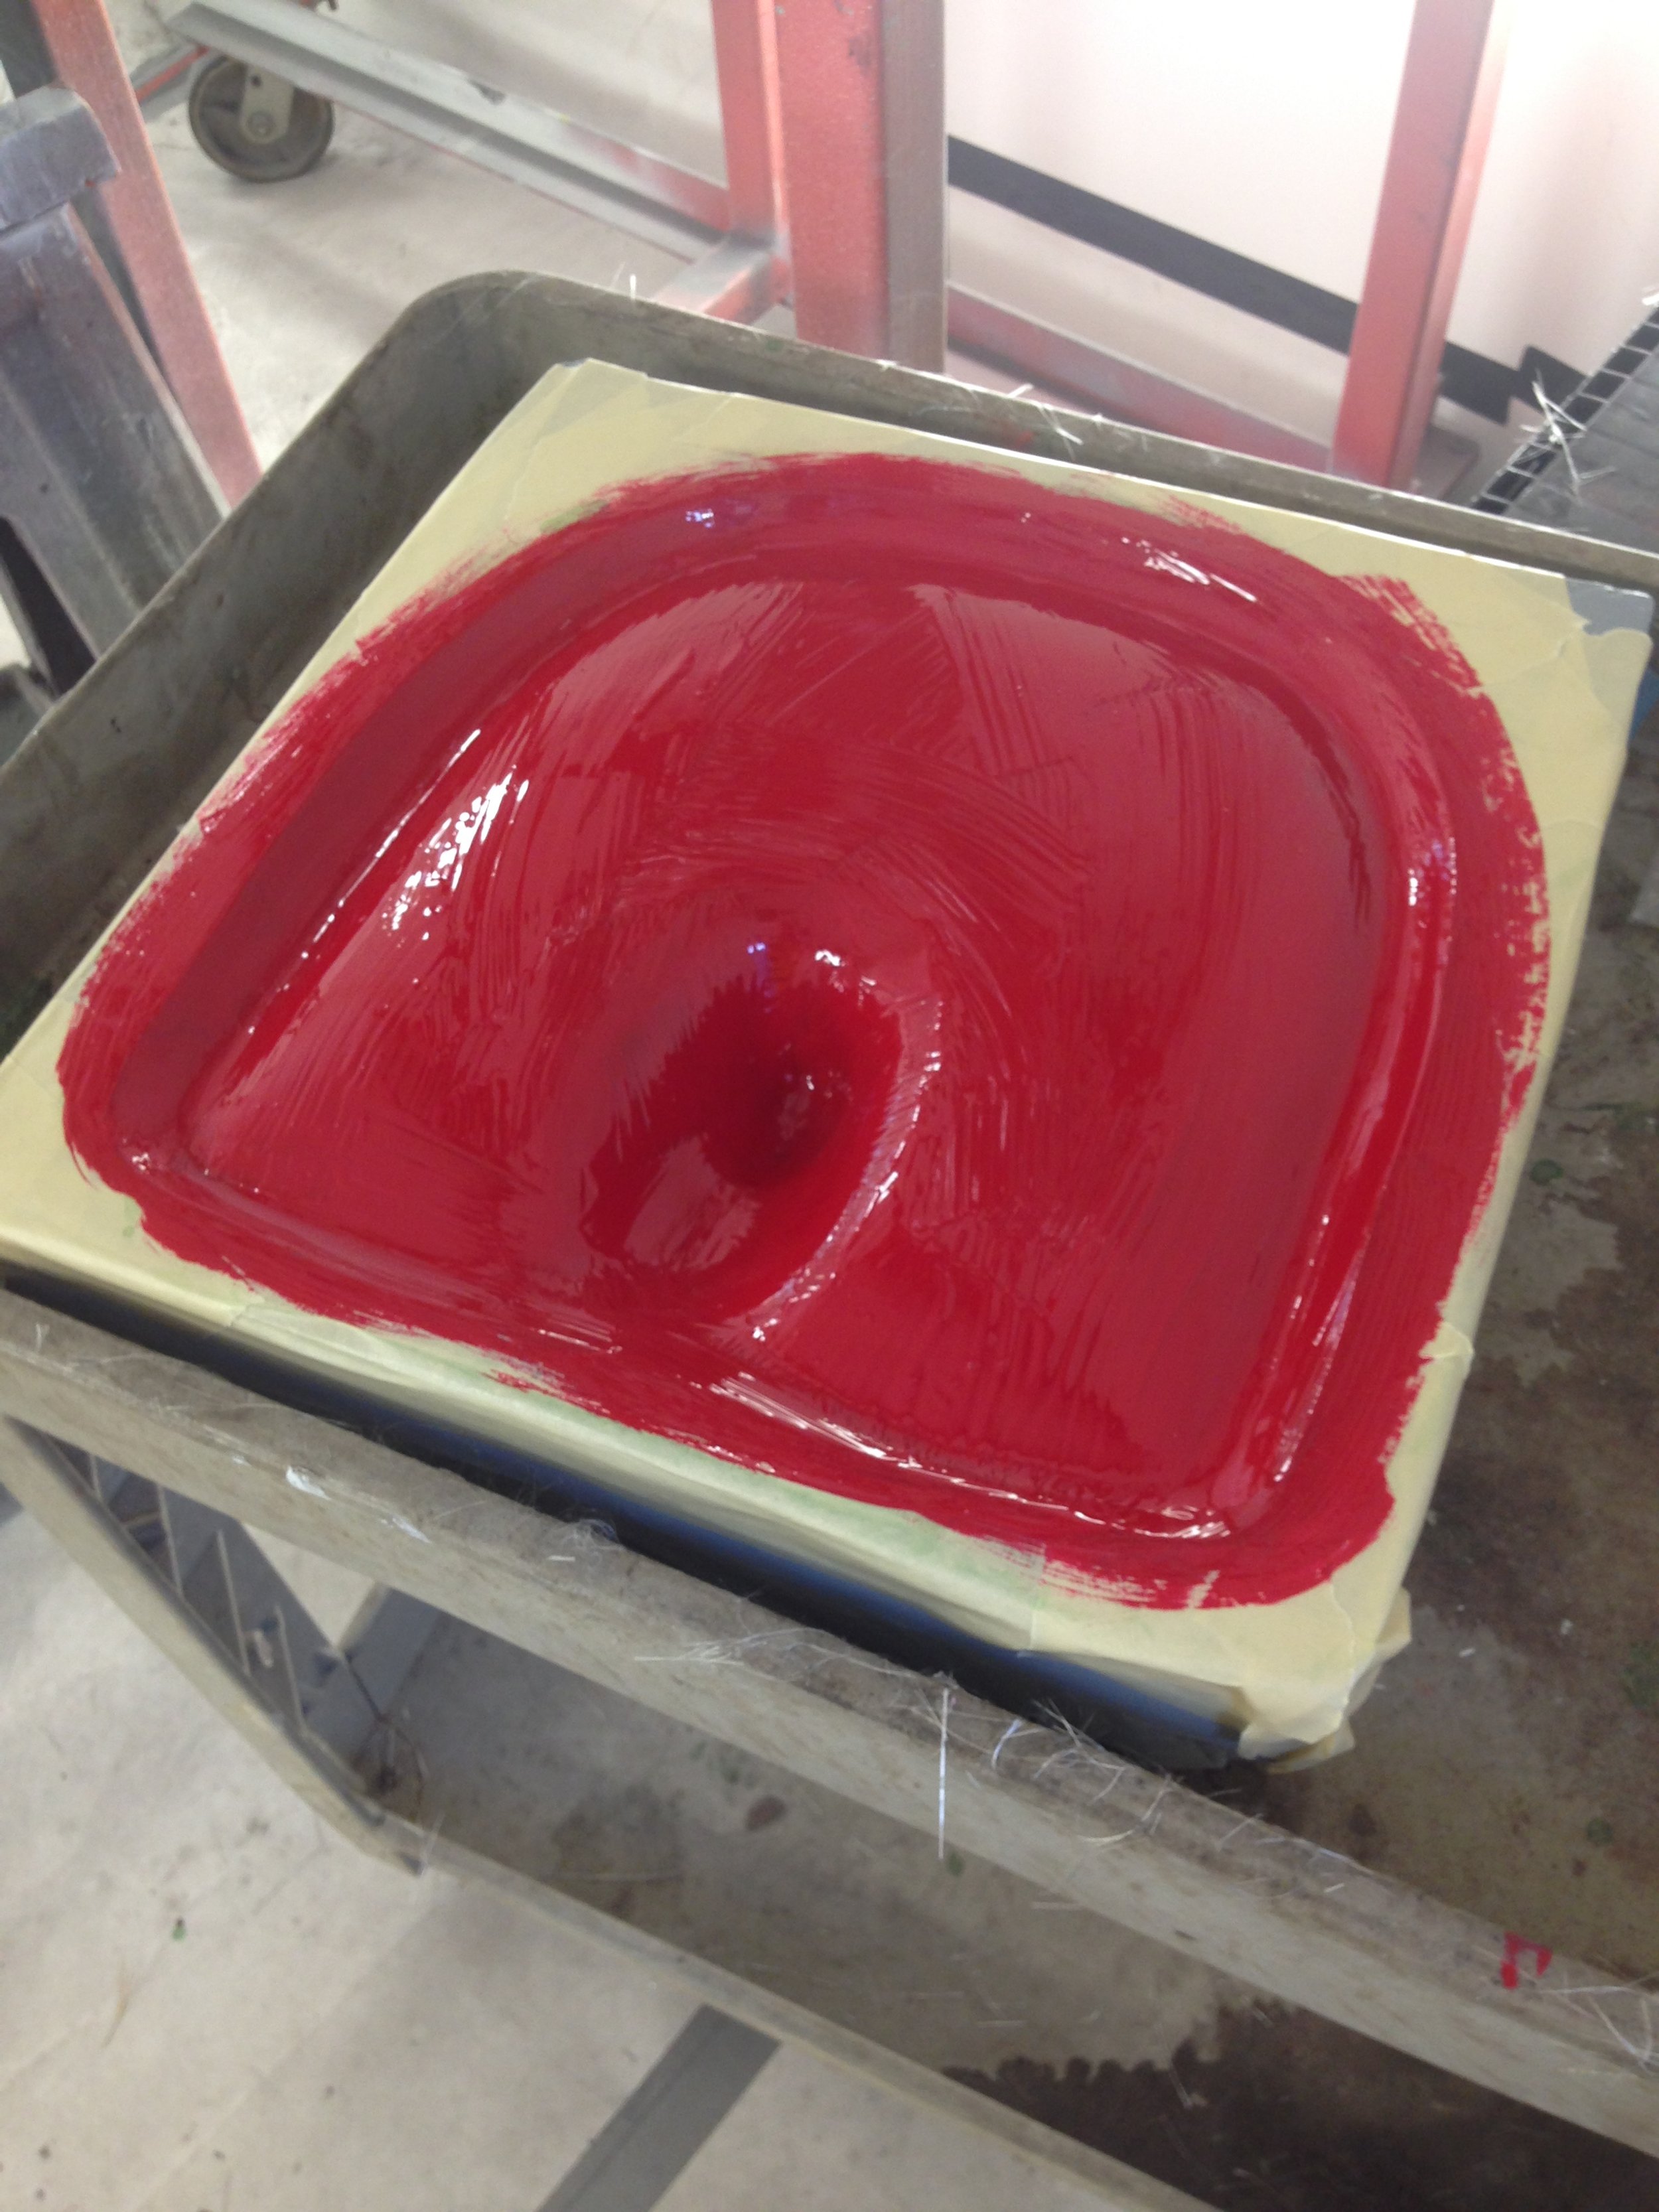
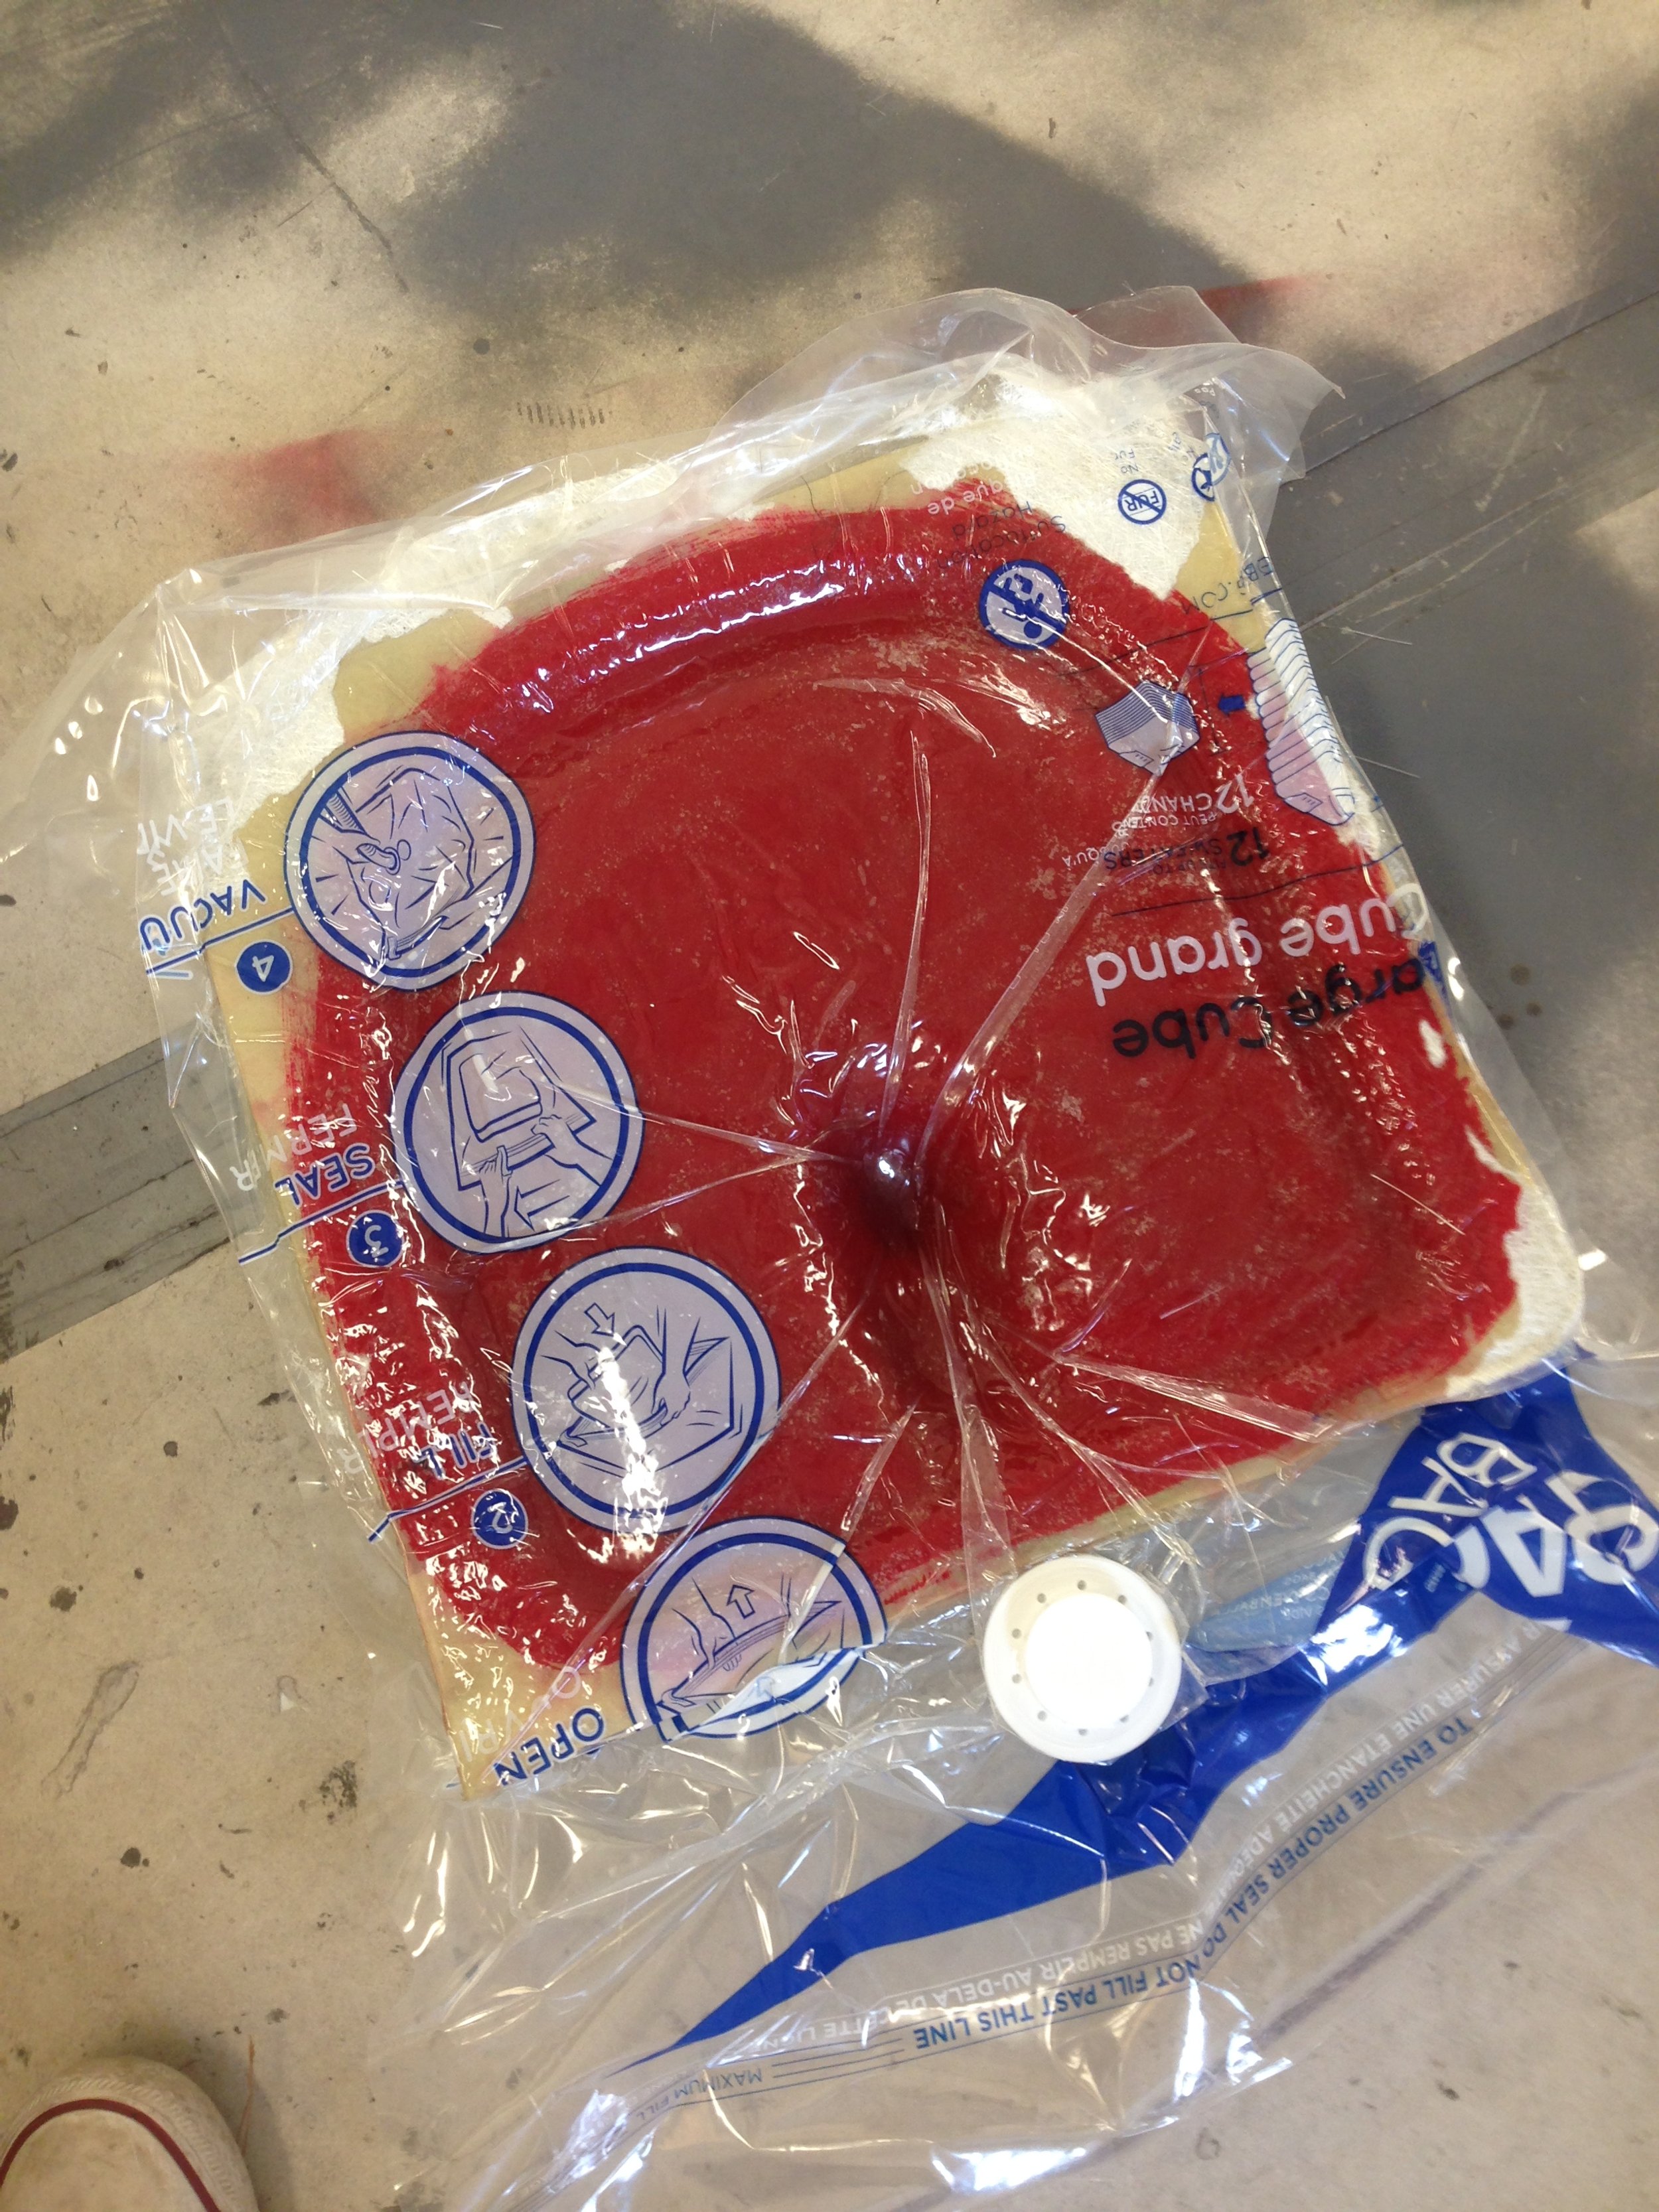
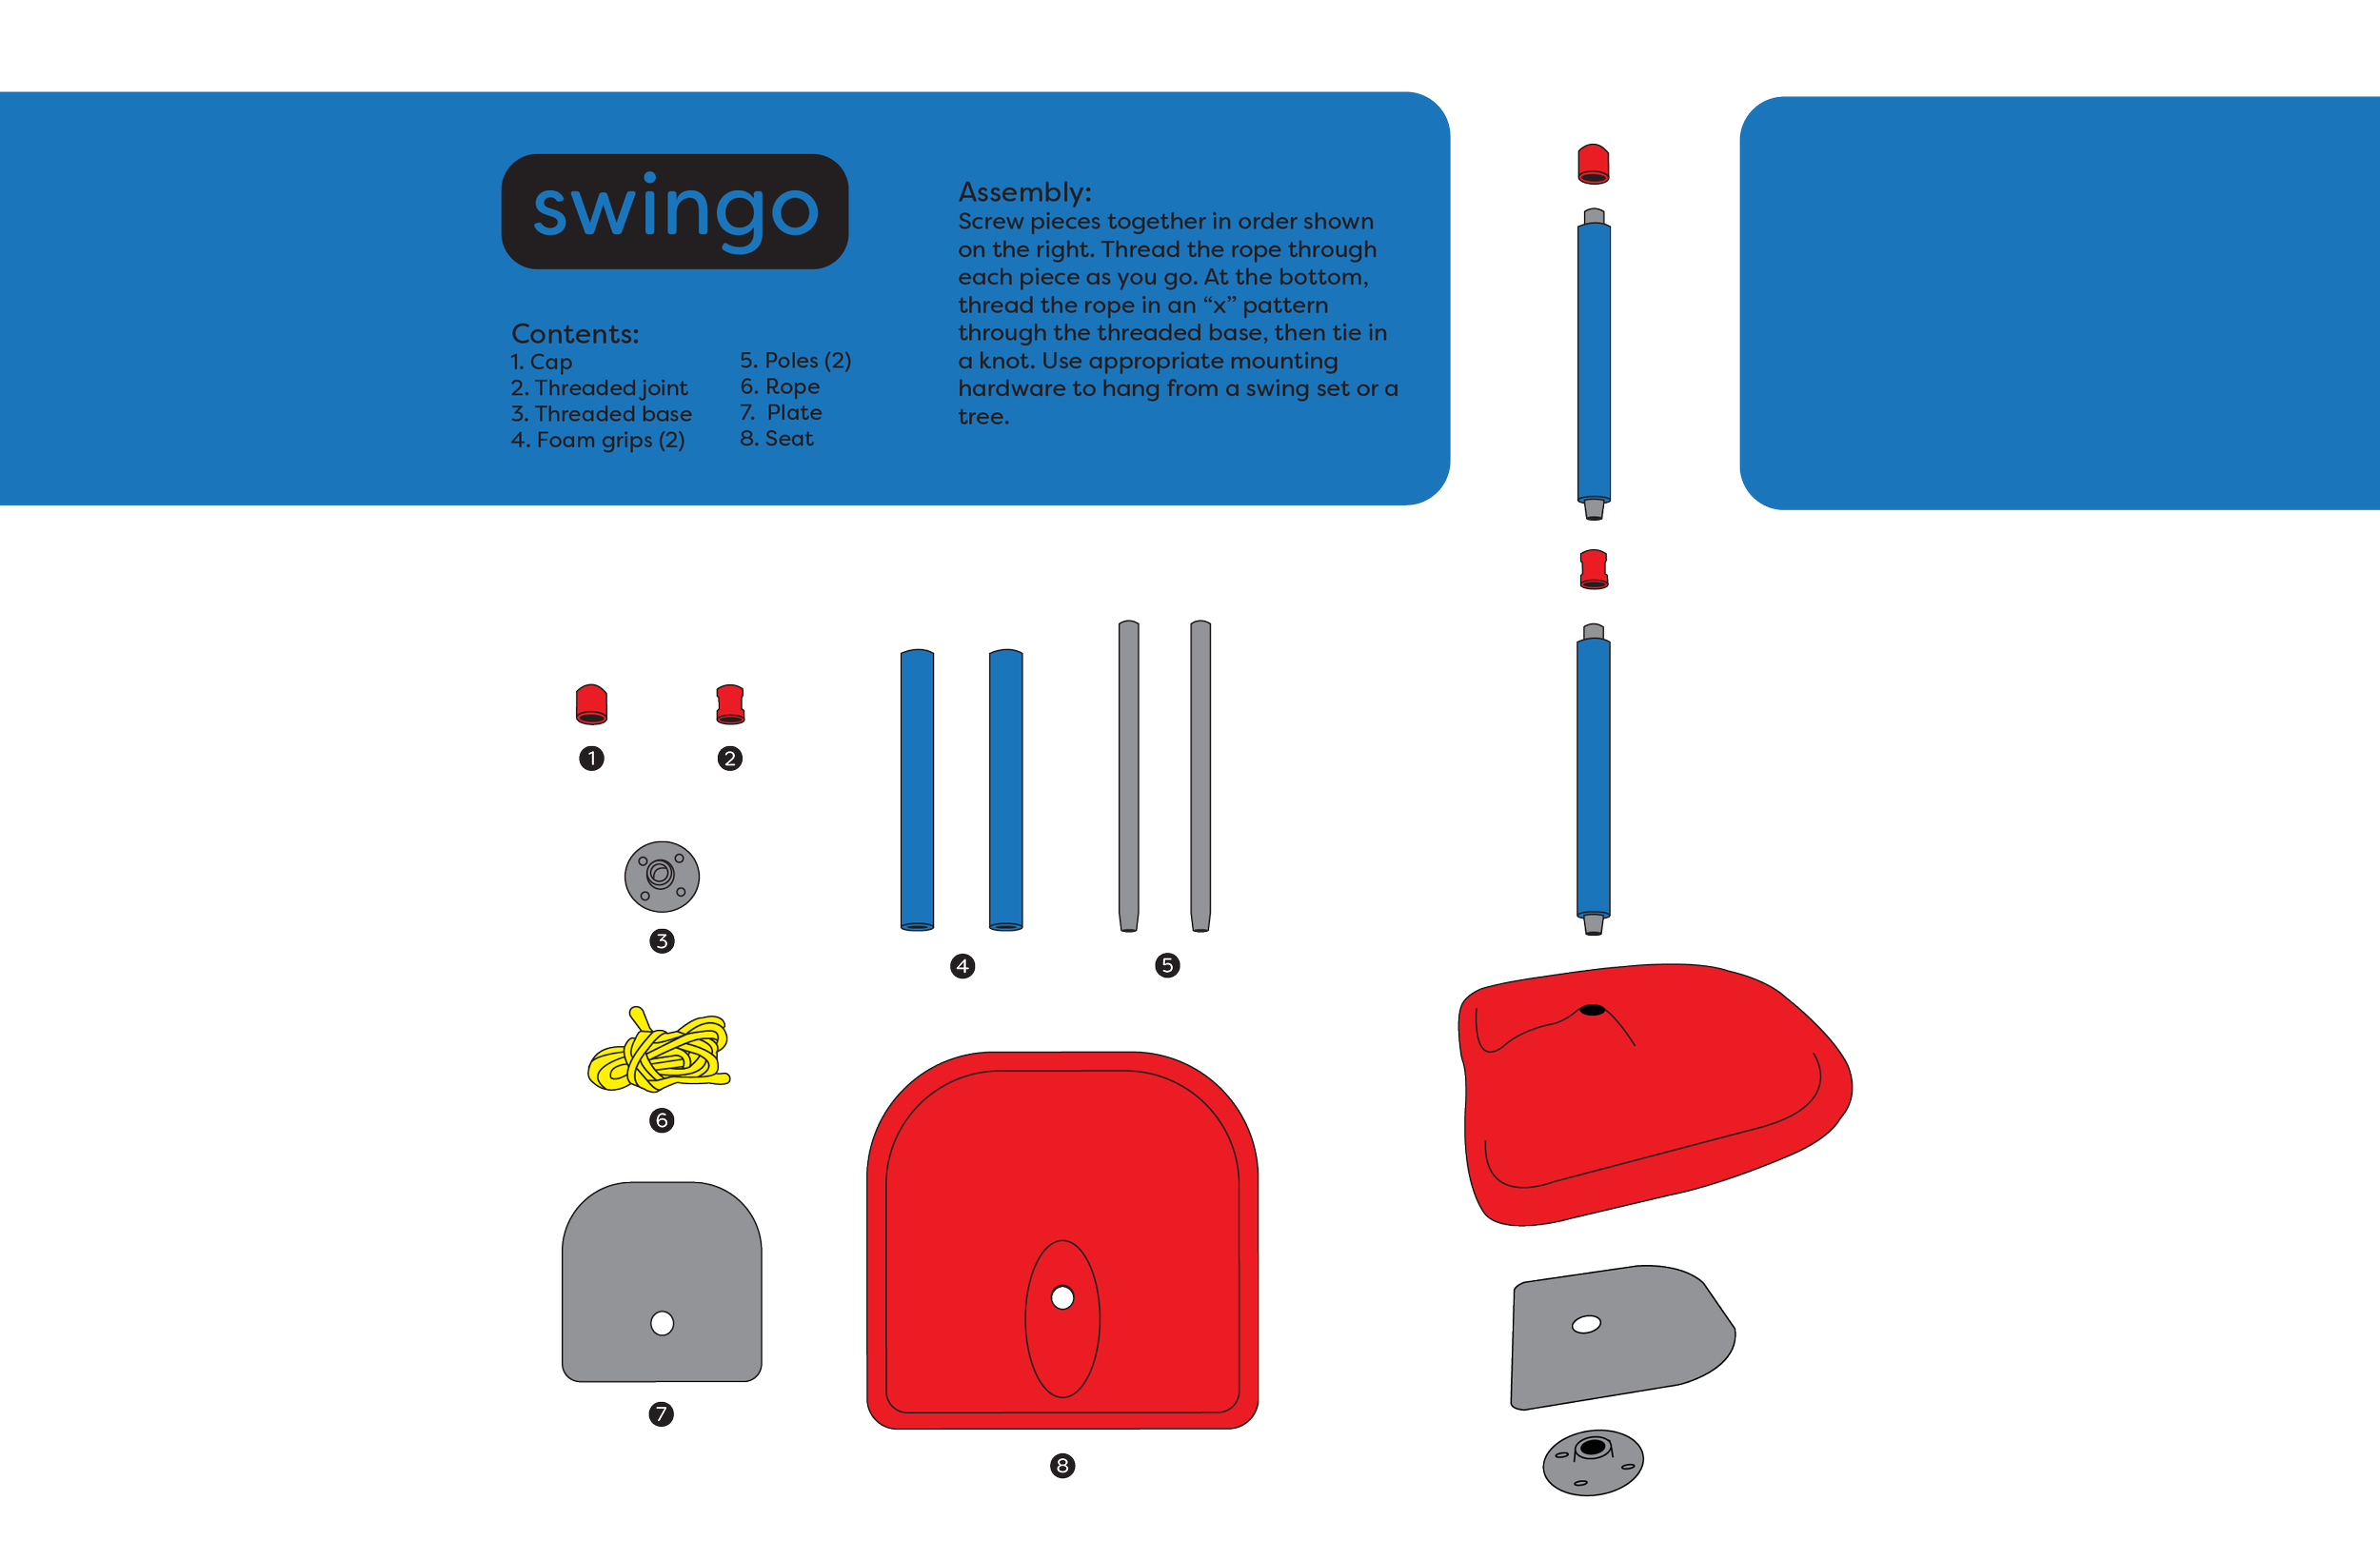
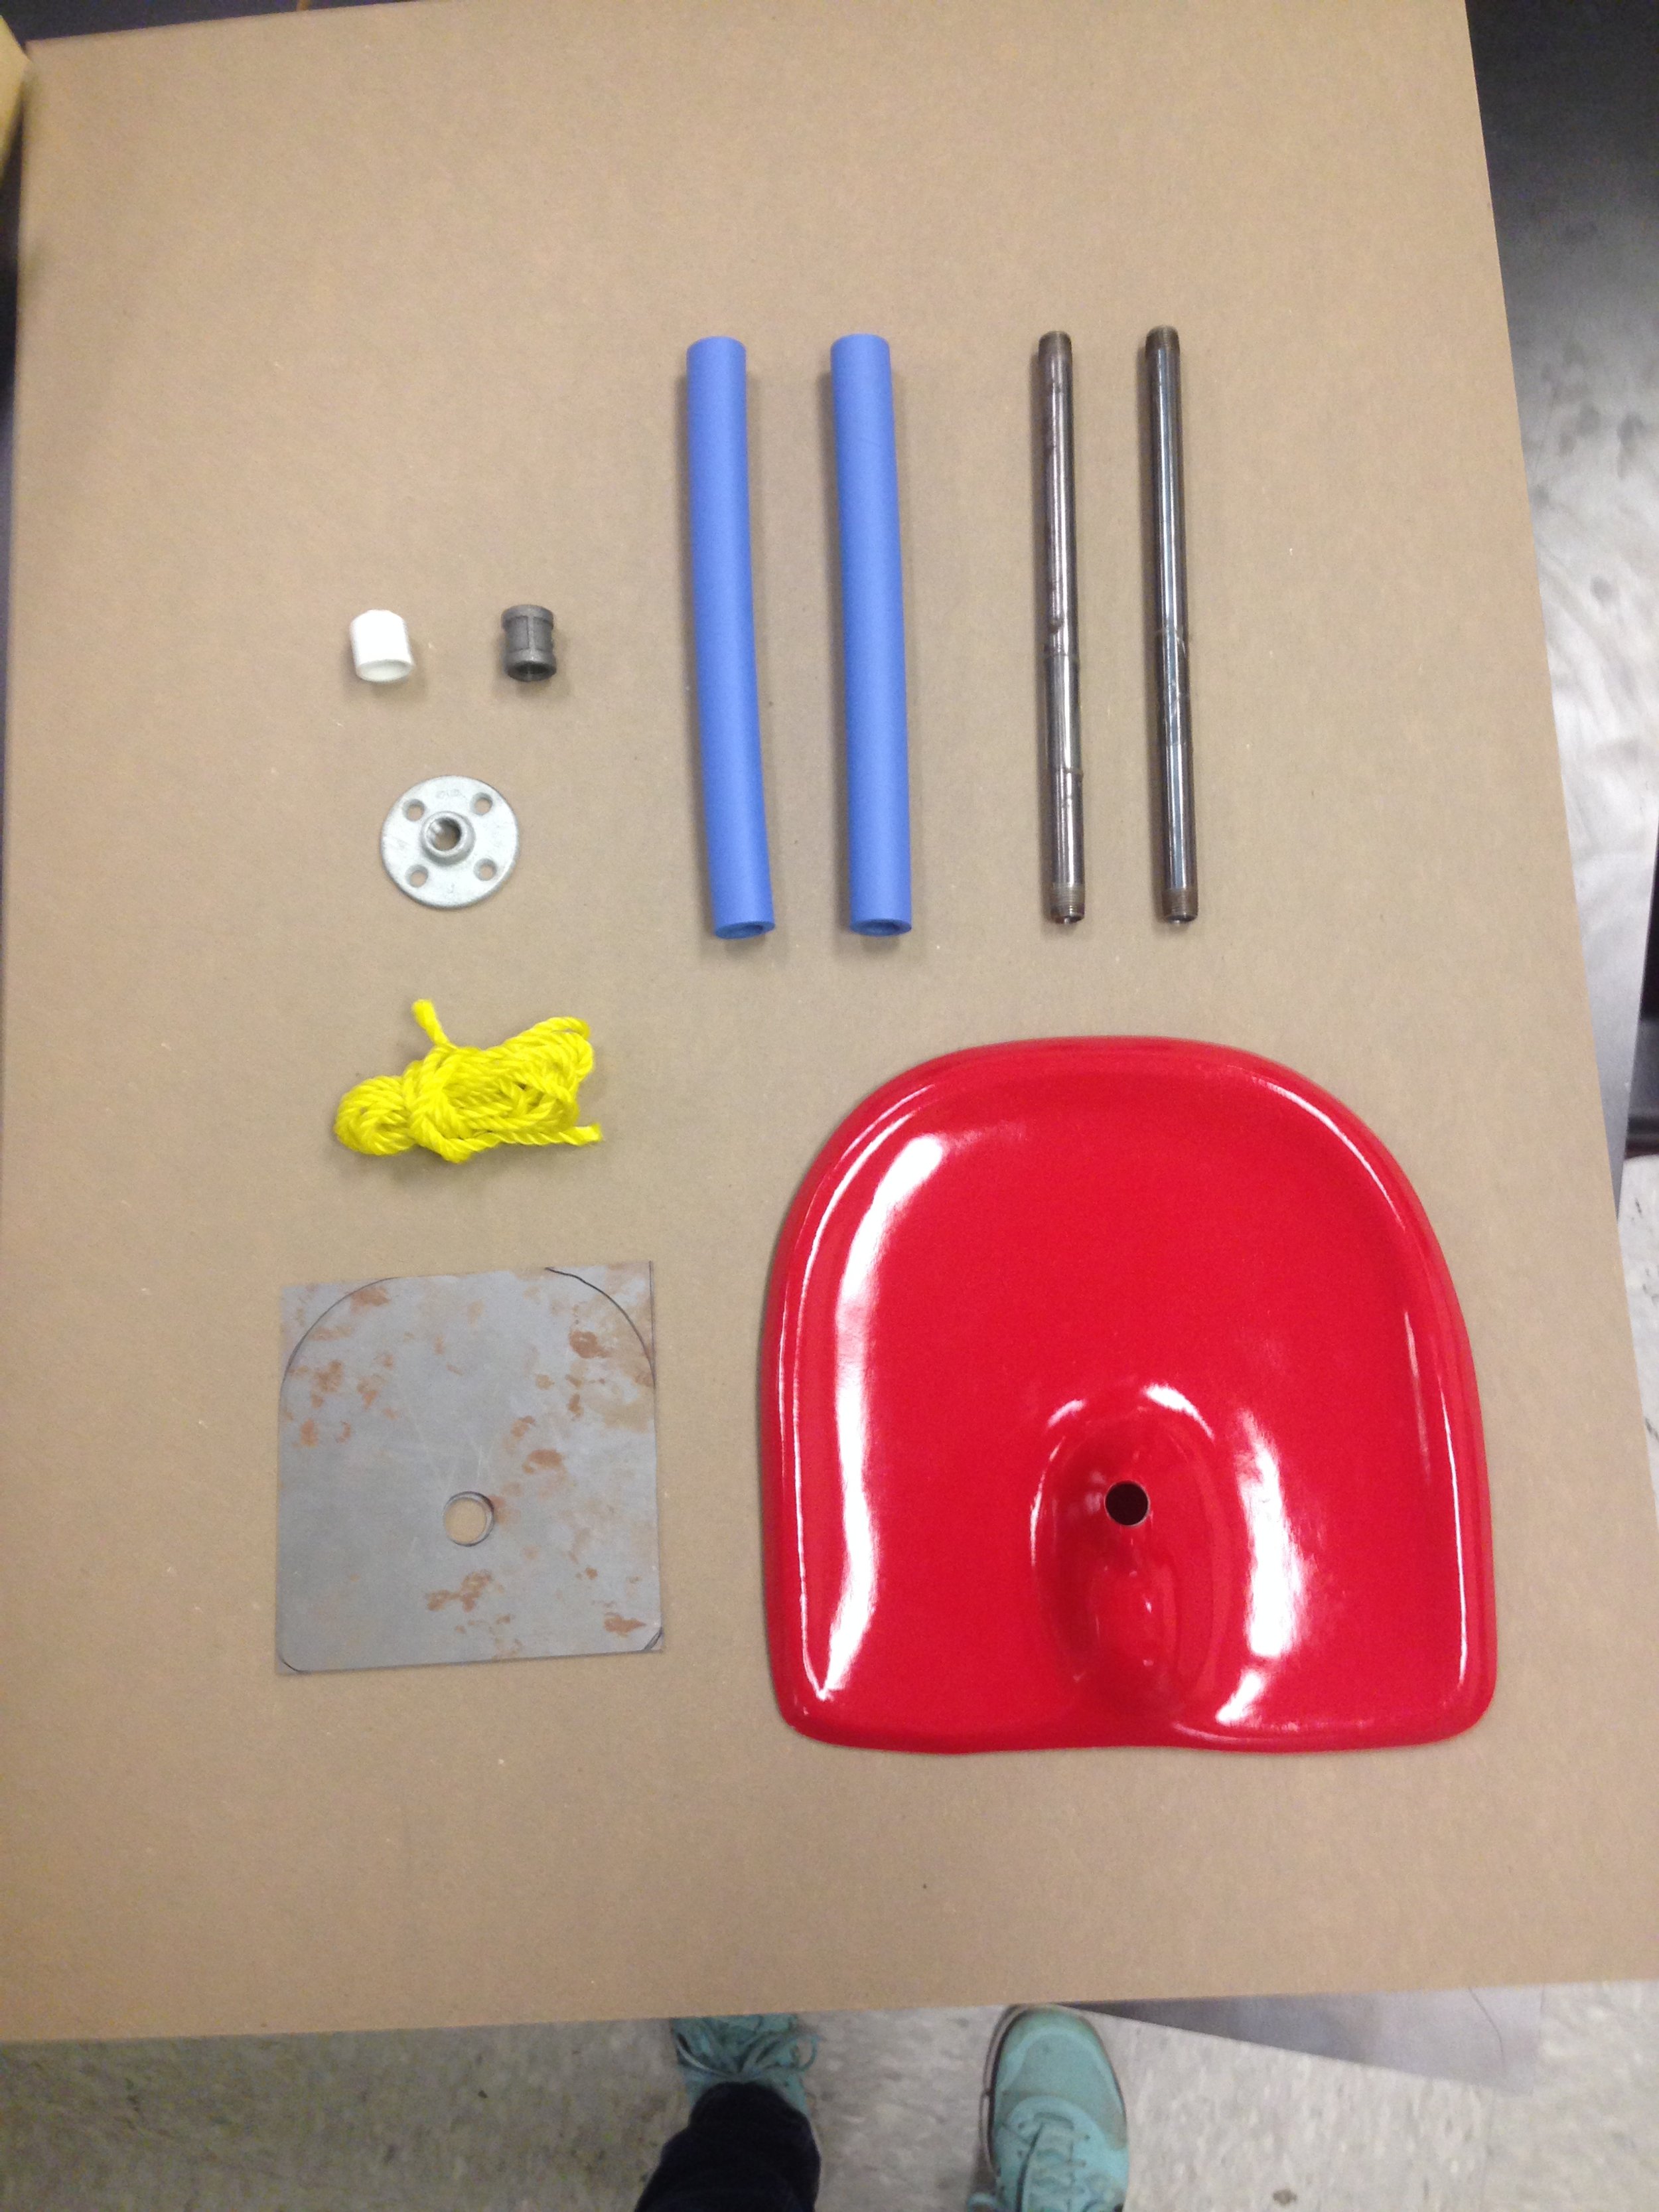
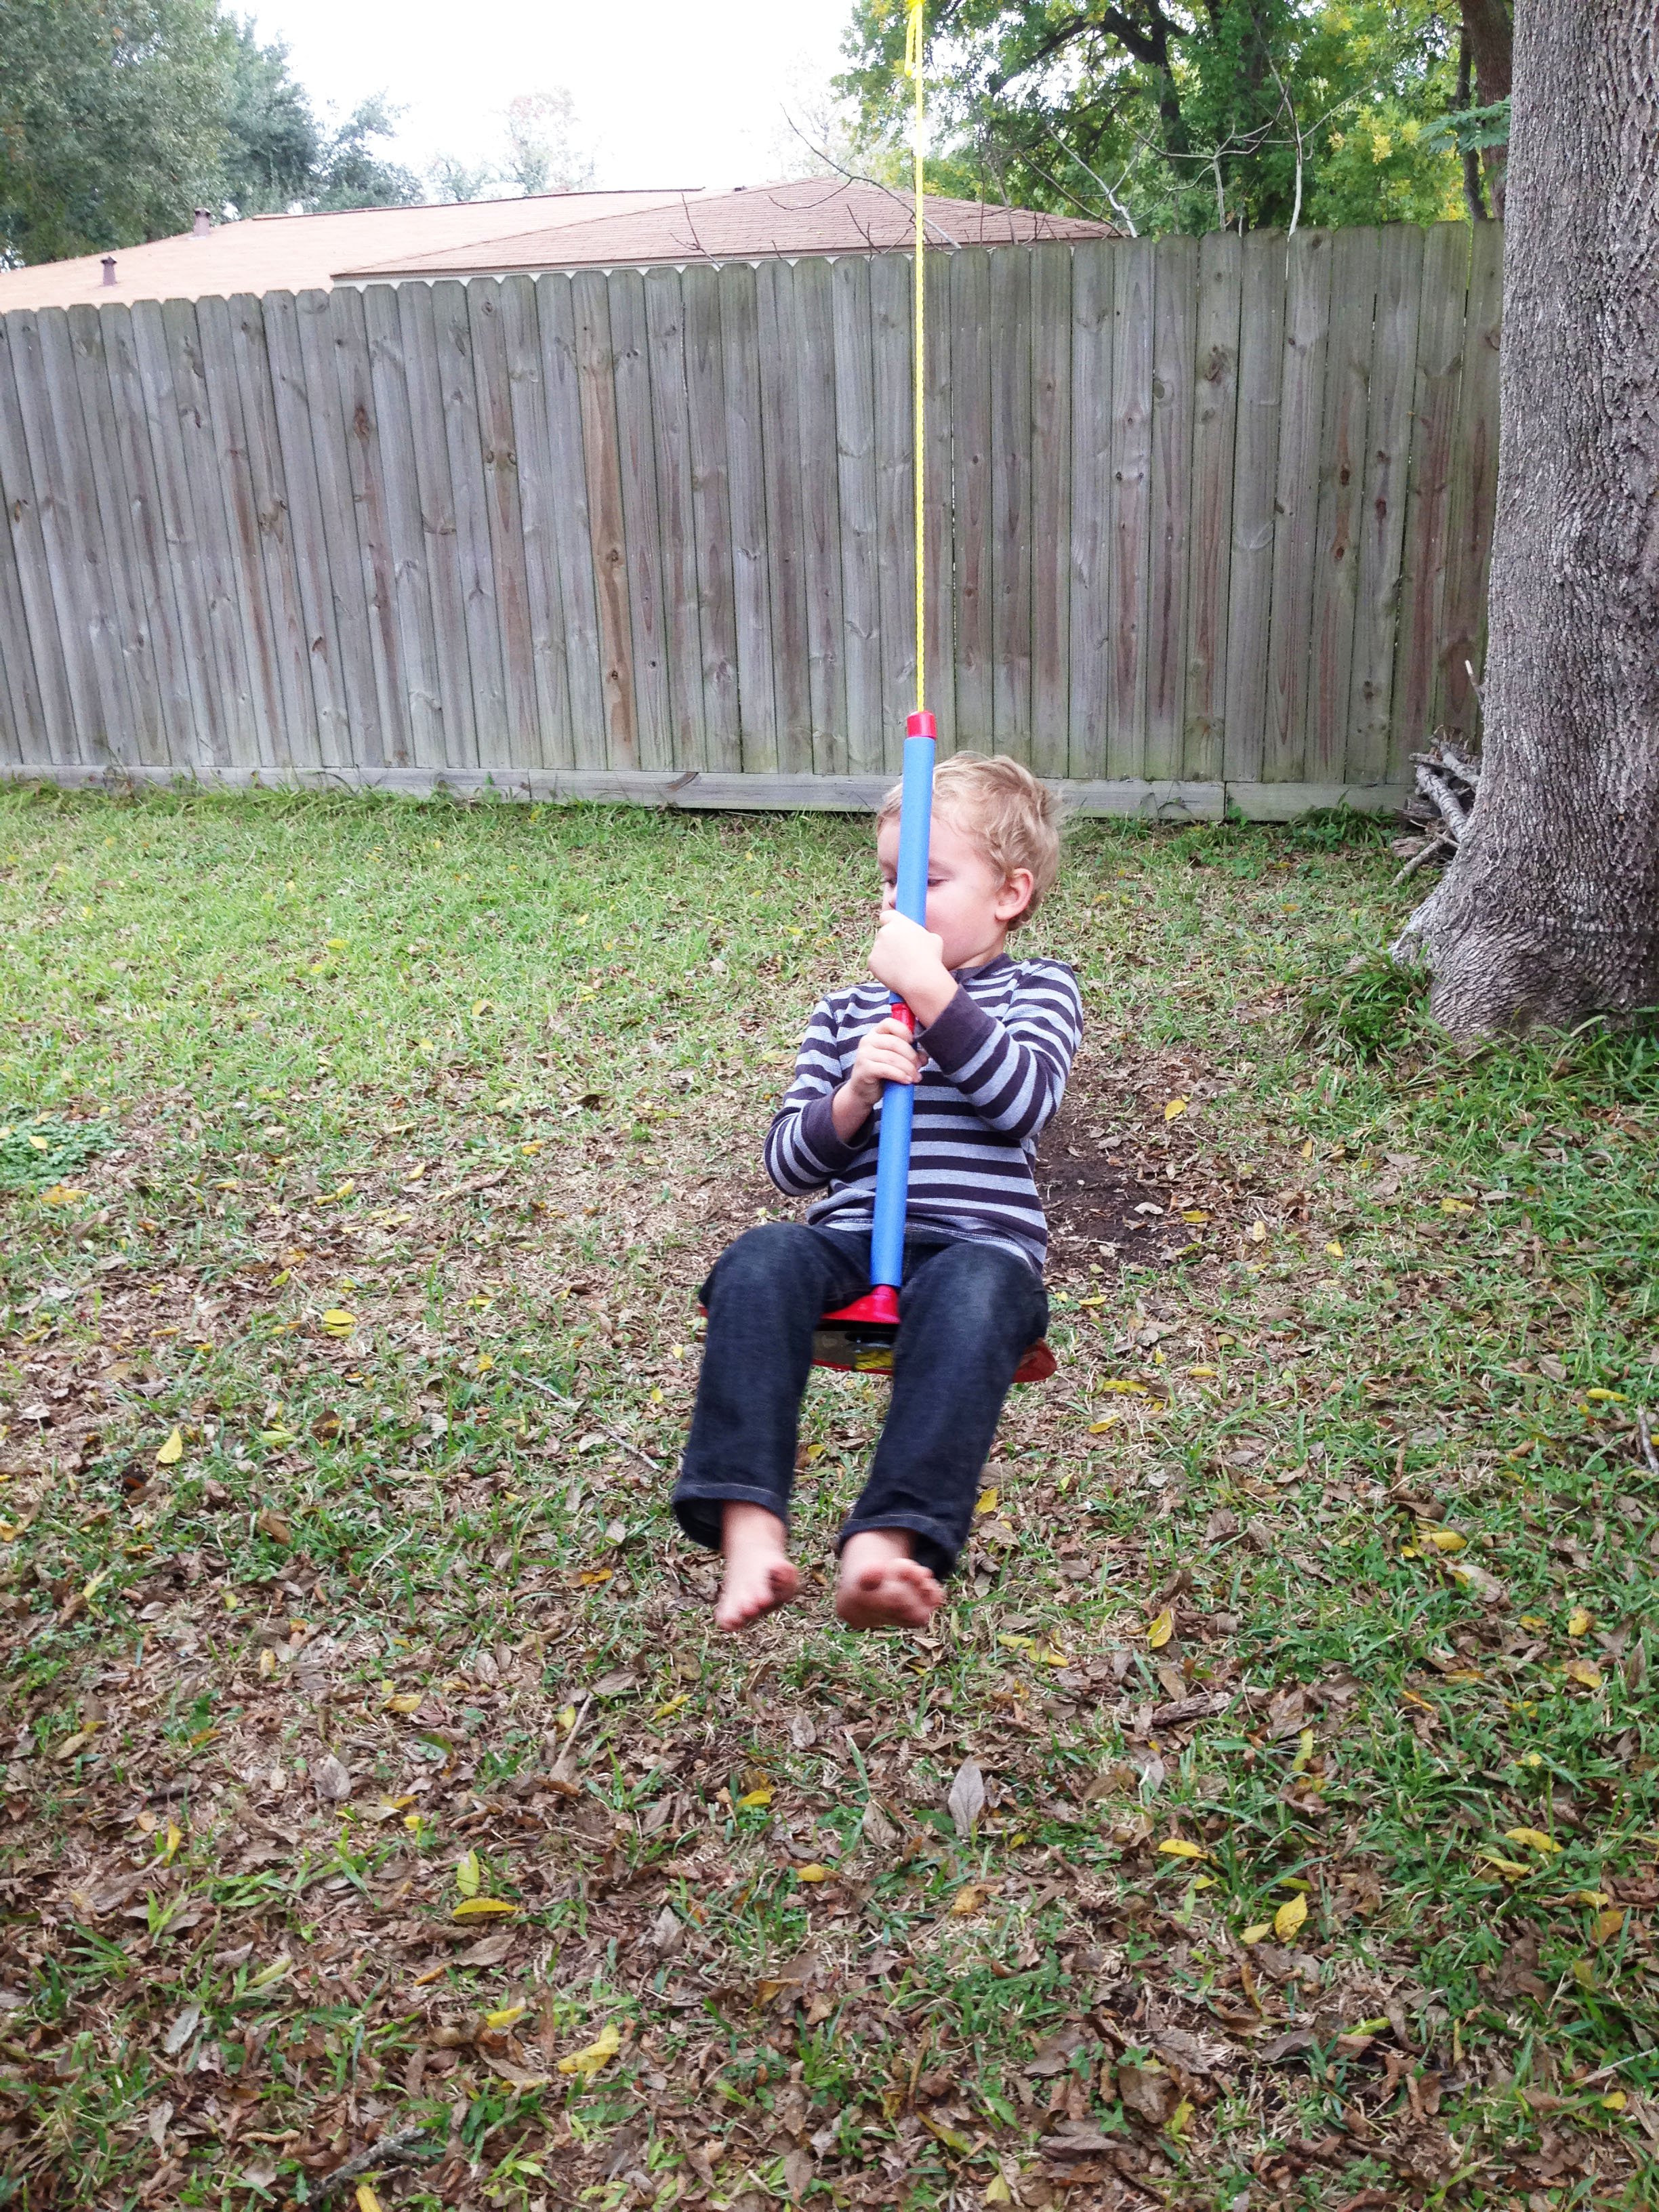
To make this swing, I hand carved a negative mold using blue foam. I then coated the blue foam with joint compound, sanded it smooth, and covered it with primer and lacquer. I then prepared the mold with 5 coats of mold wax and 4 coats of PVA. I painted two coats of red gel coat, applied a base coat of resin, then layed up 5 layers of chopped fiberglass mat with a coat of resin in between each layer. I put the entire thing into a vacuum bag to release air bubbles and apply pressure for added strength. After removing the swing seat from the mold, I trimmed the excess fiberglass from the edges and sanded them. Steel and foam pieces were added in the final assembly for structure and comfort.



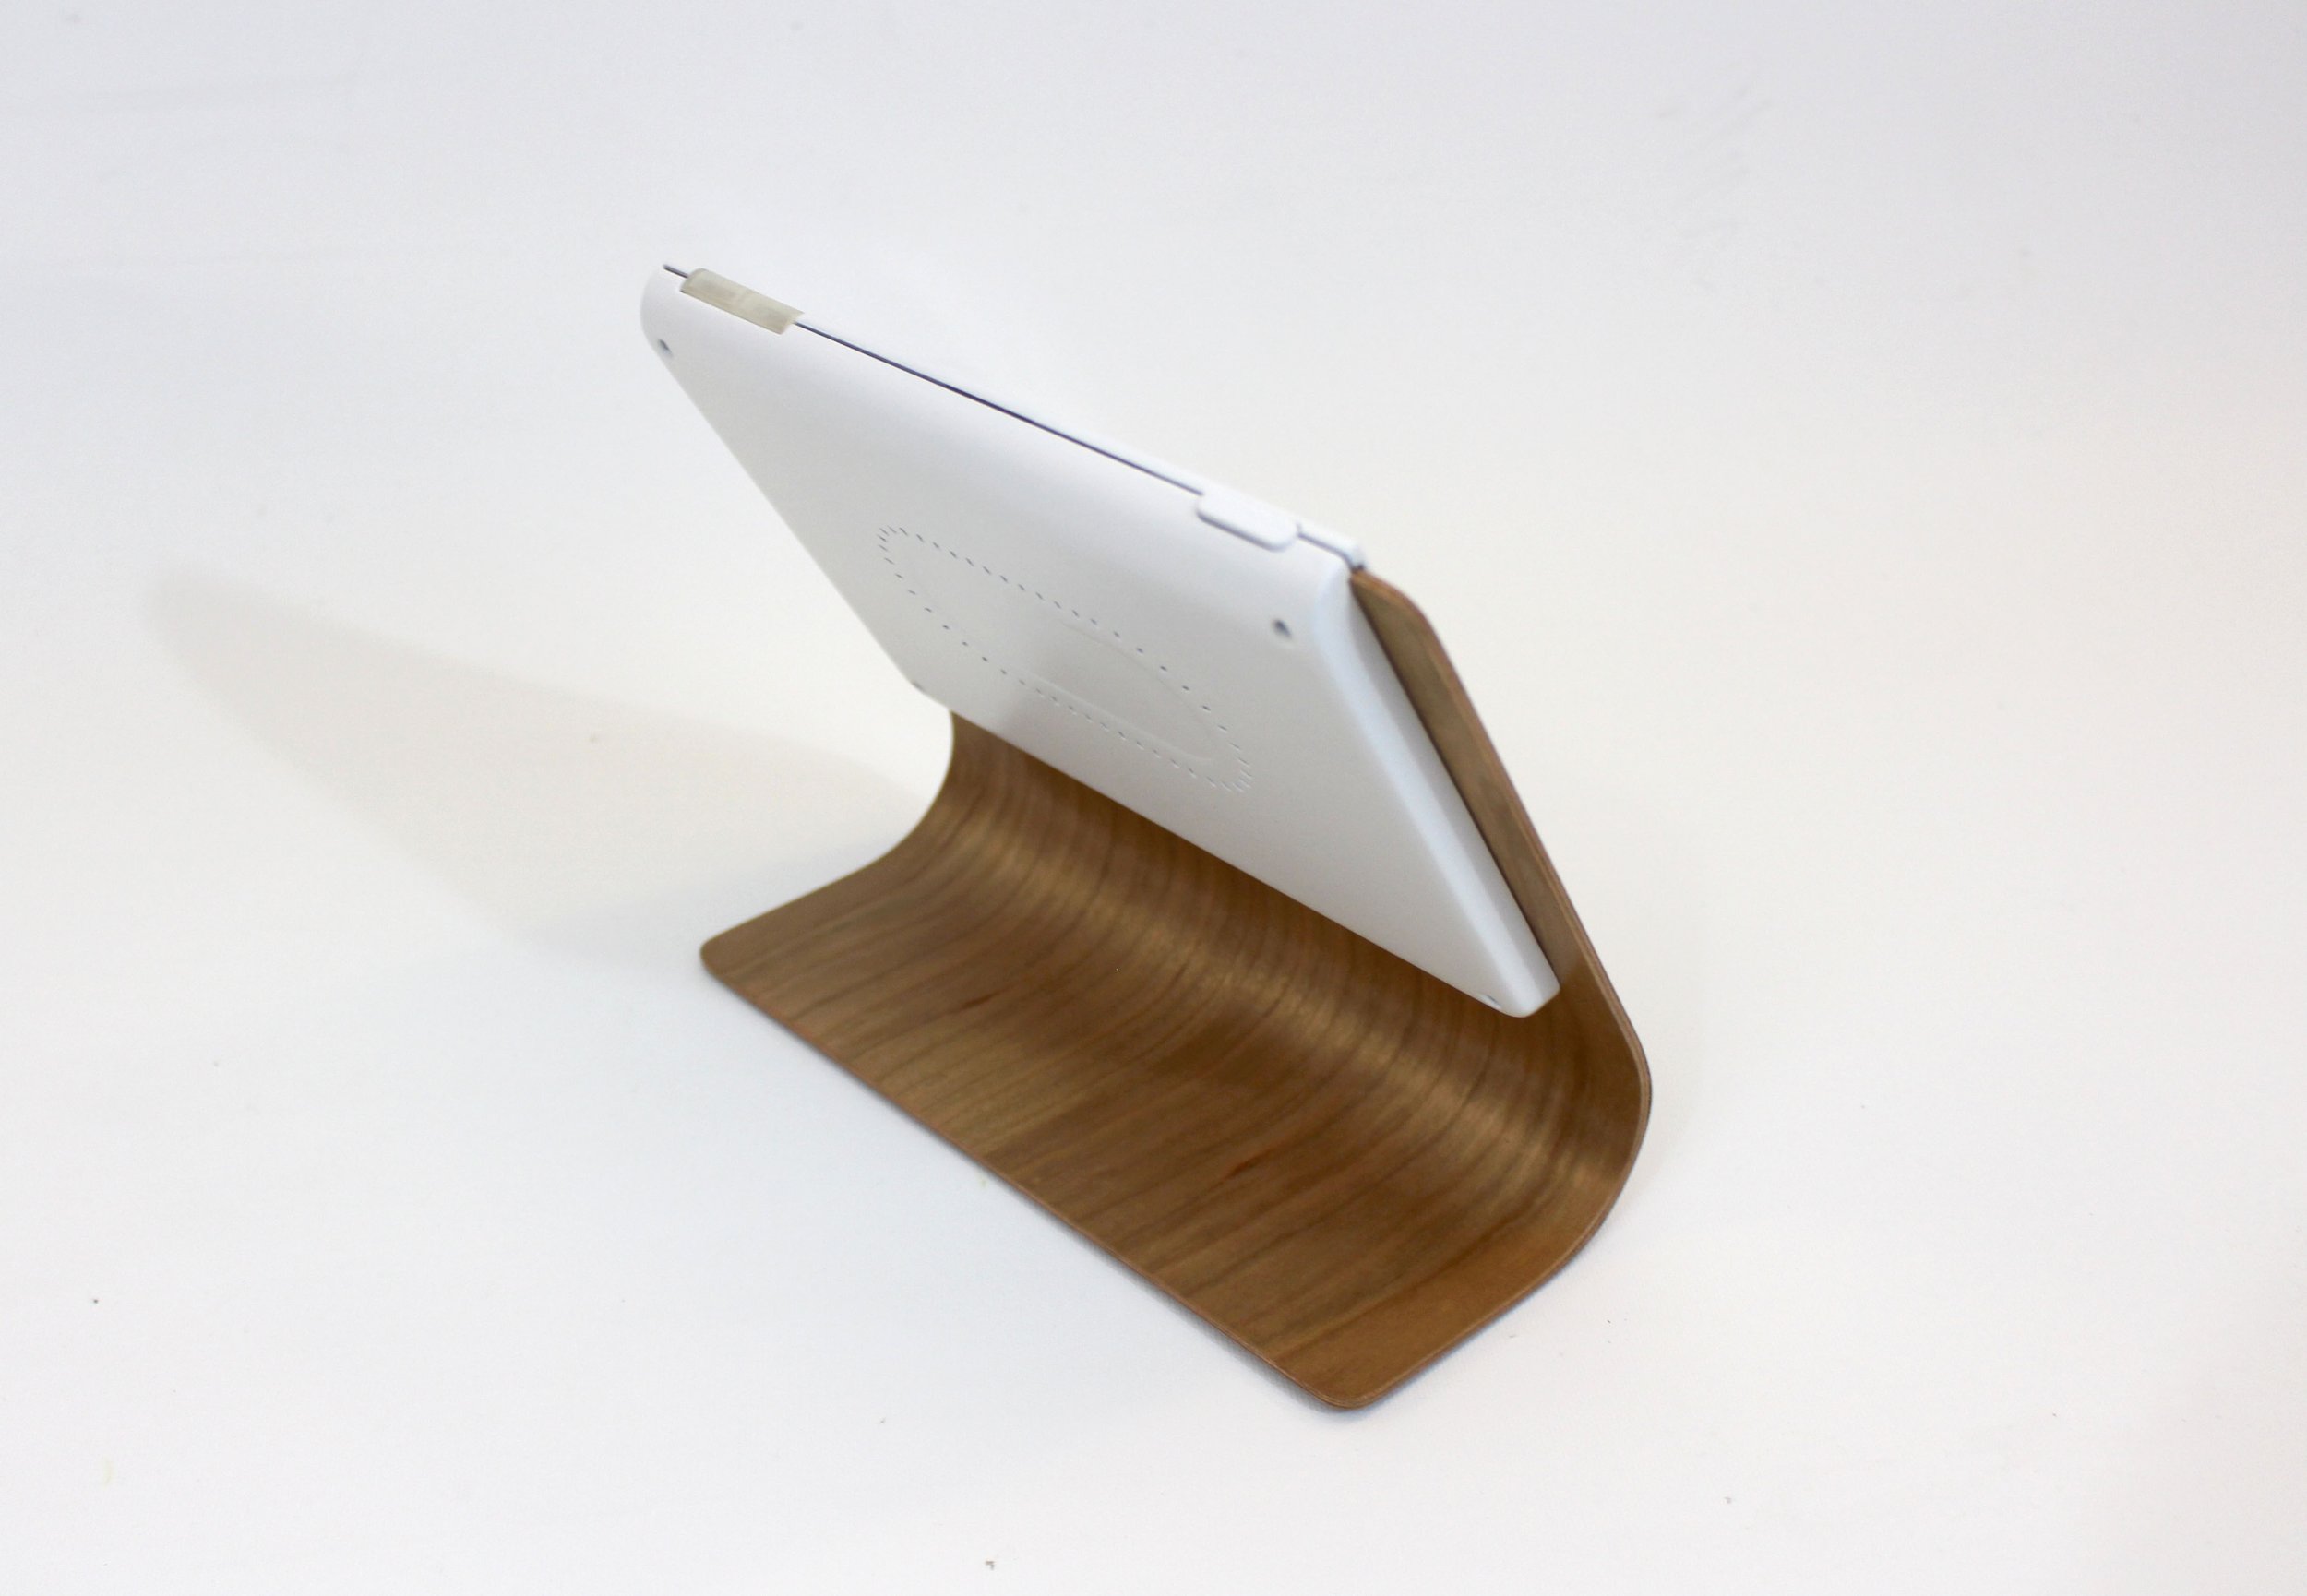
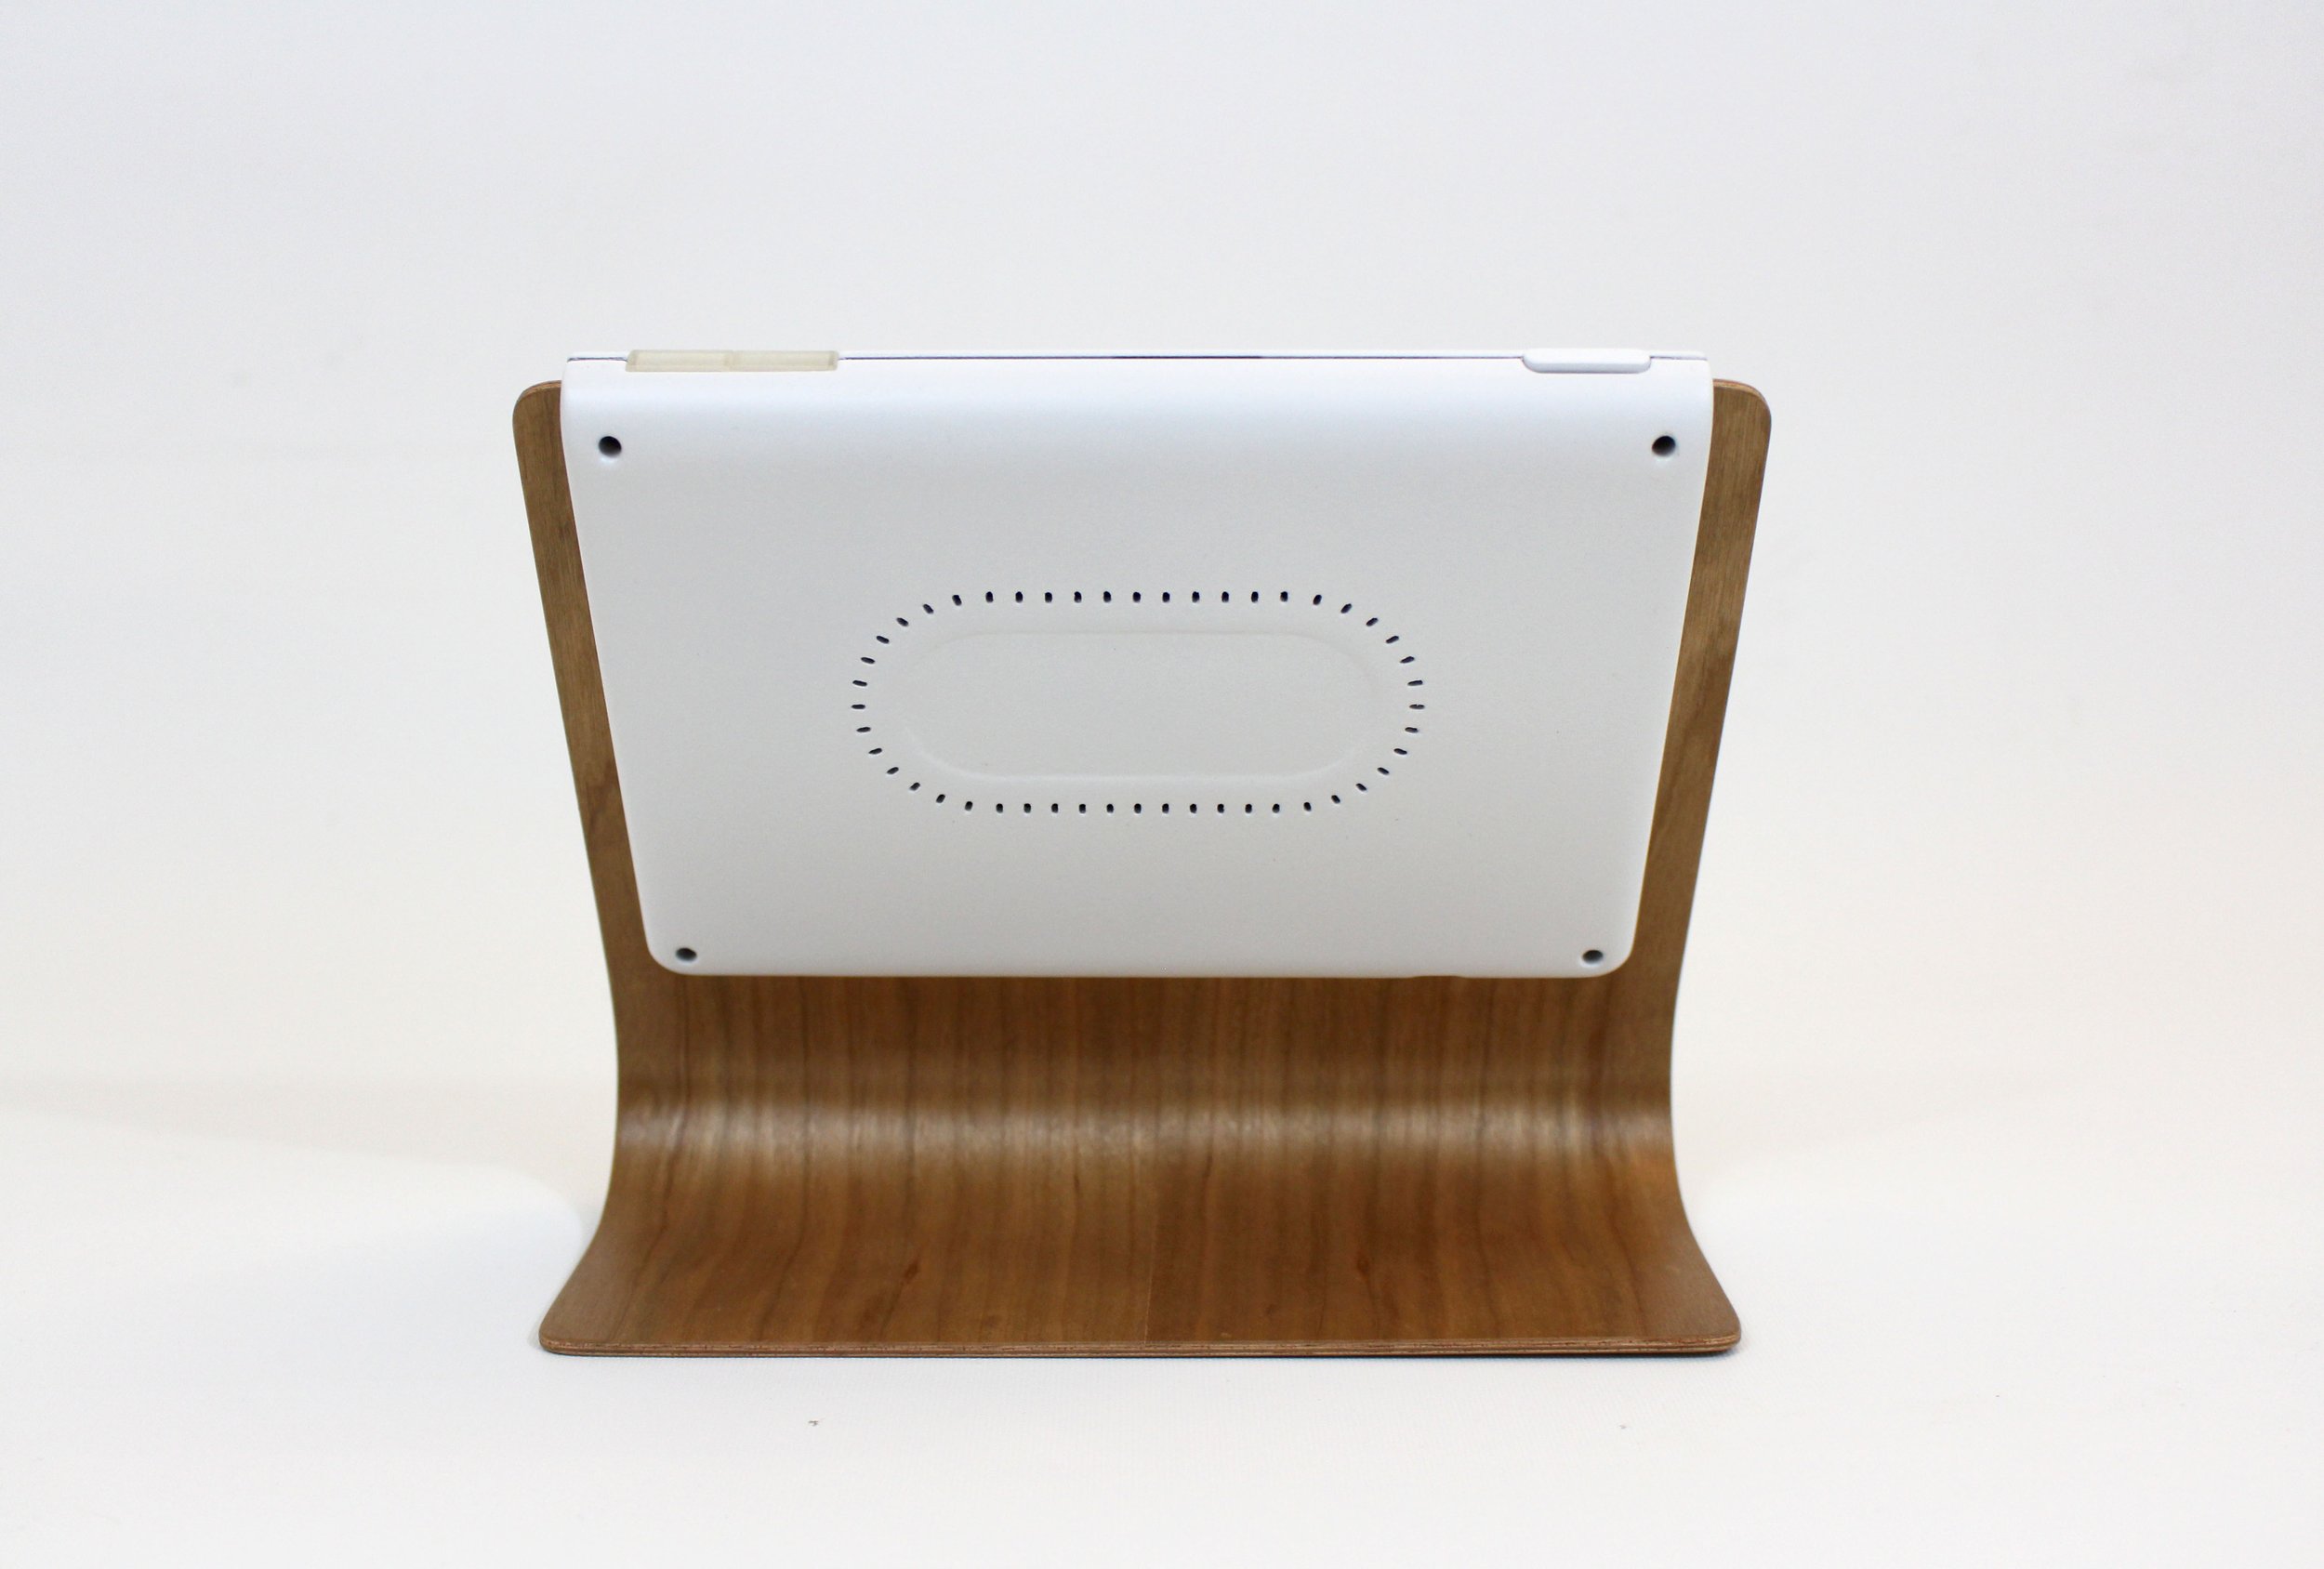
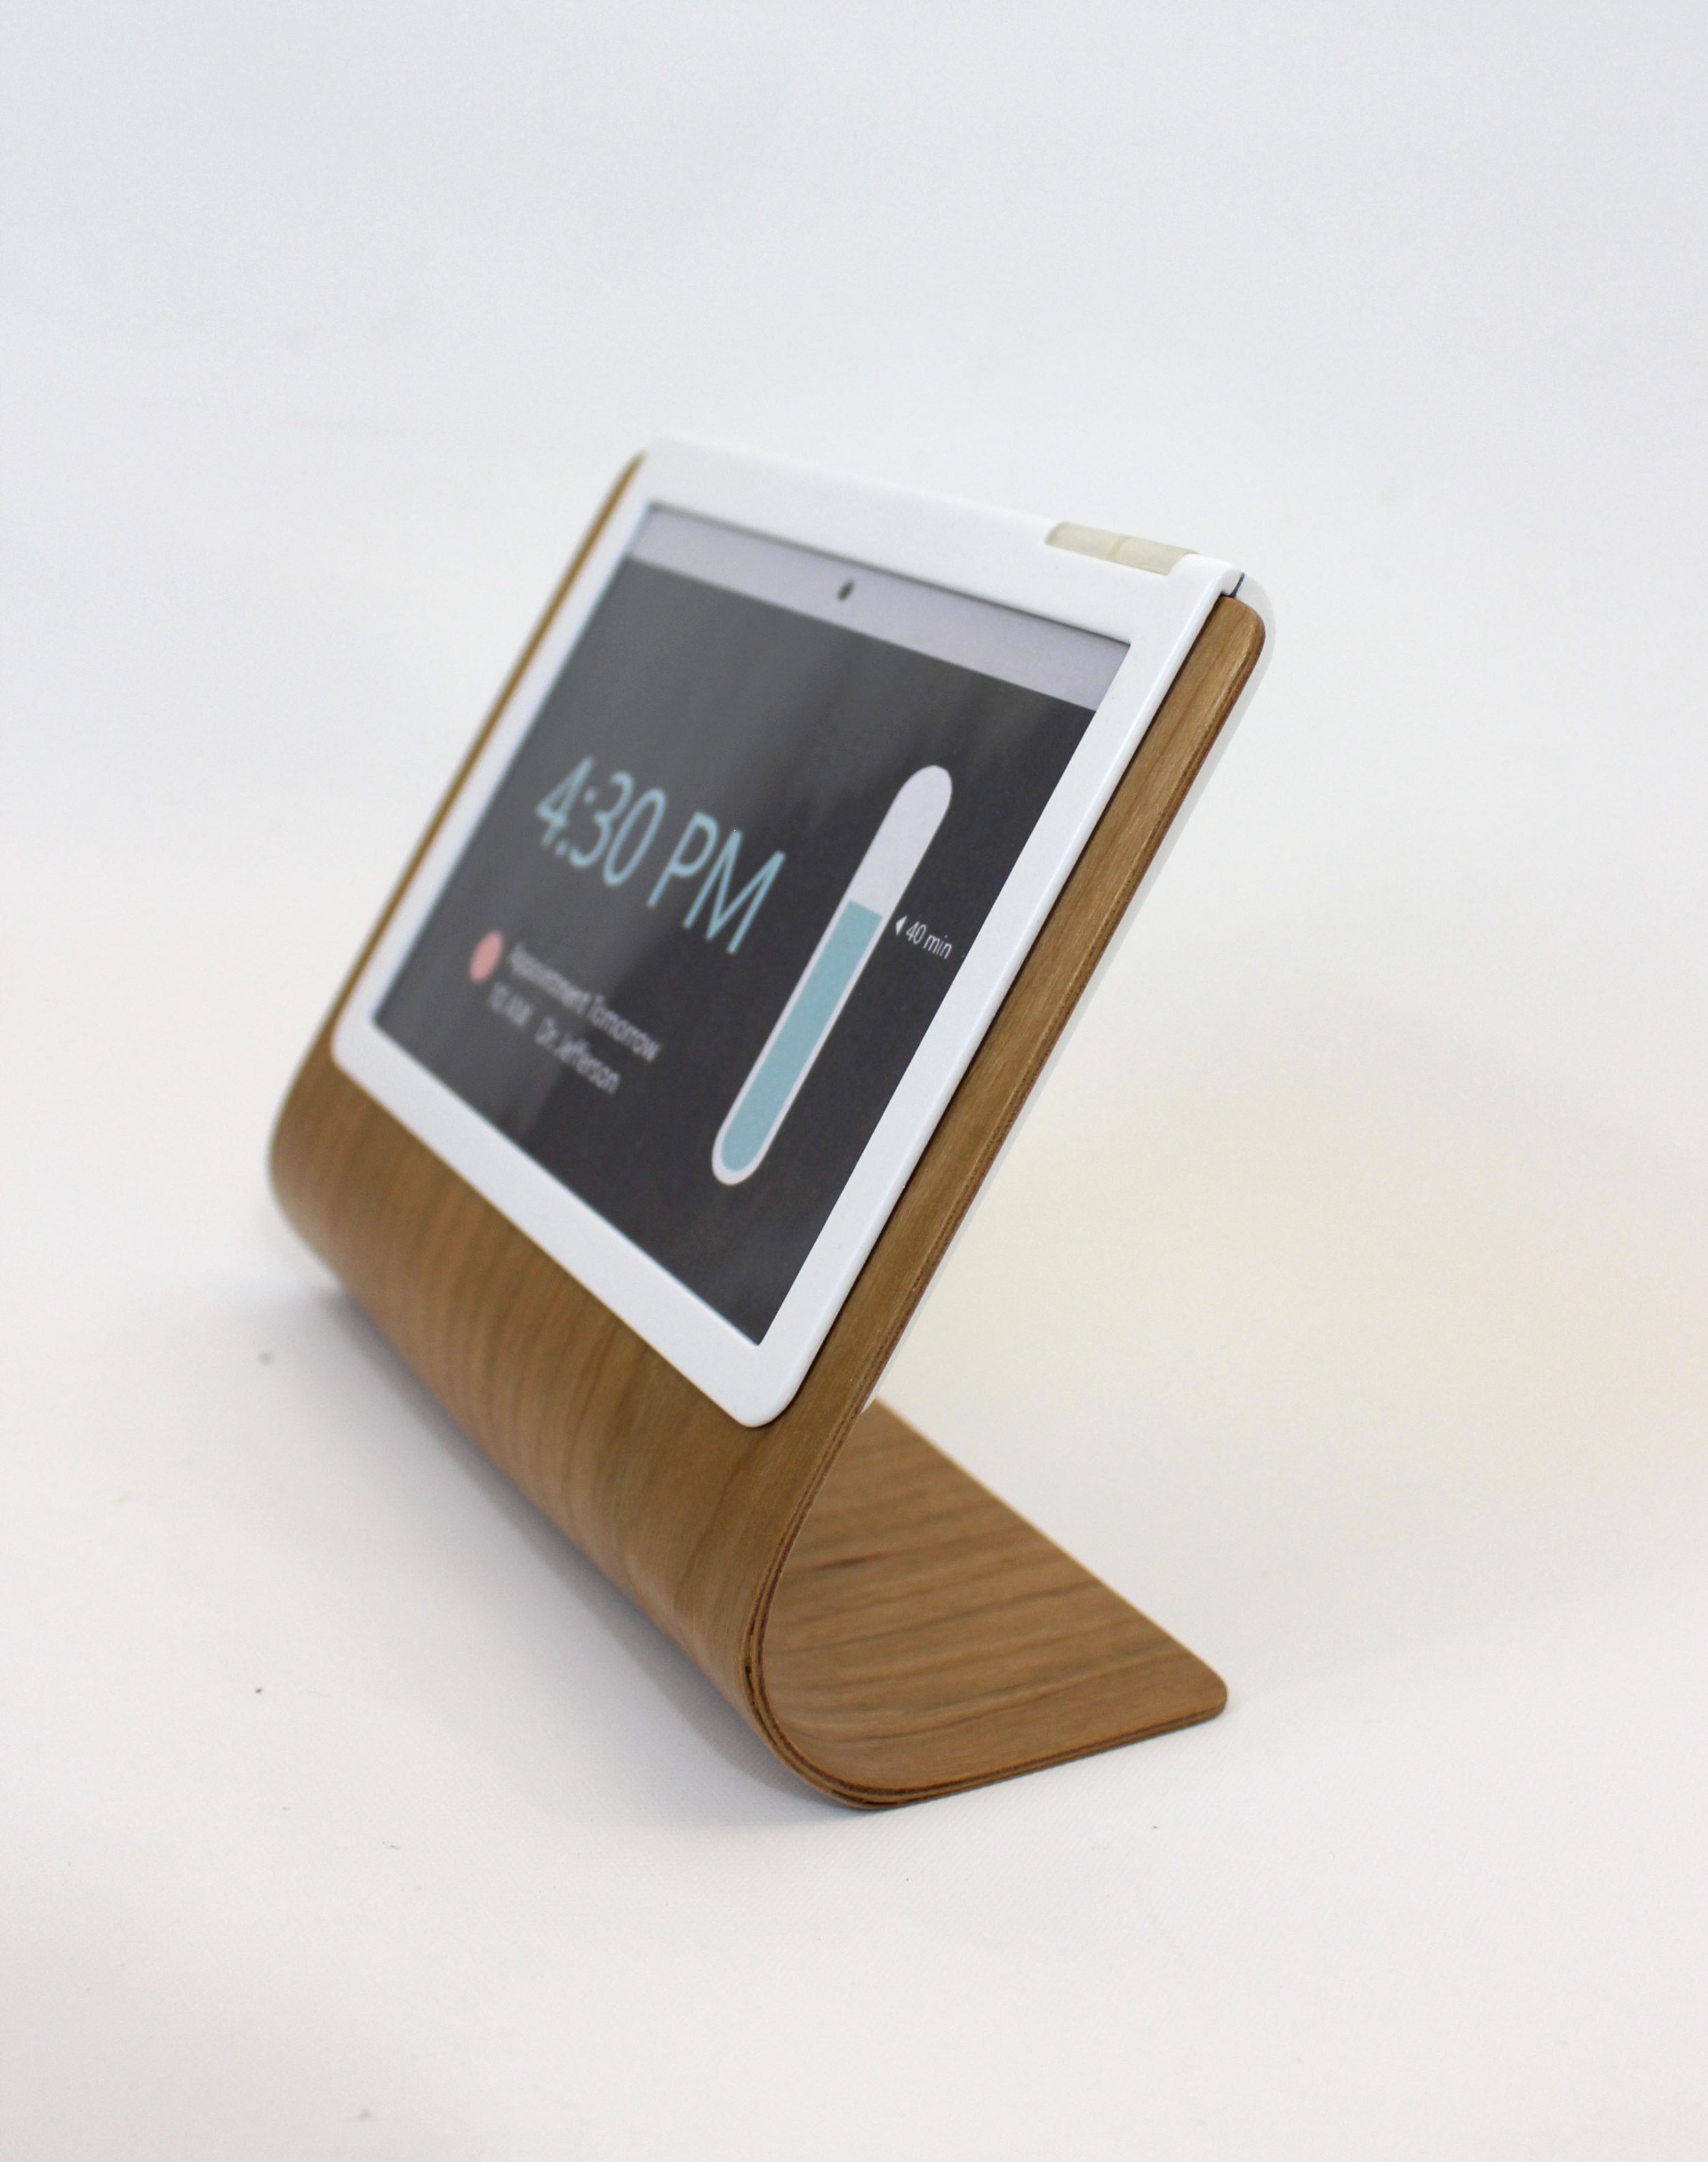
Smart Home Device
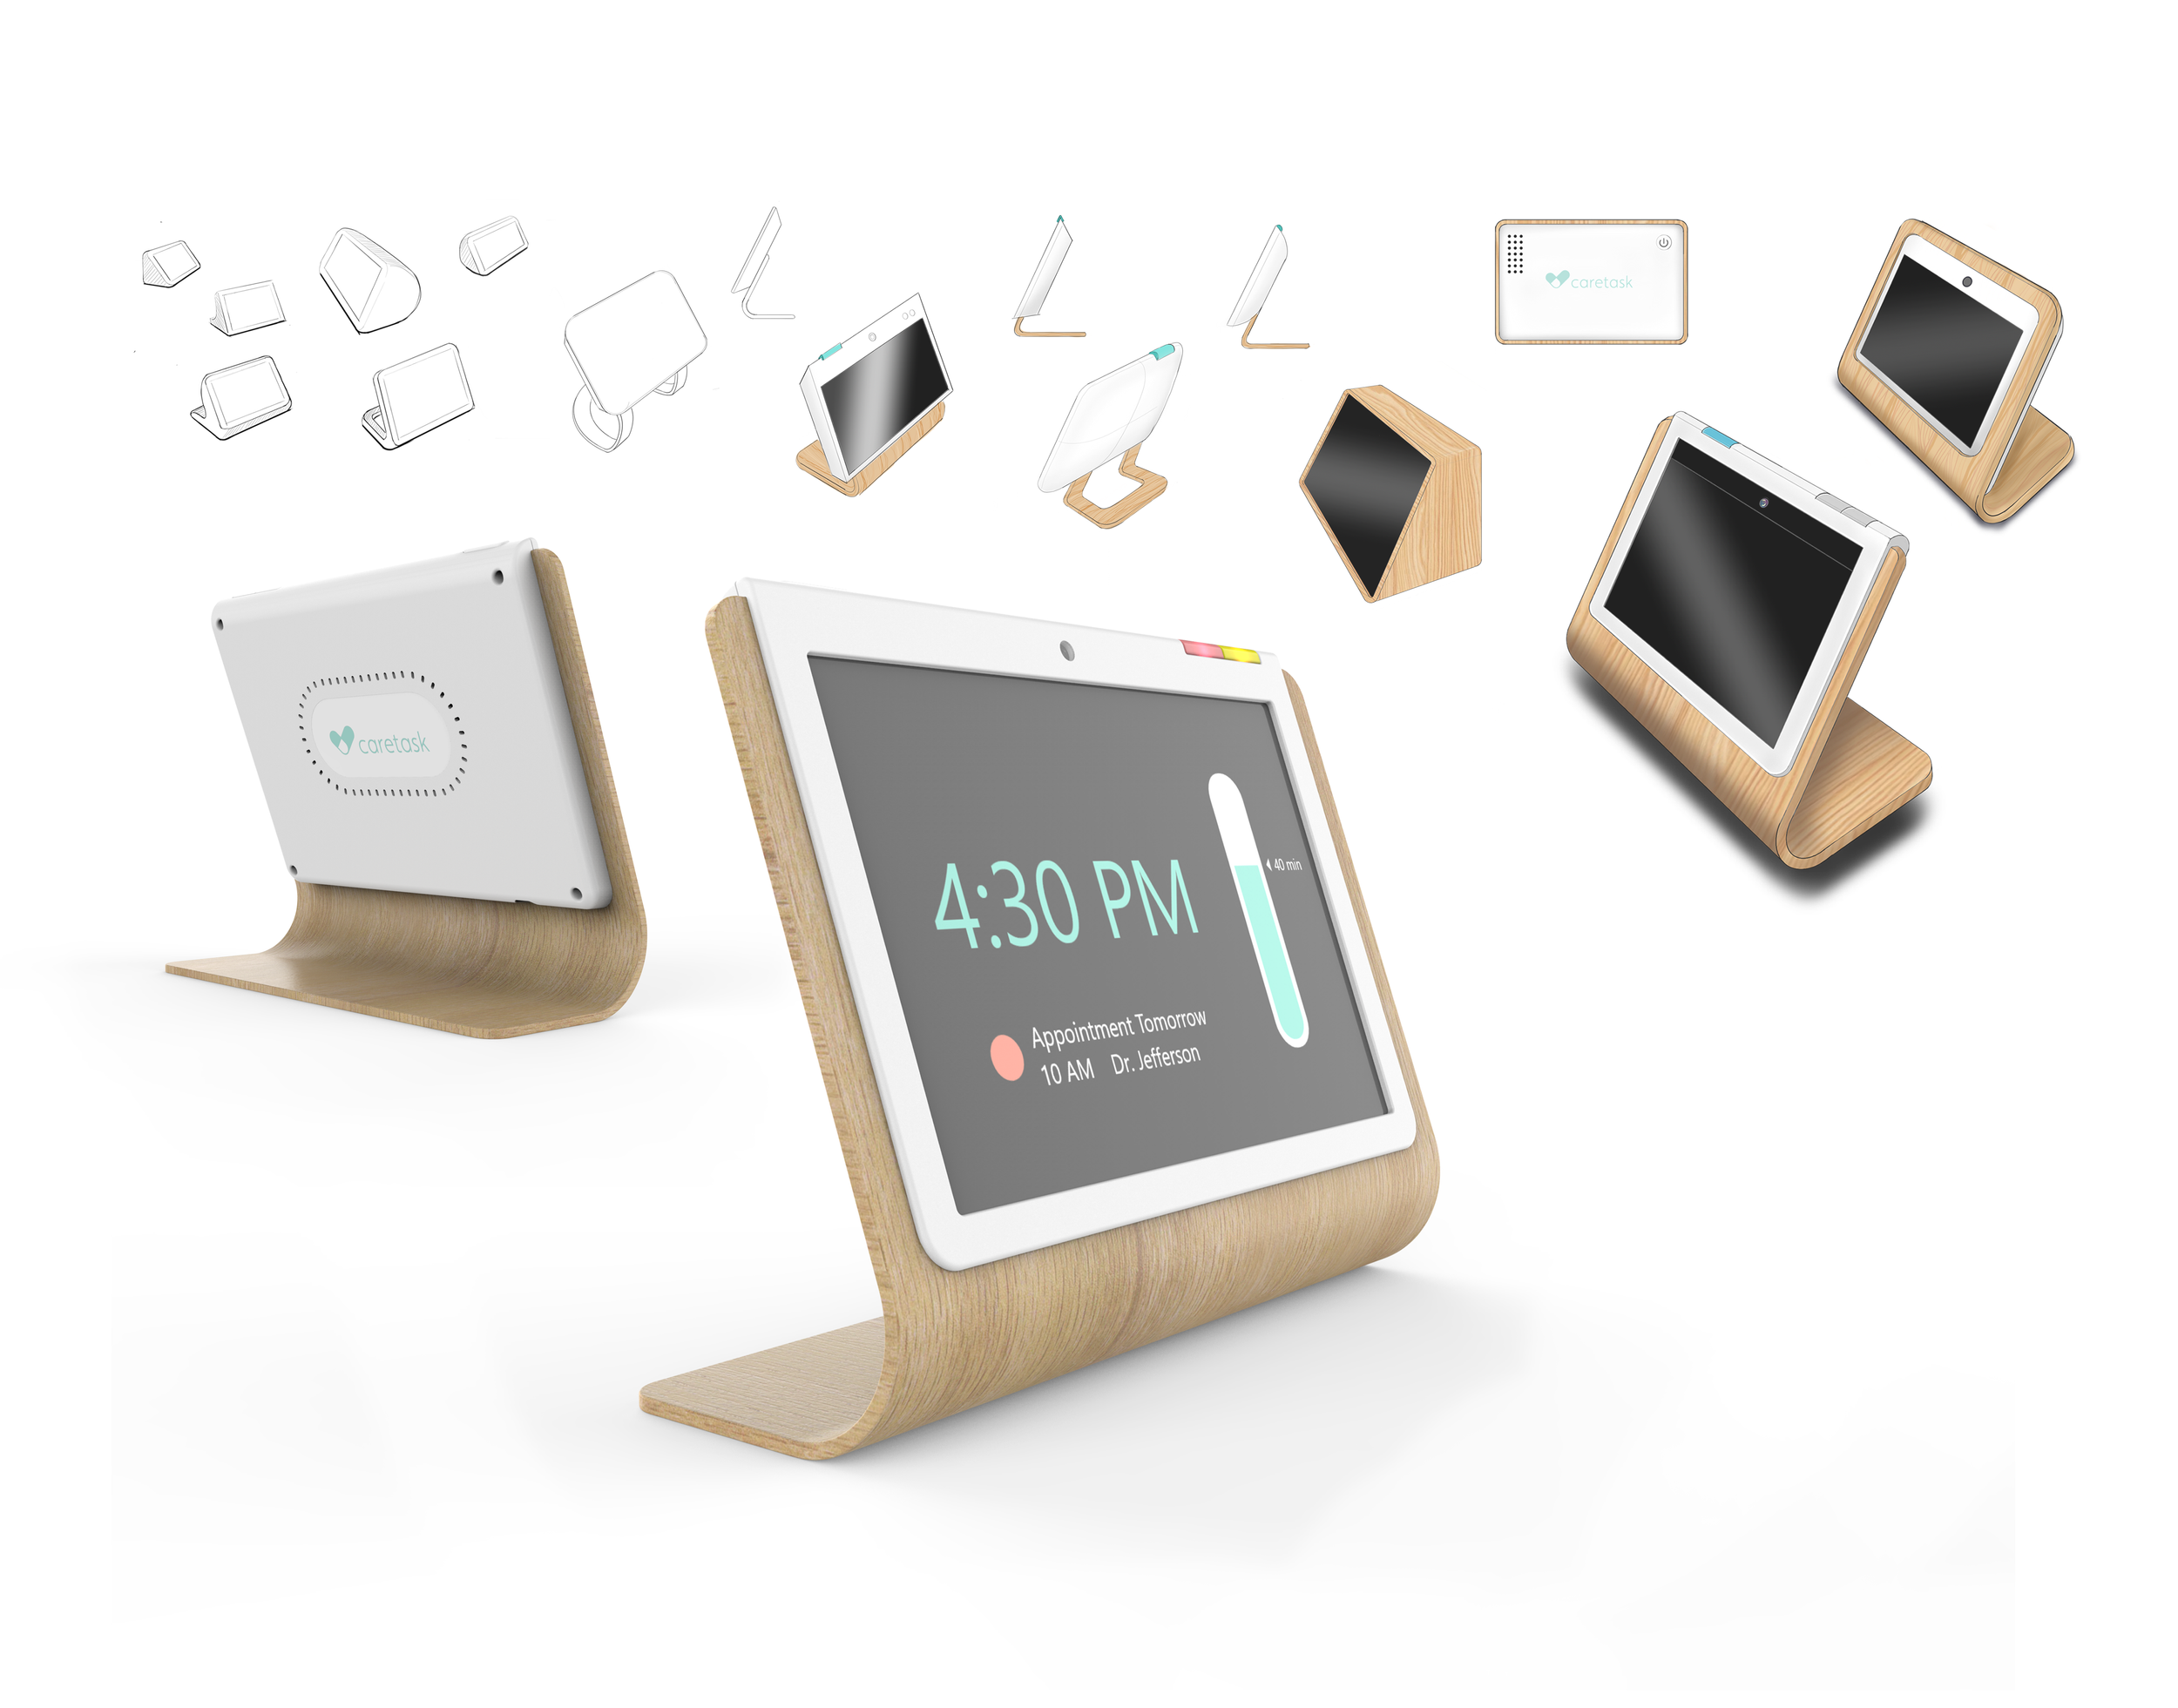
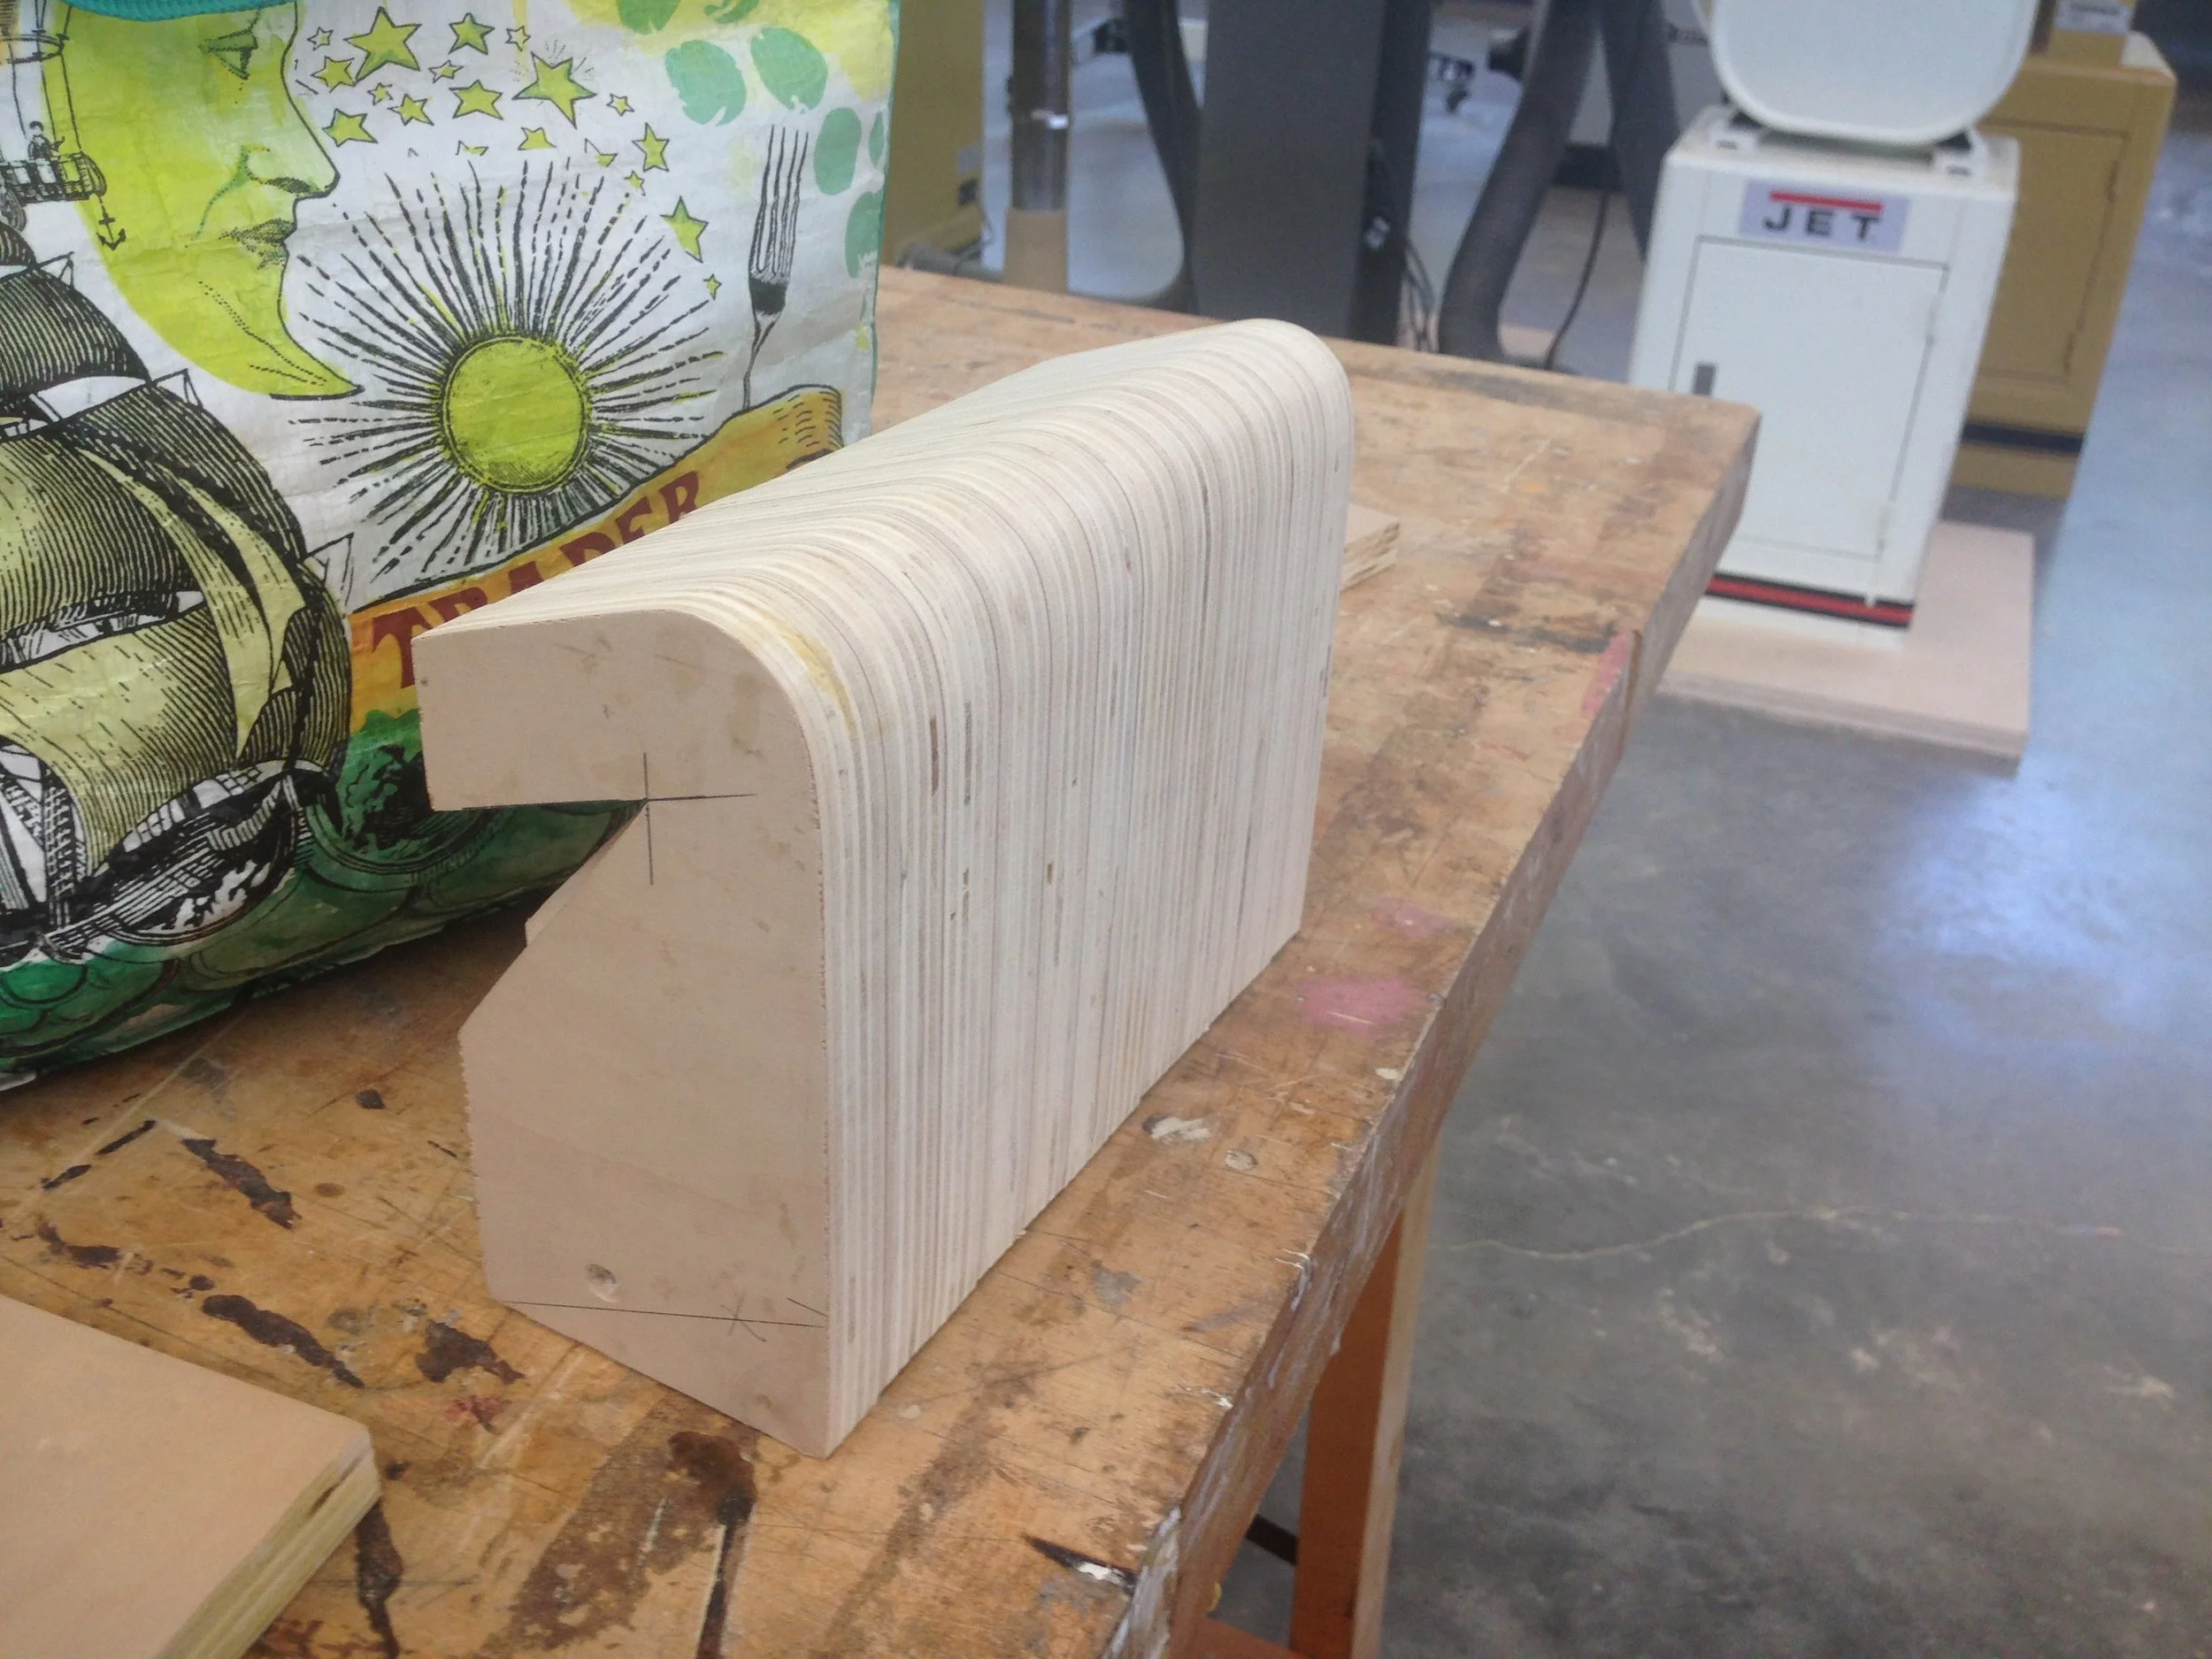
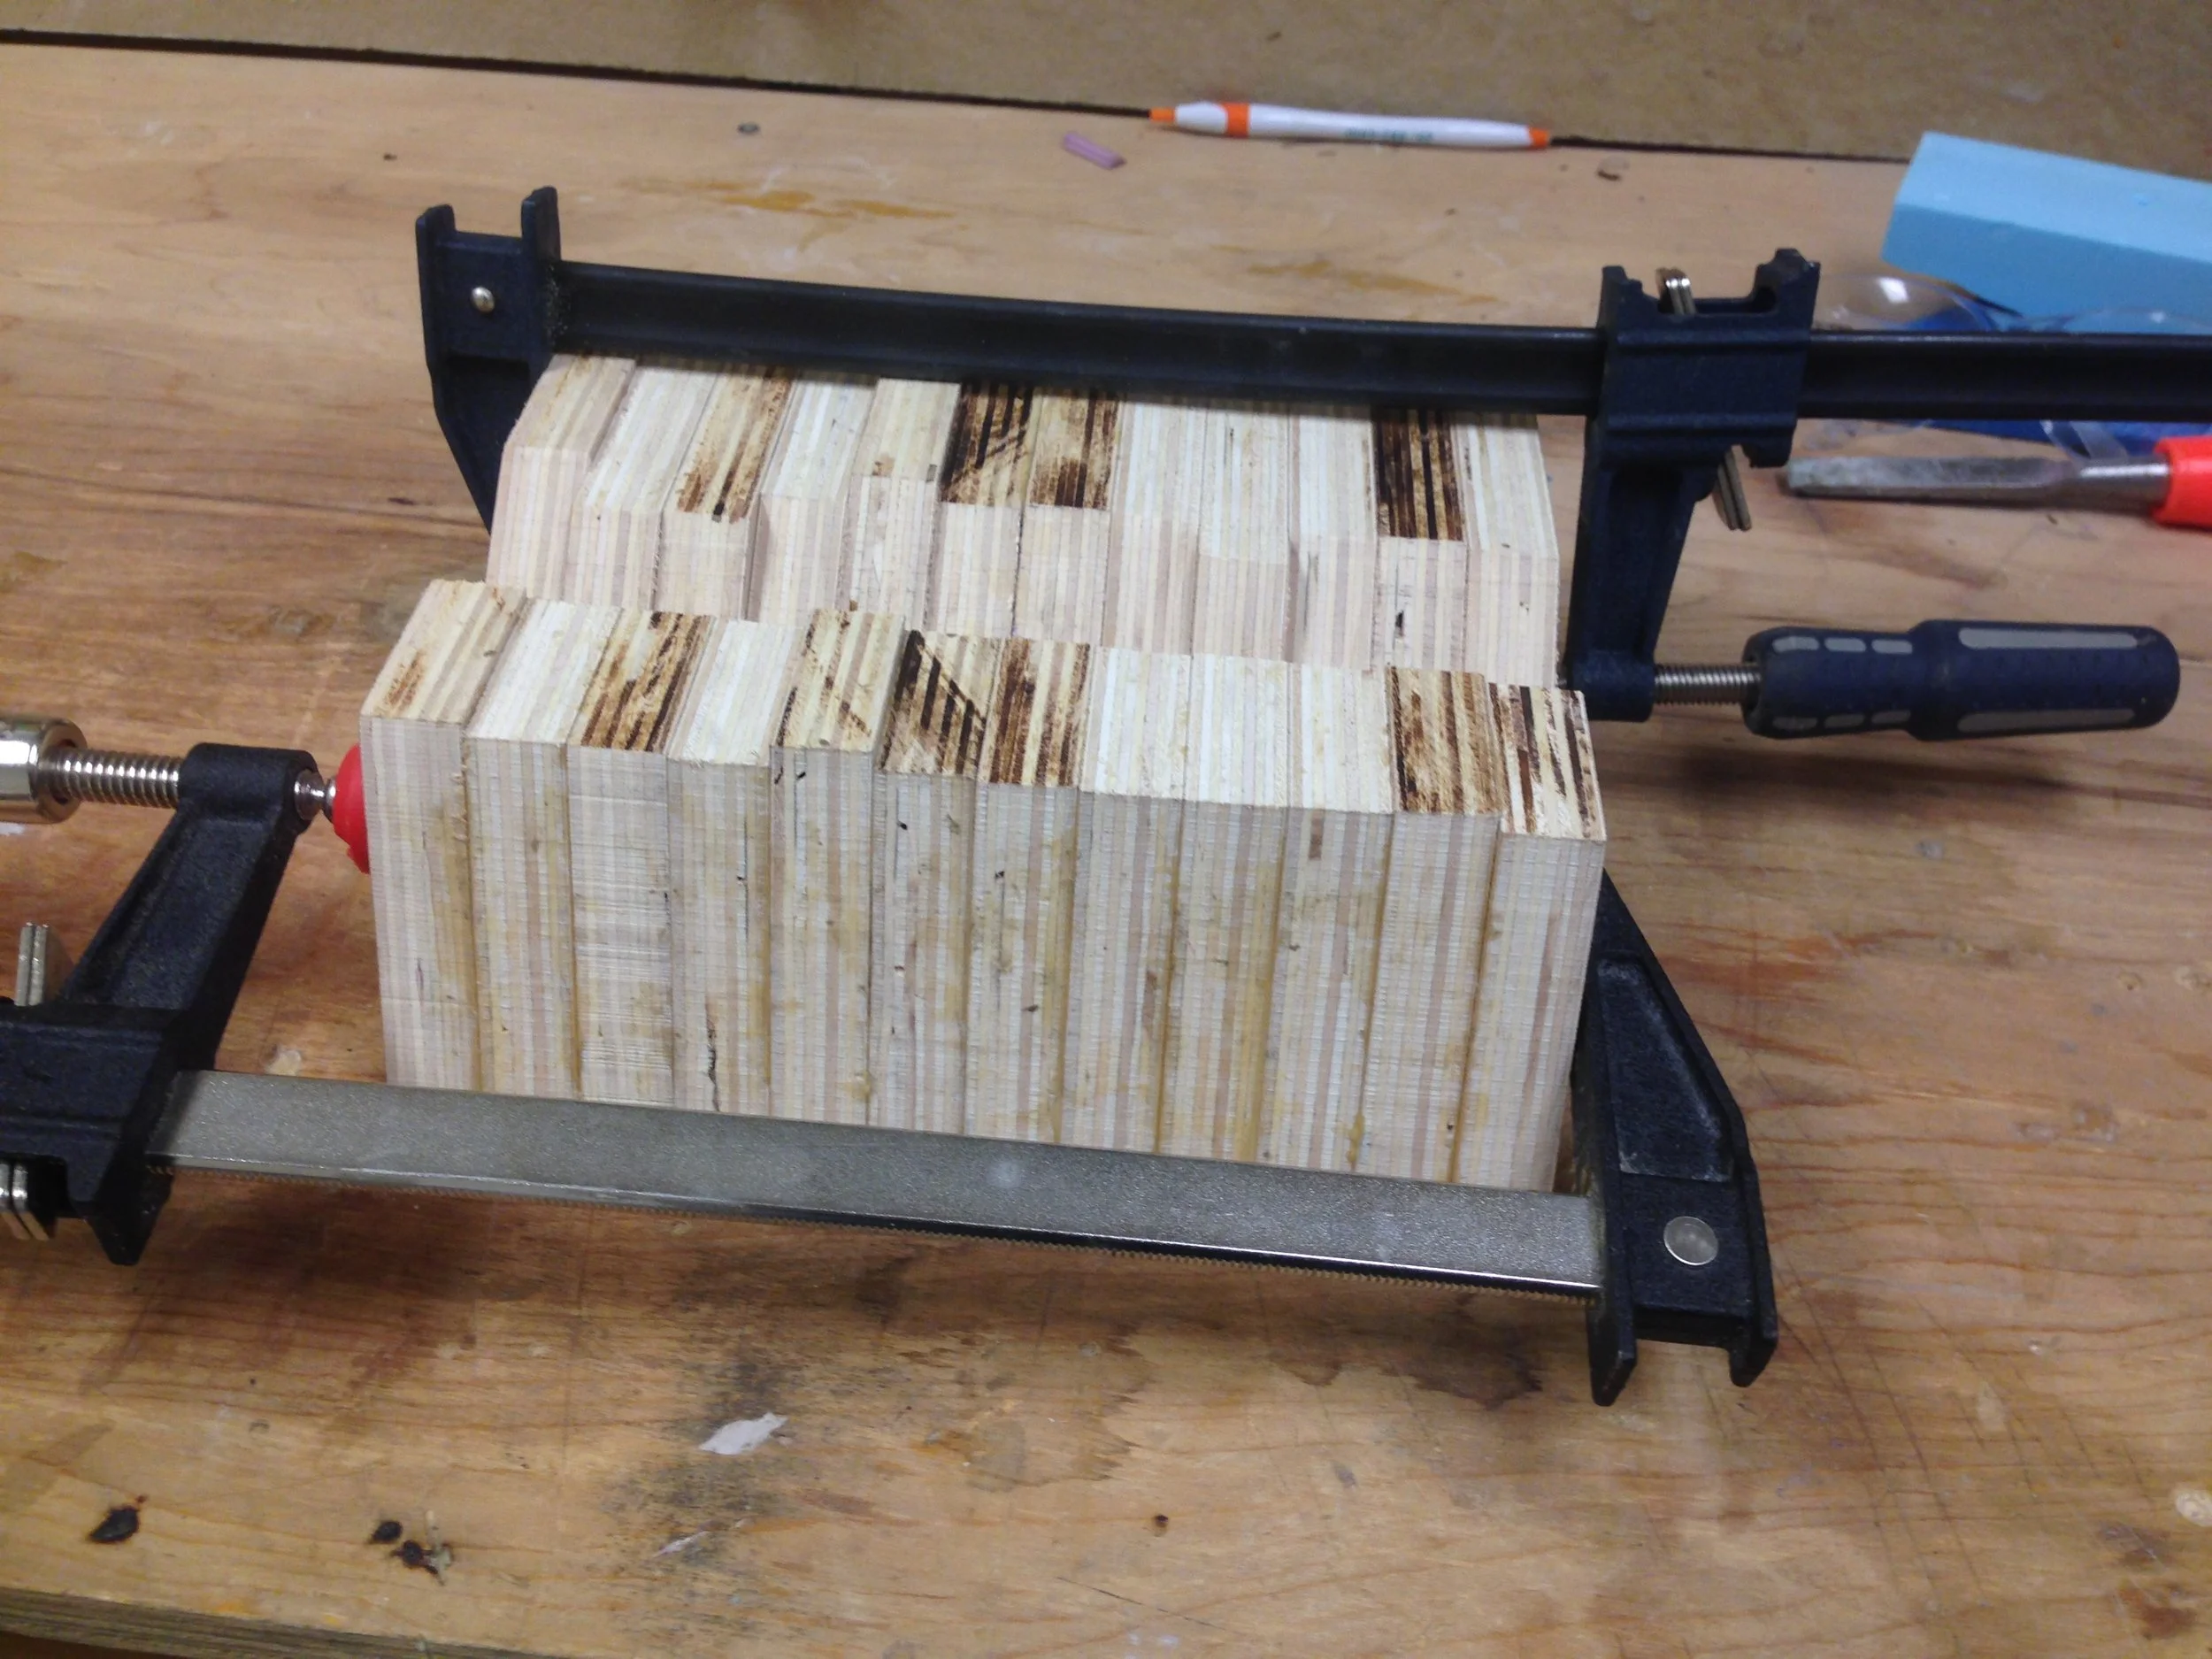
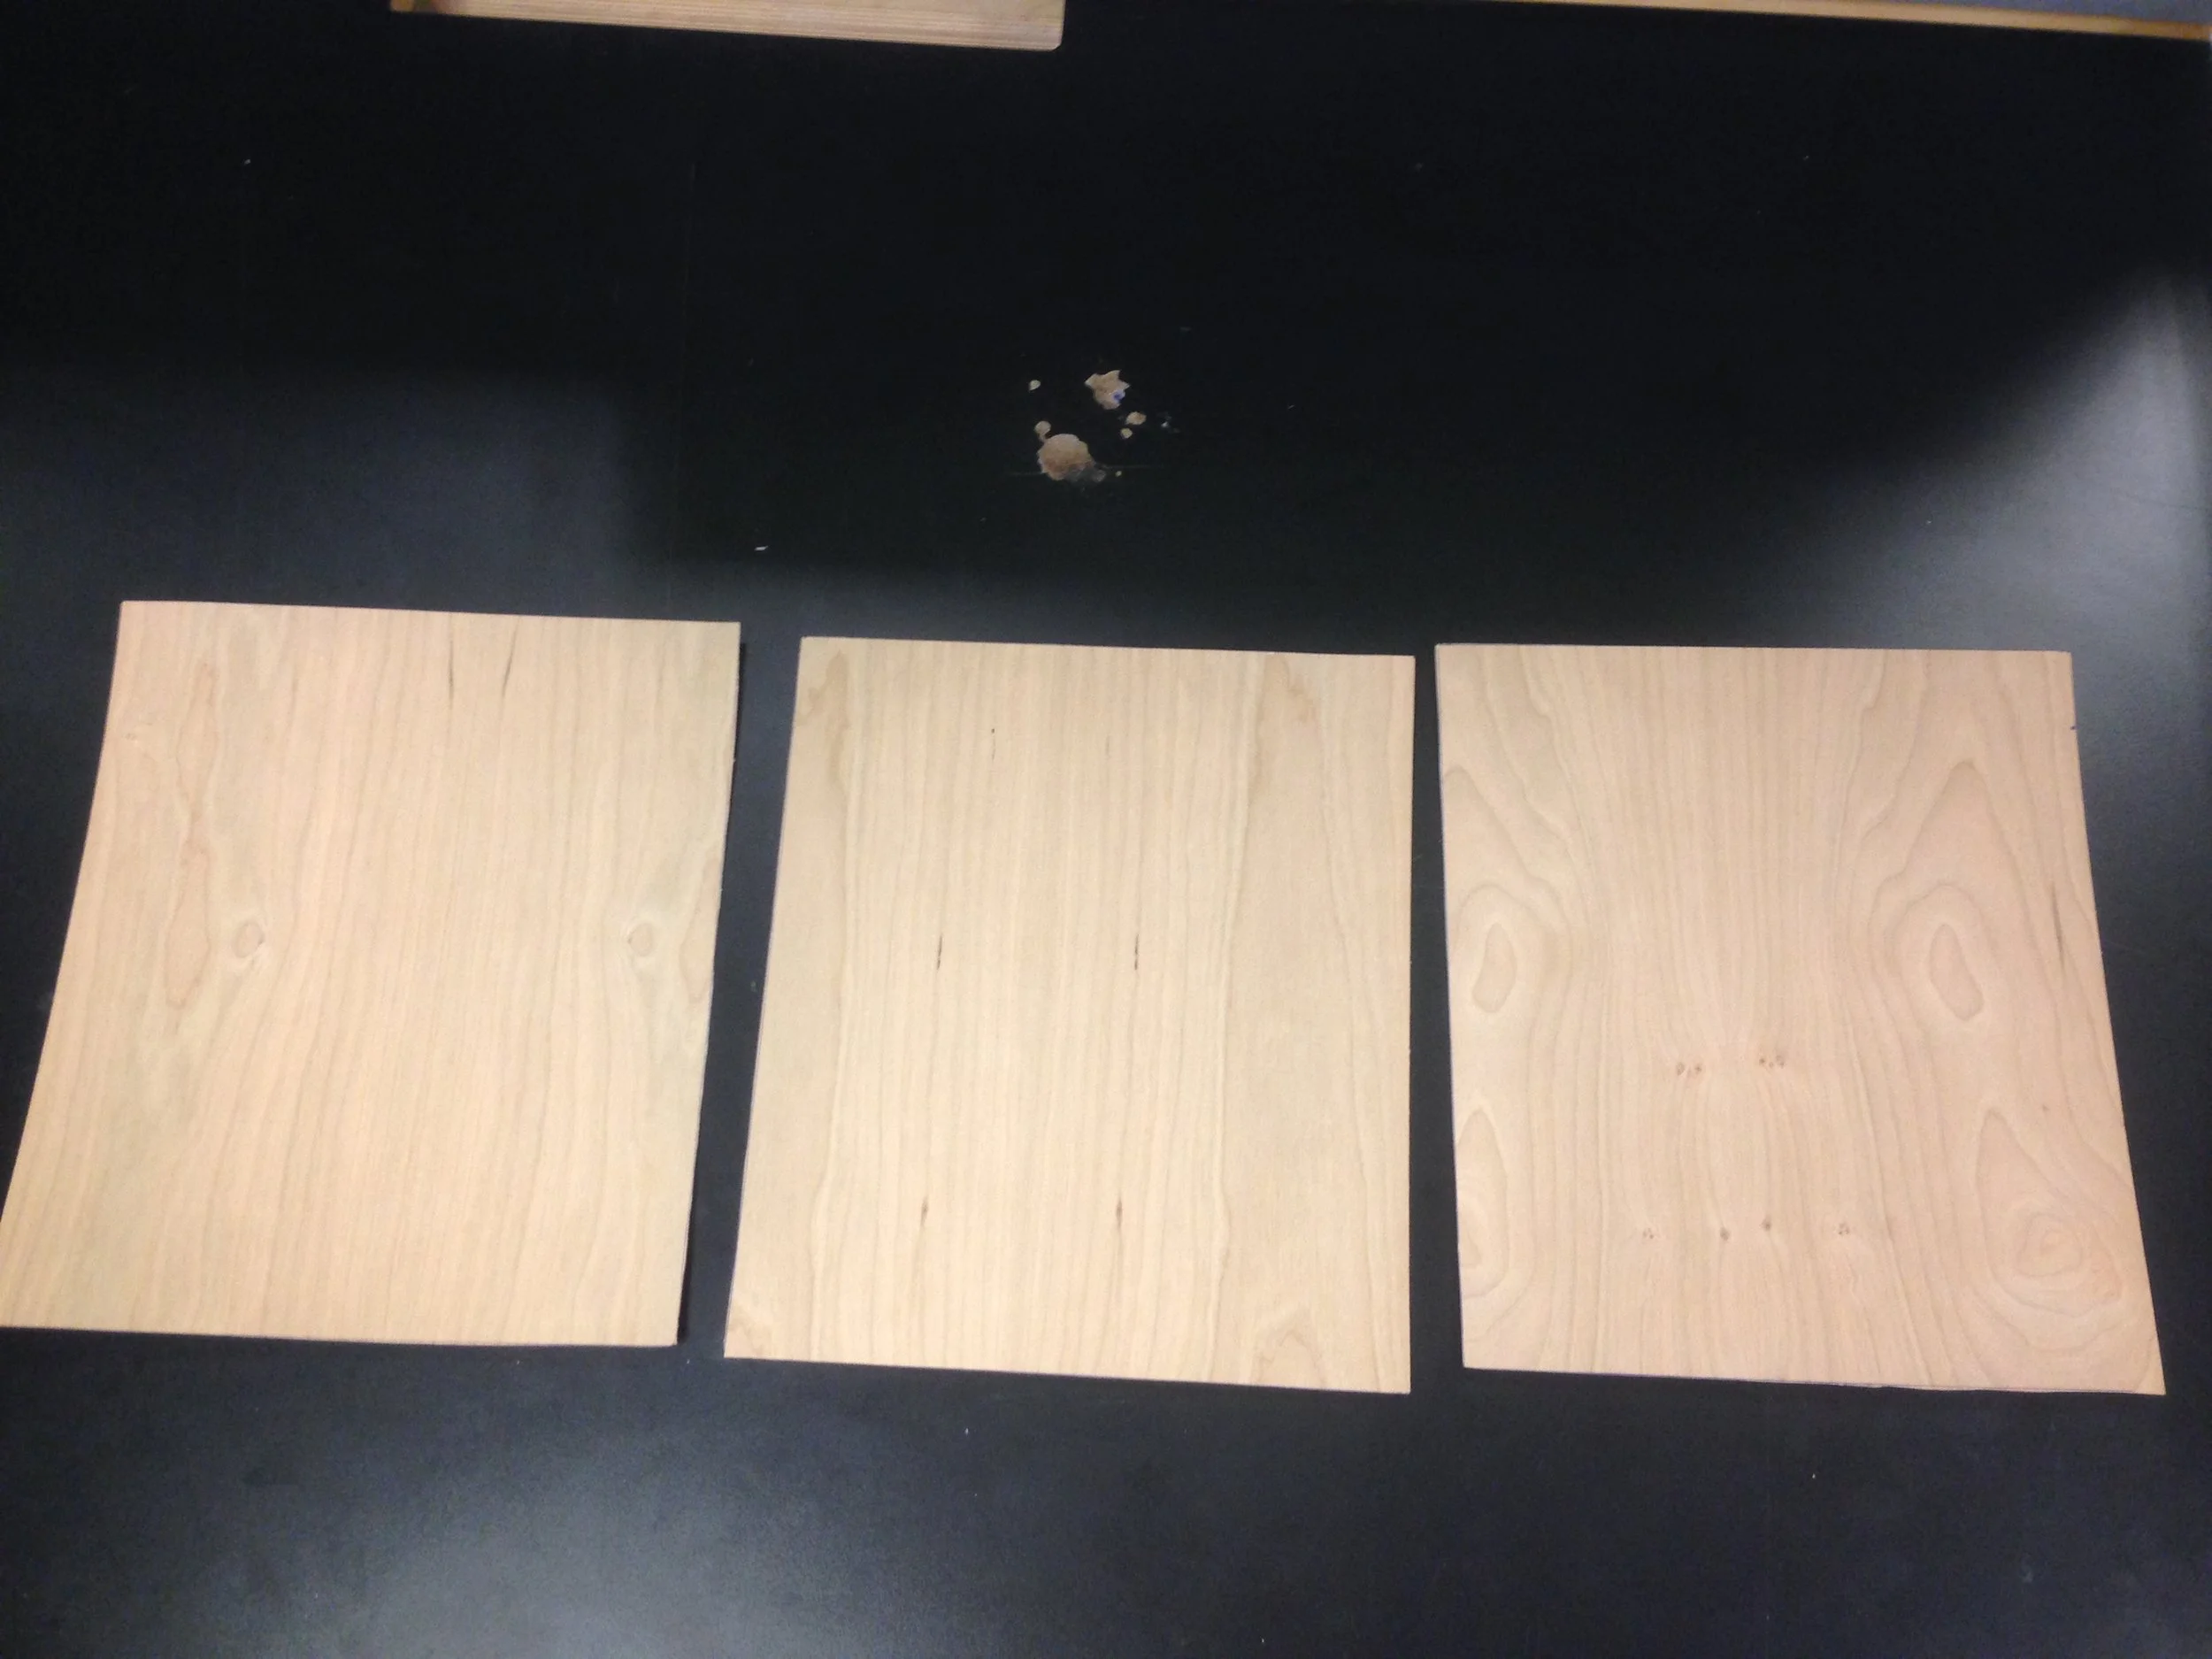
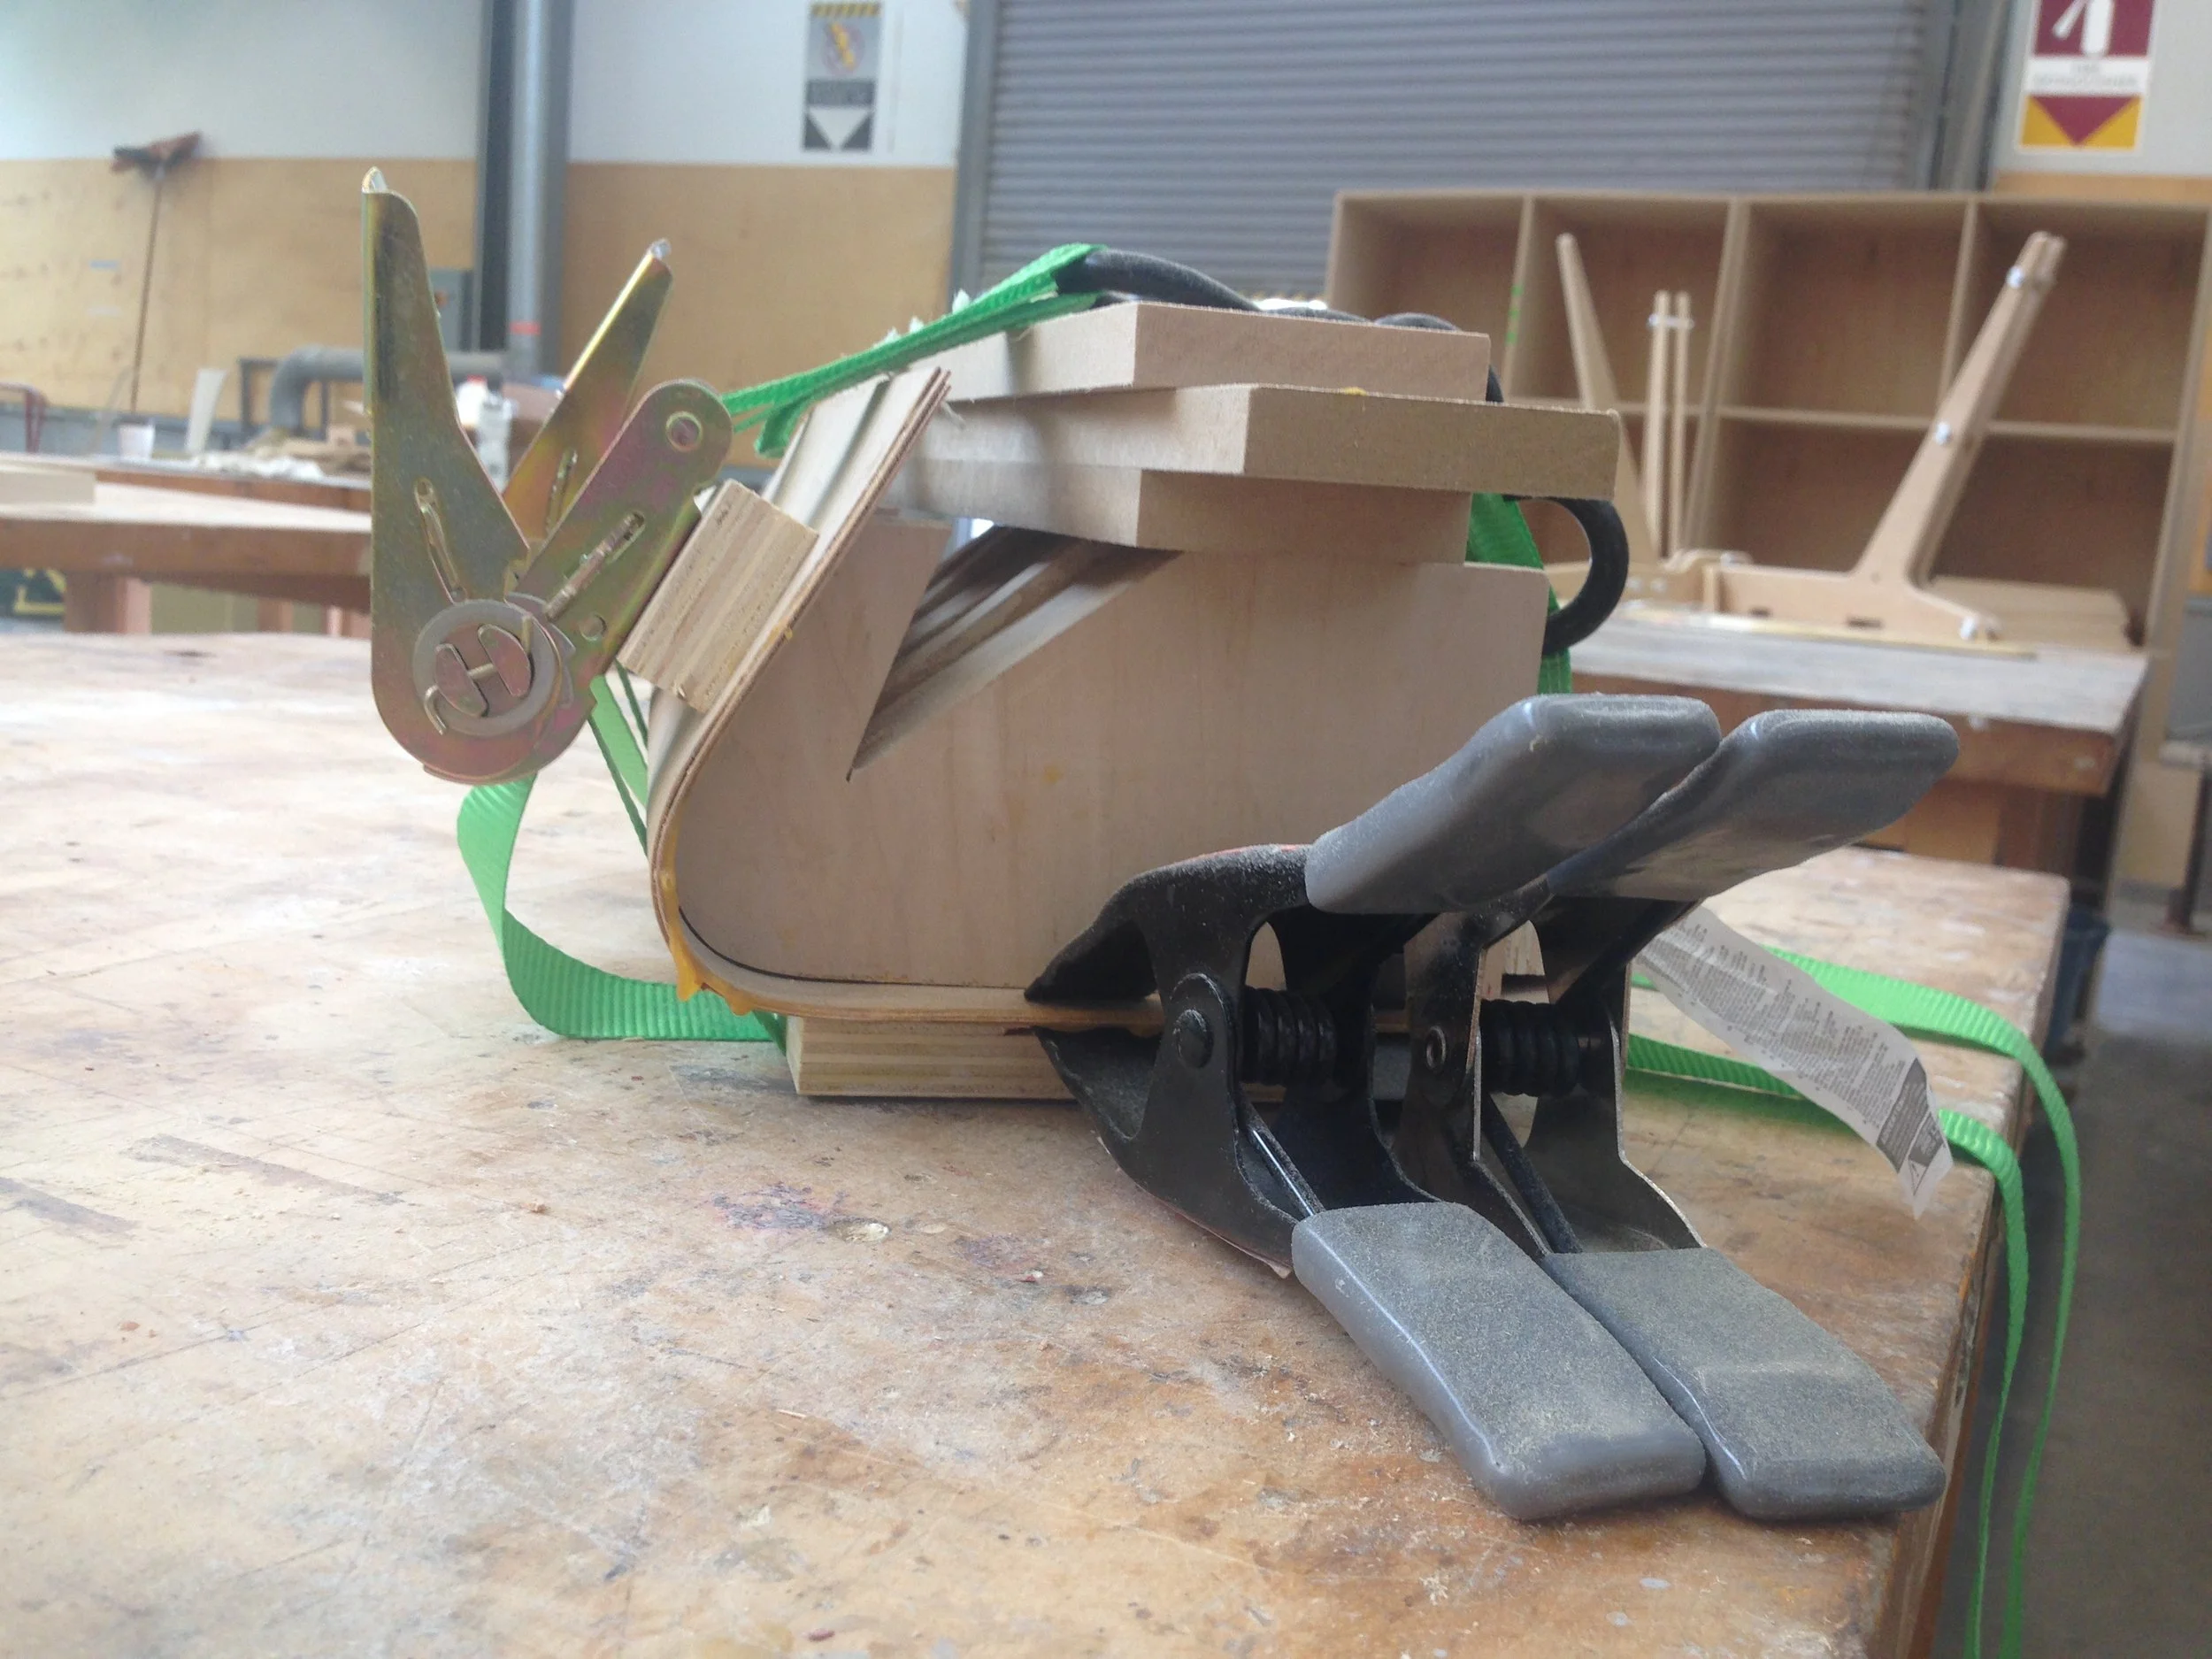
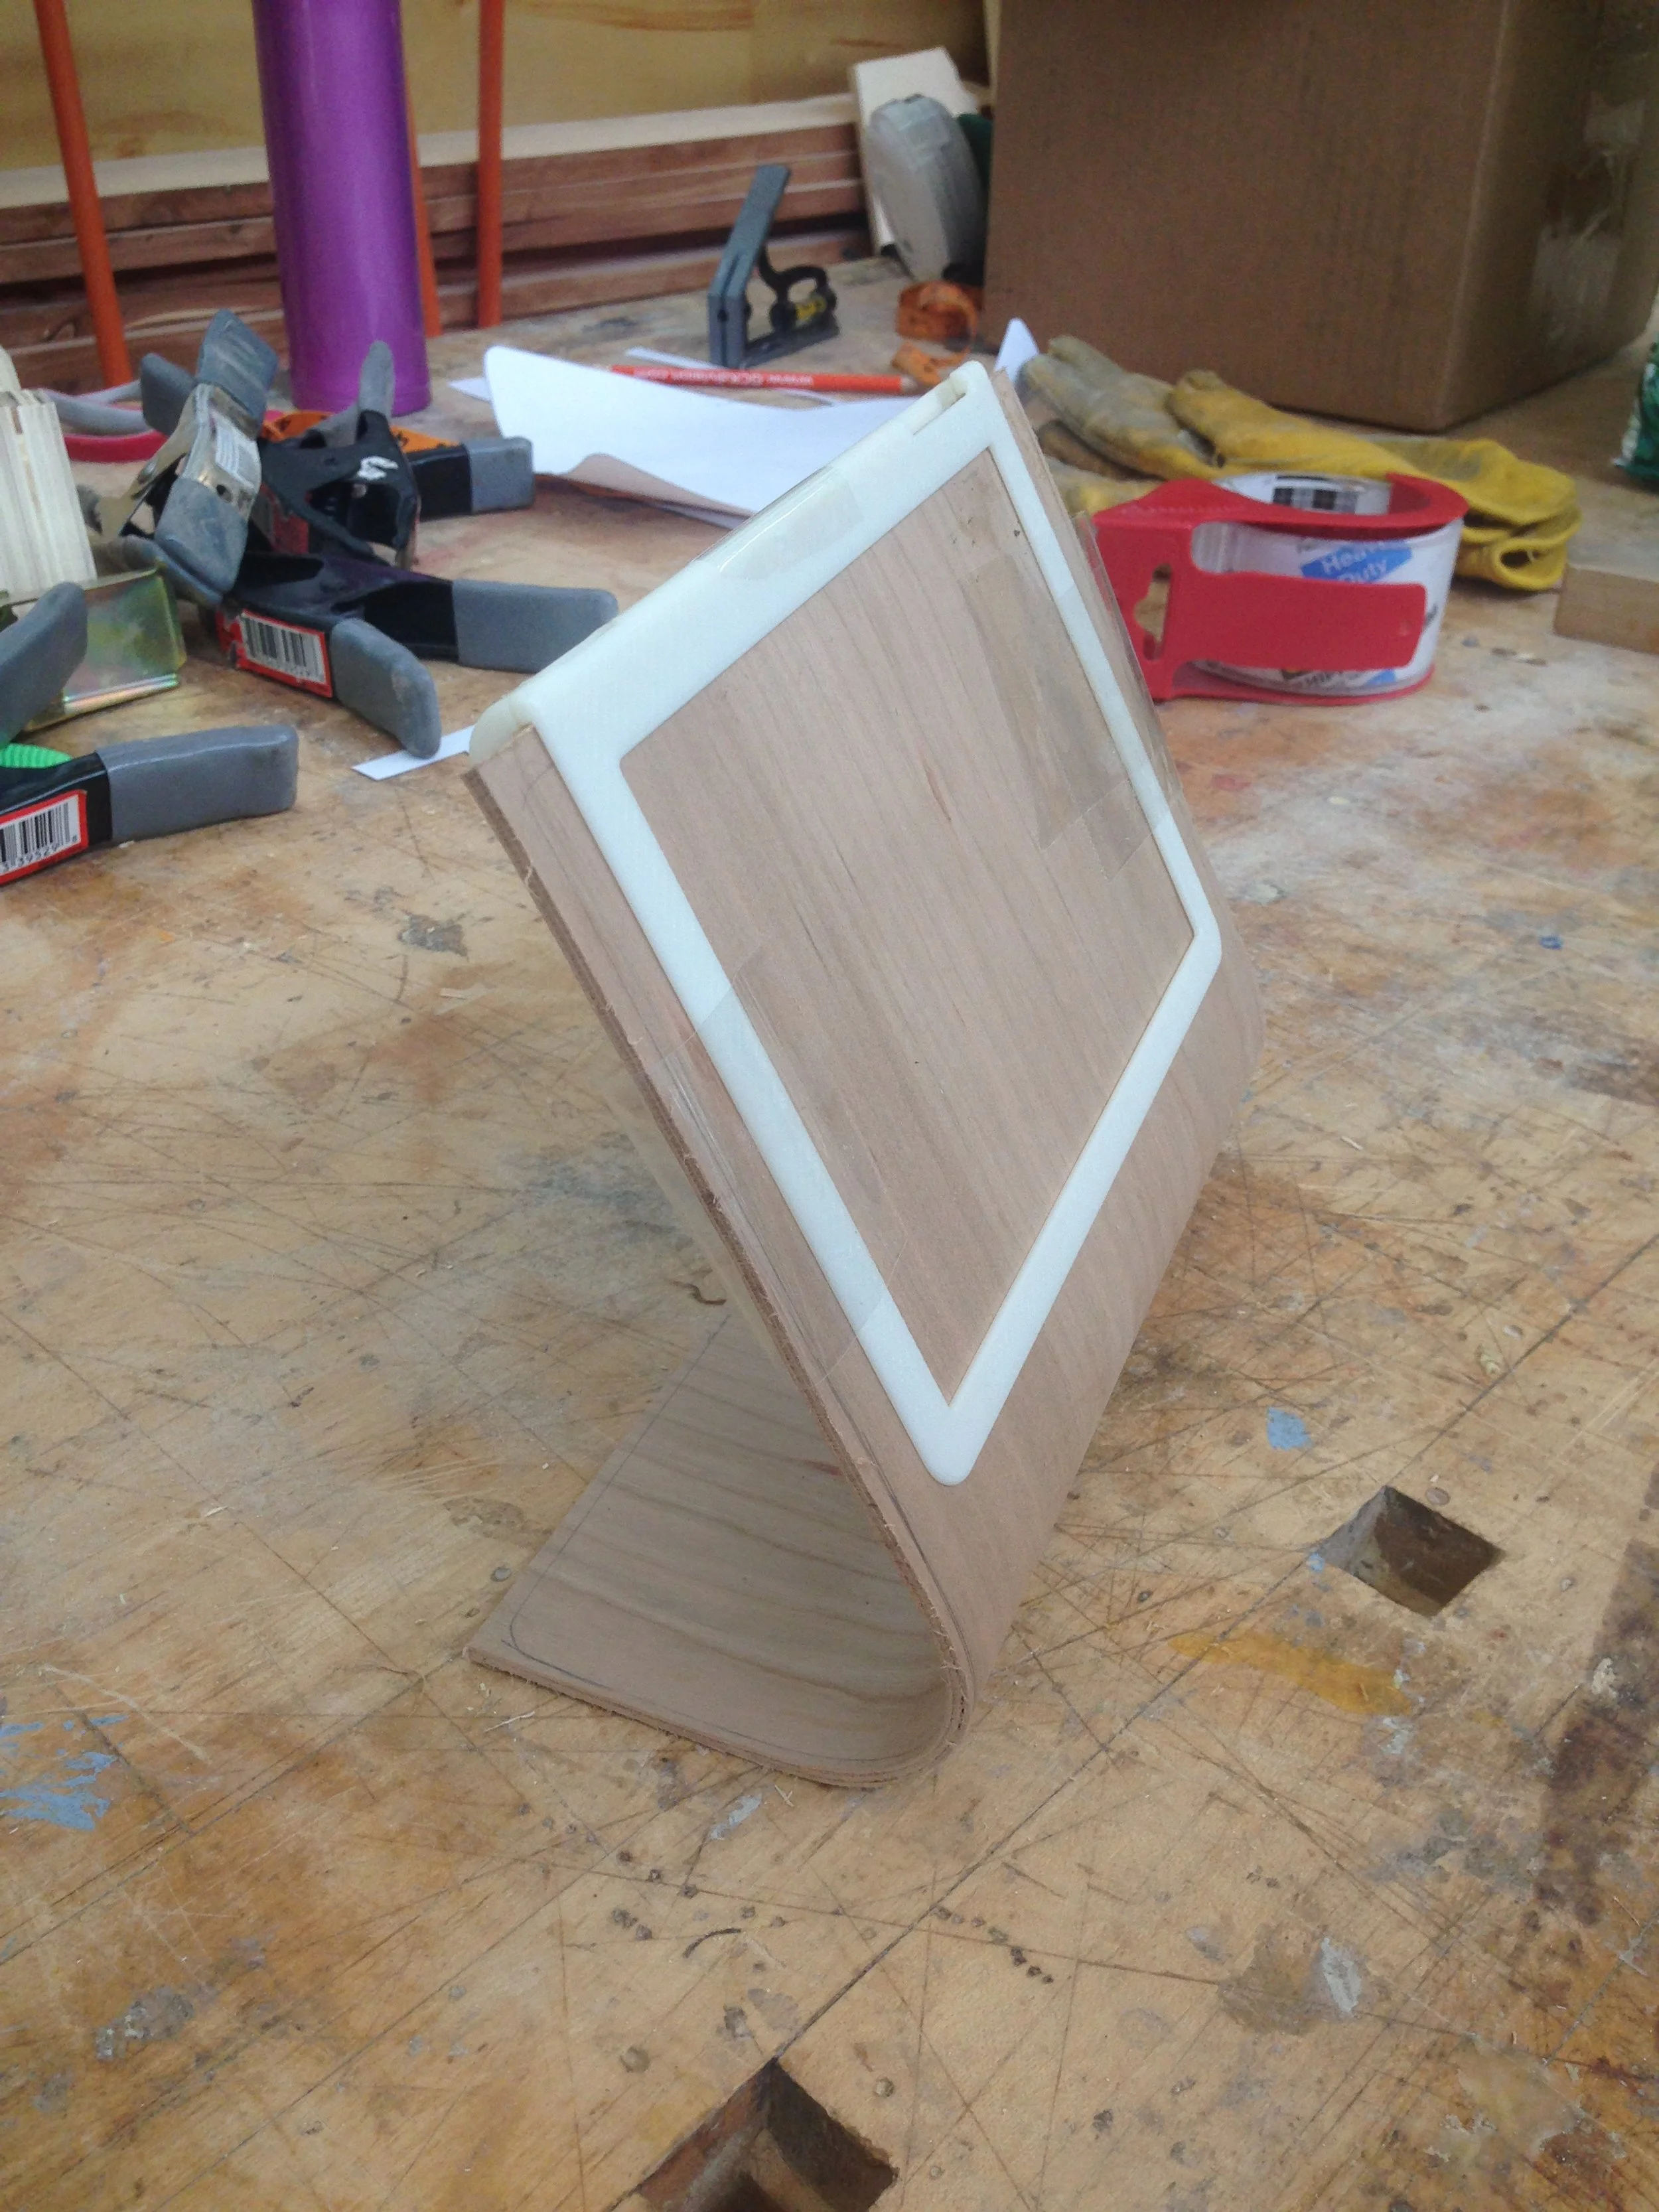
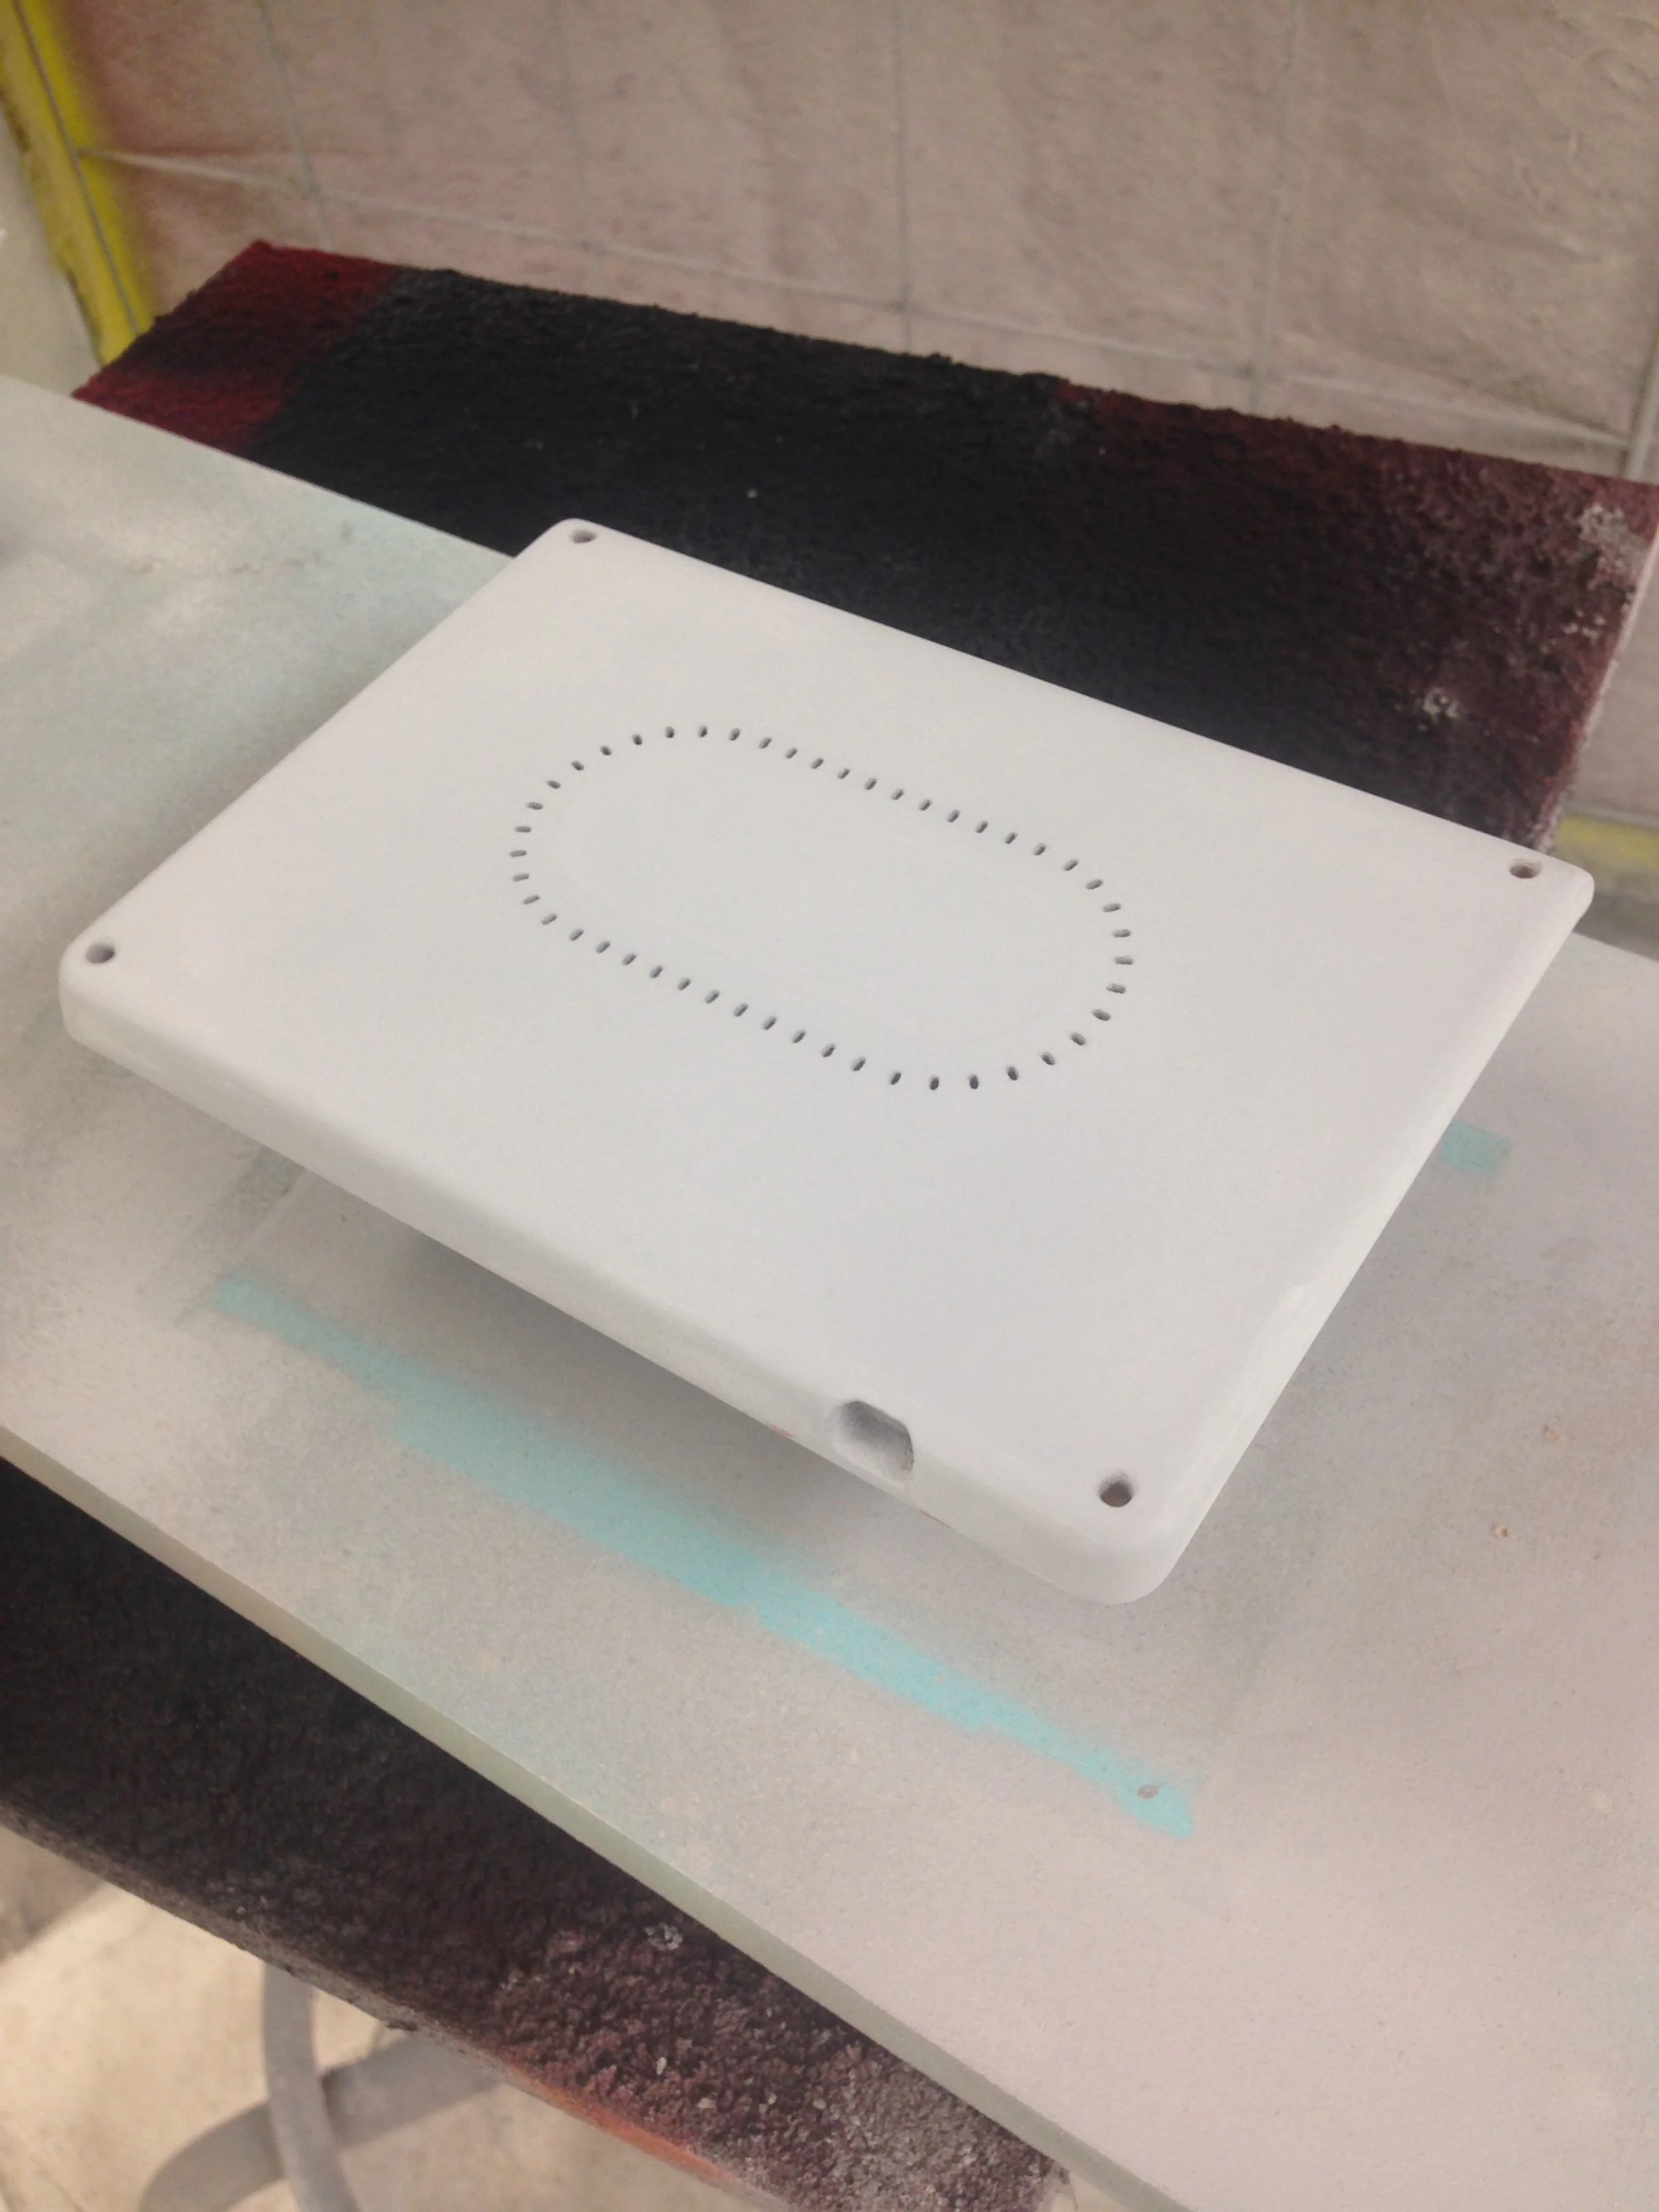
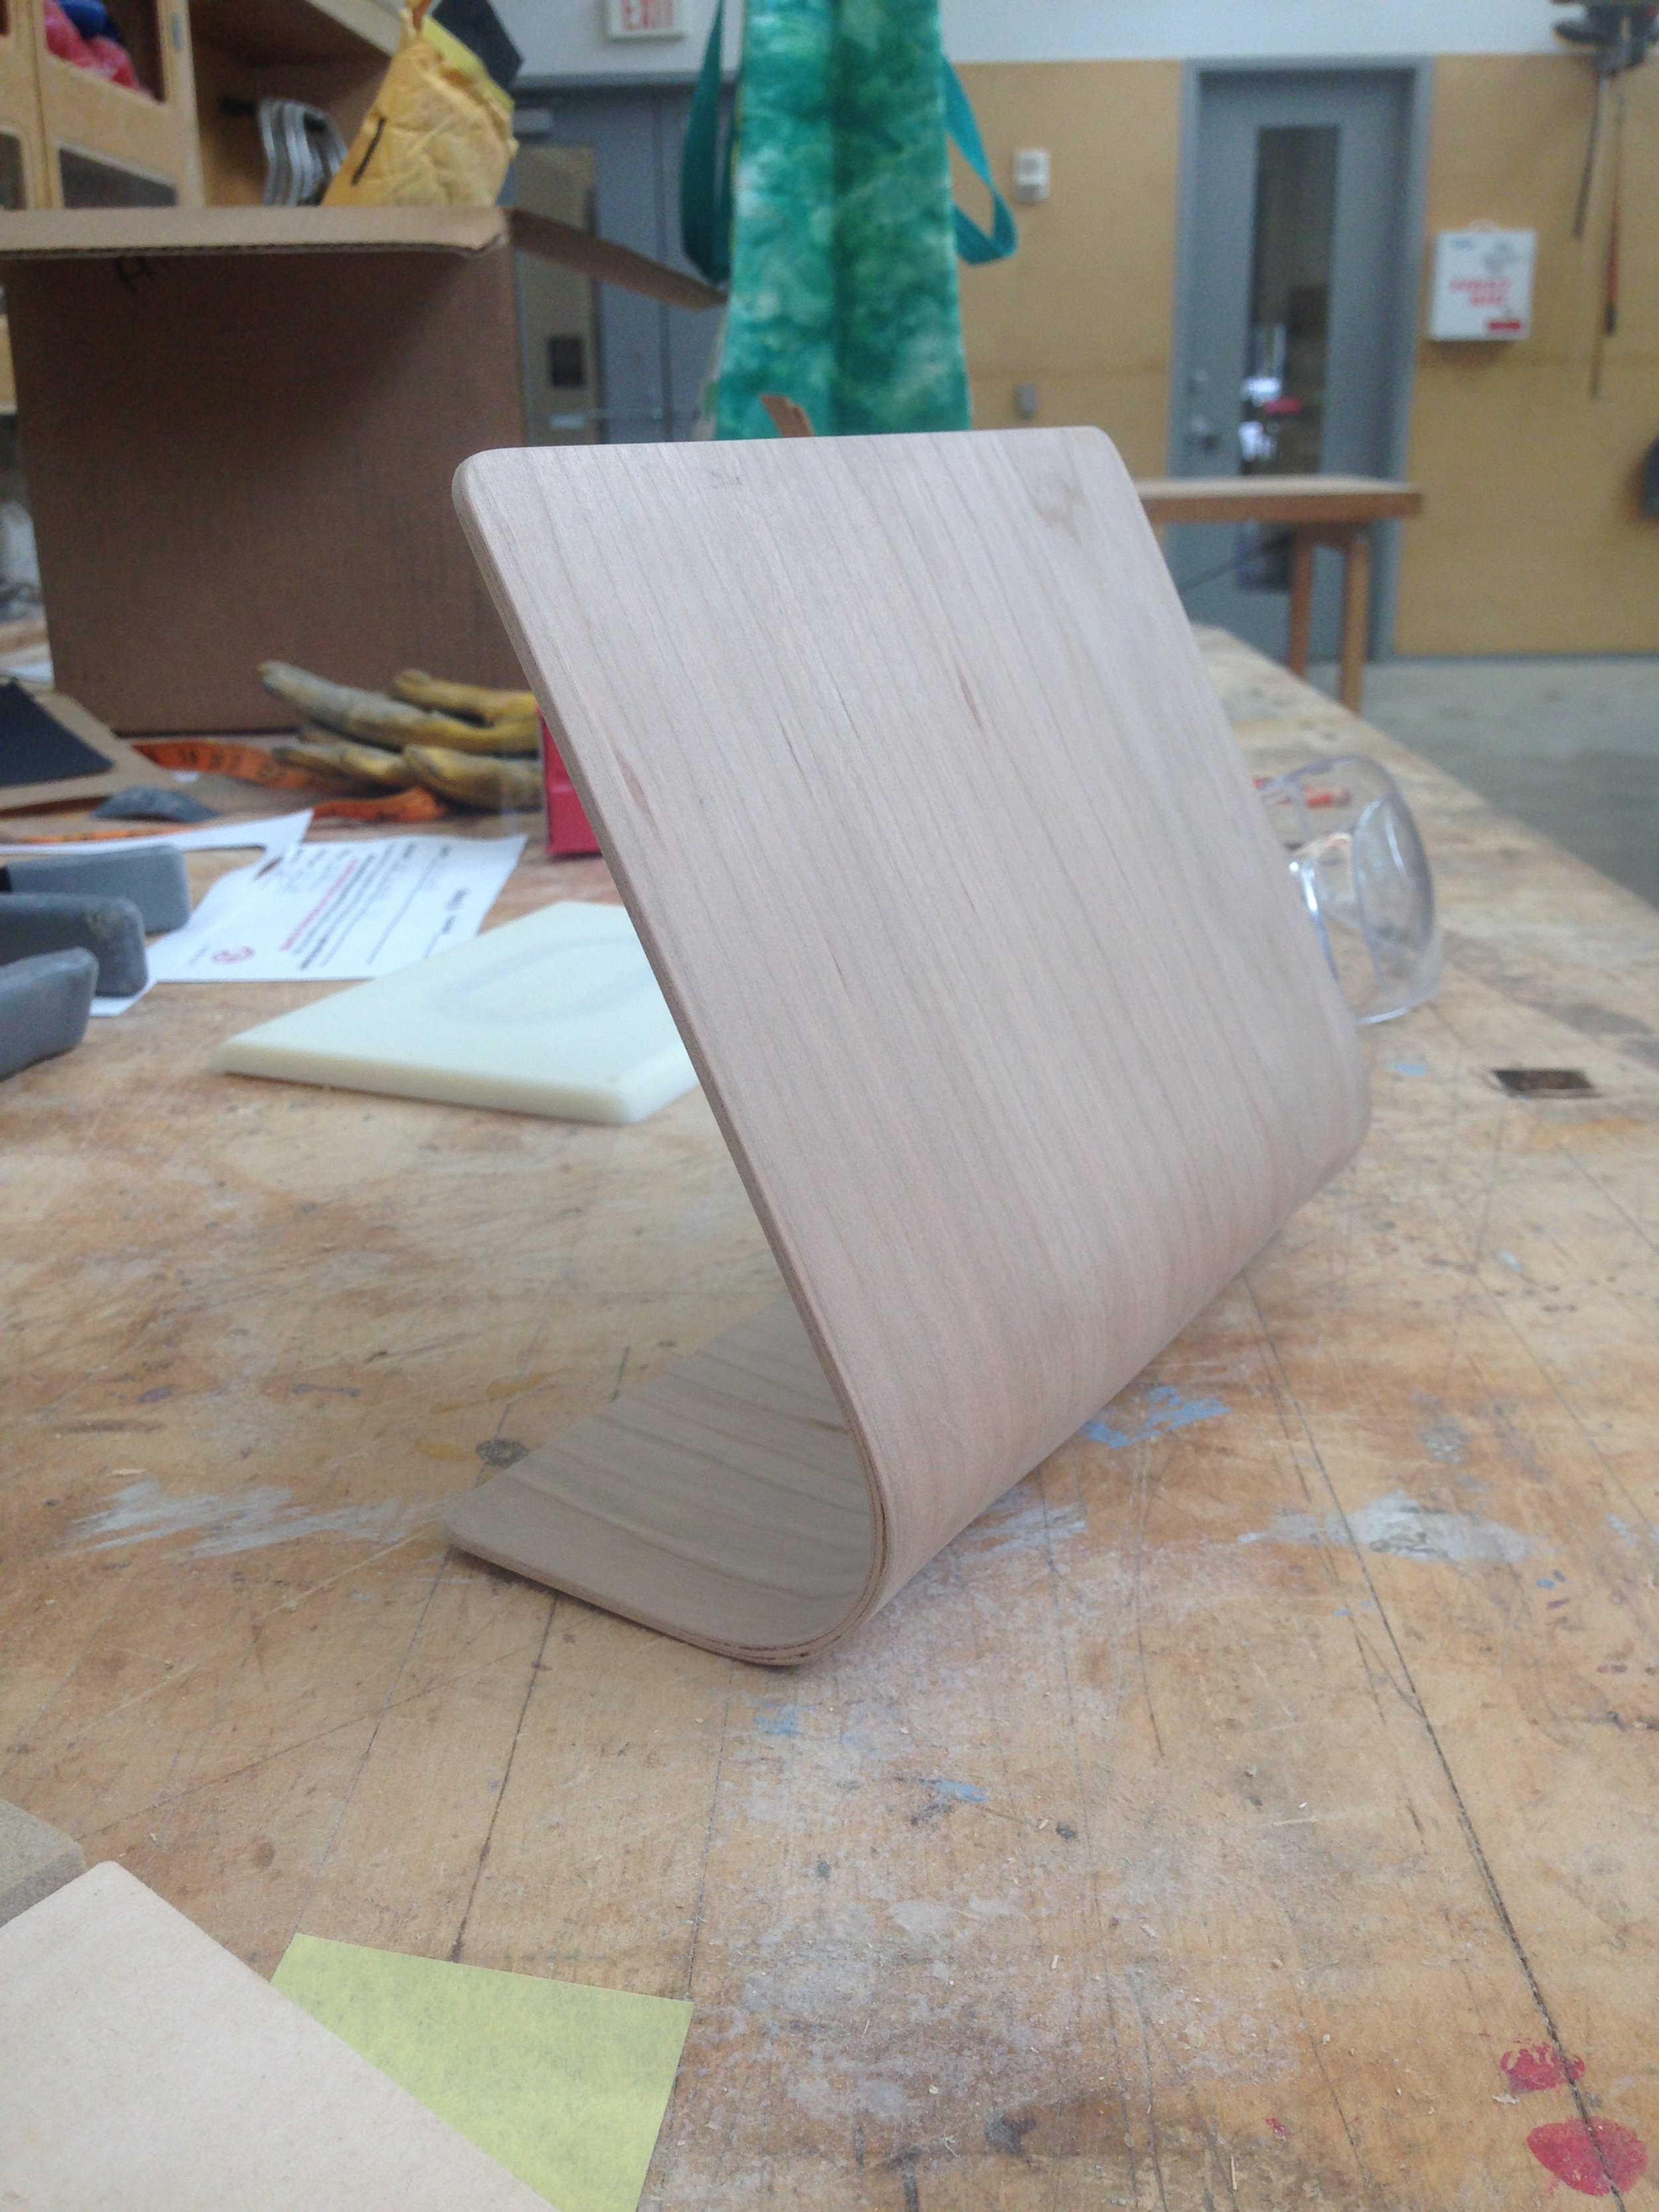
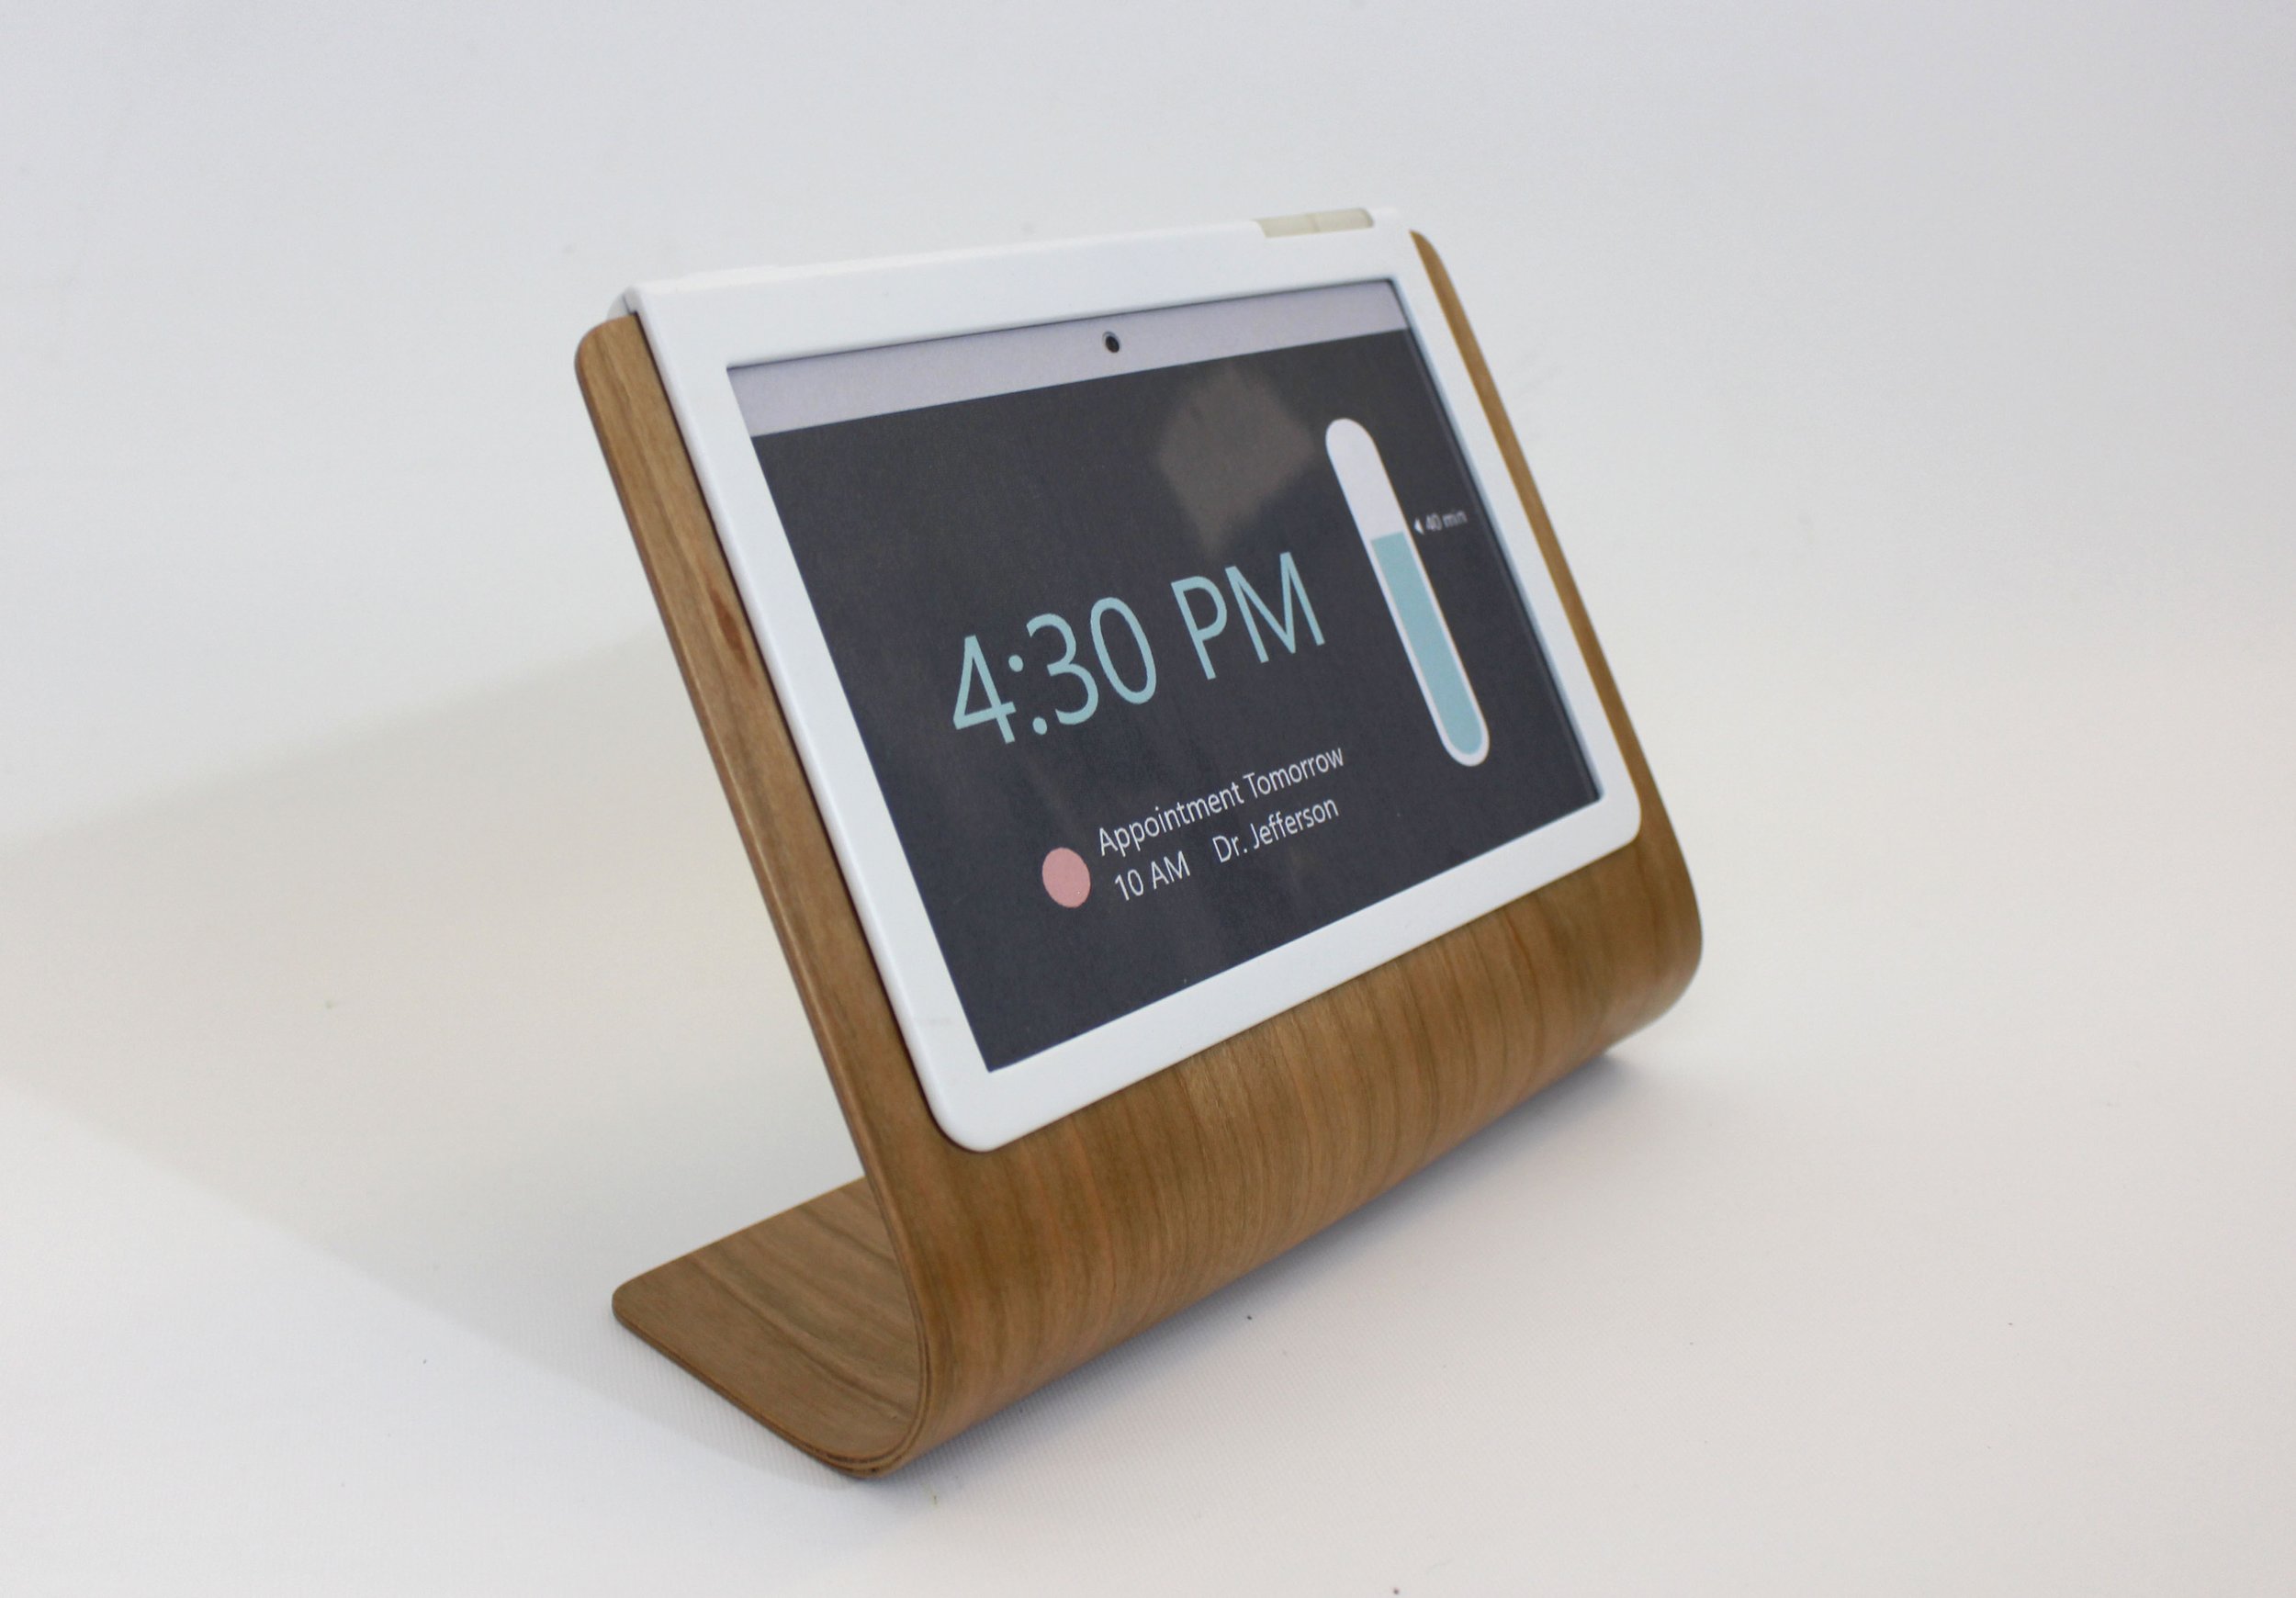
To make this model, I constructed a positive mold out of plywood. I then cut 3 rectangular pieces from a thin sheet of cherry wood, applied wood glue between them, and fastened them around the mold with straps and clamps. After letting it dry for 24 hours, I cut of the excess wood with a band saw, sanded the edges, and rounded the corners. I 3D printed the plastic parts in ABS and finished the 3D prints with filler primer and paint.


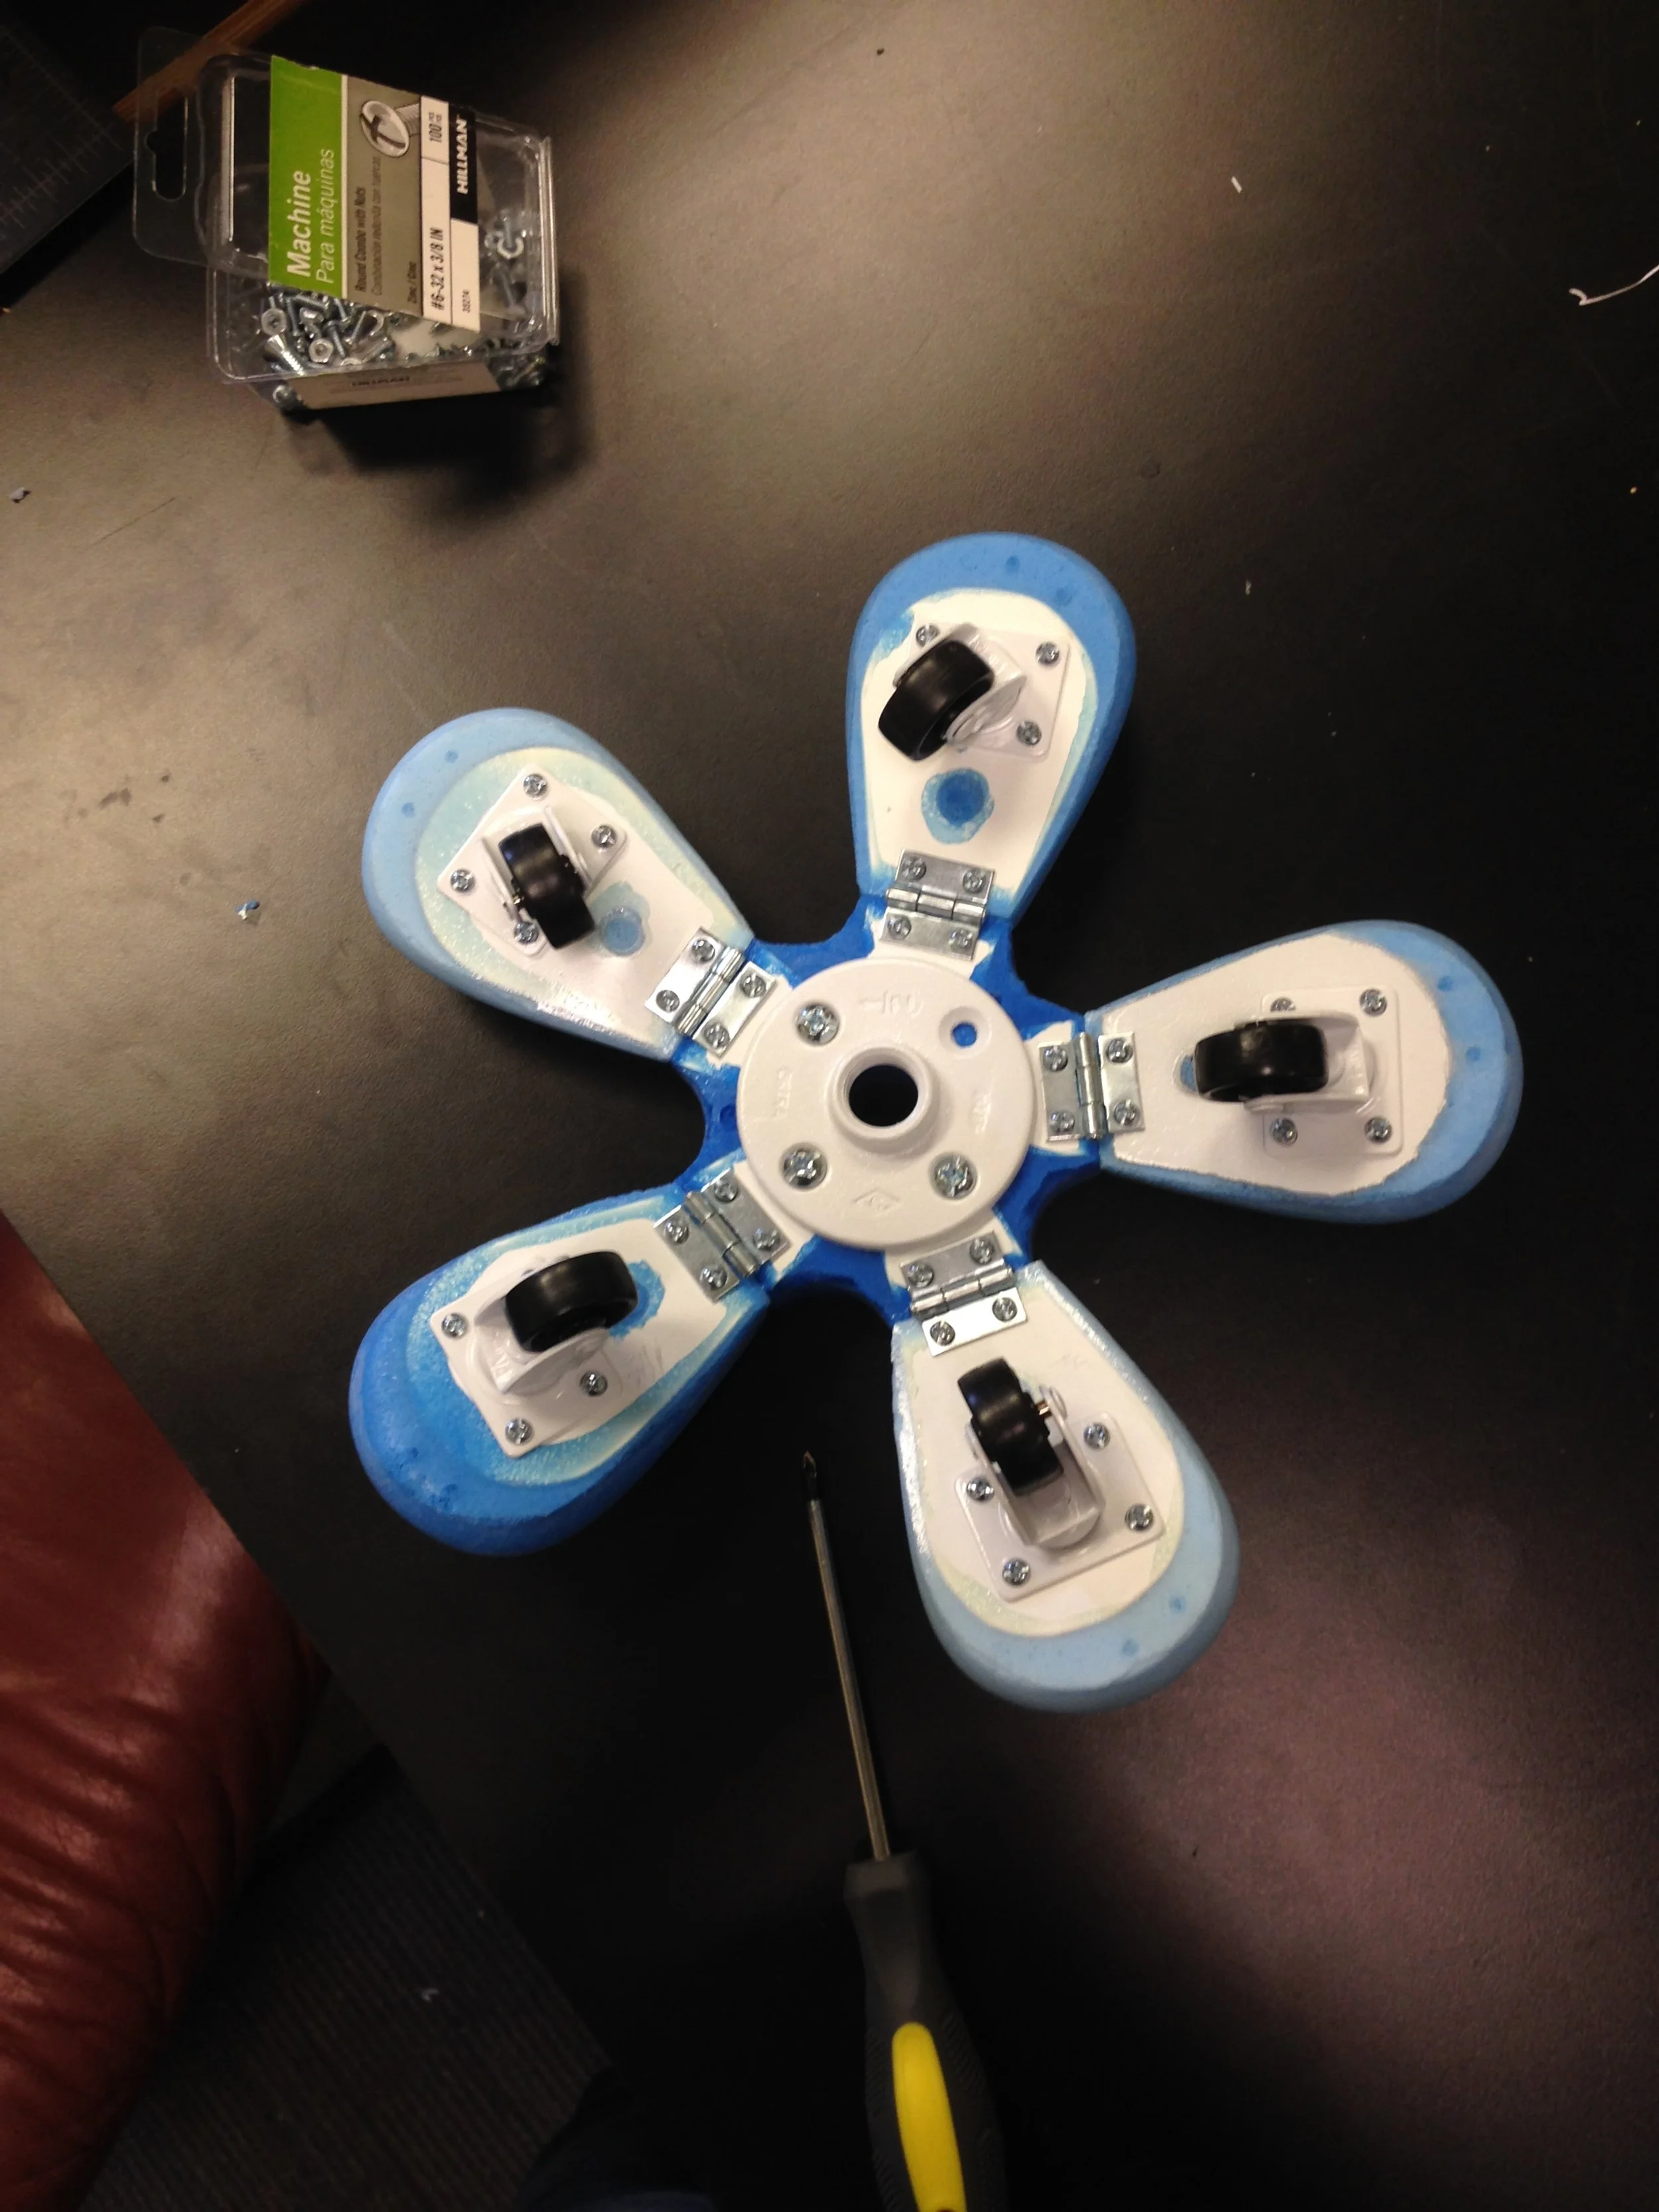
IV pole base made with molded expanding foam
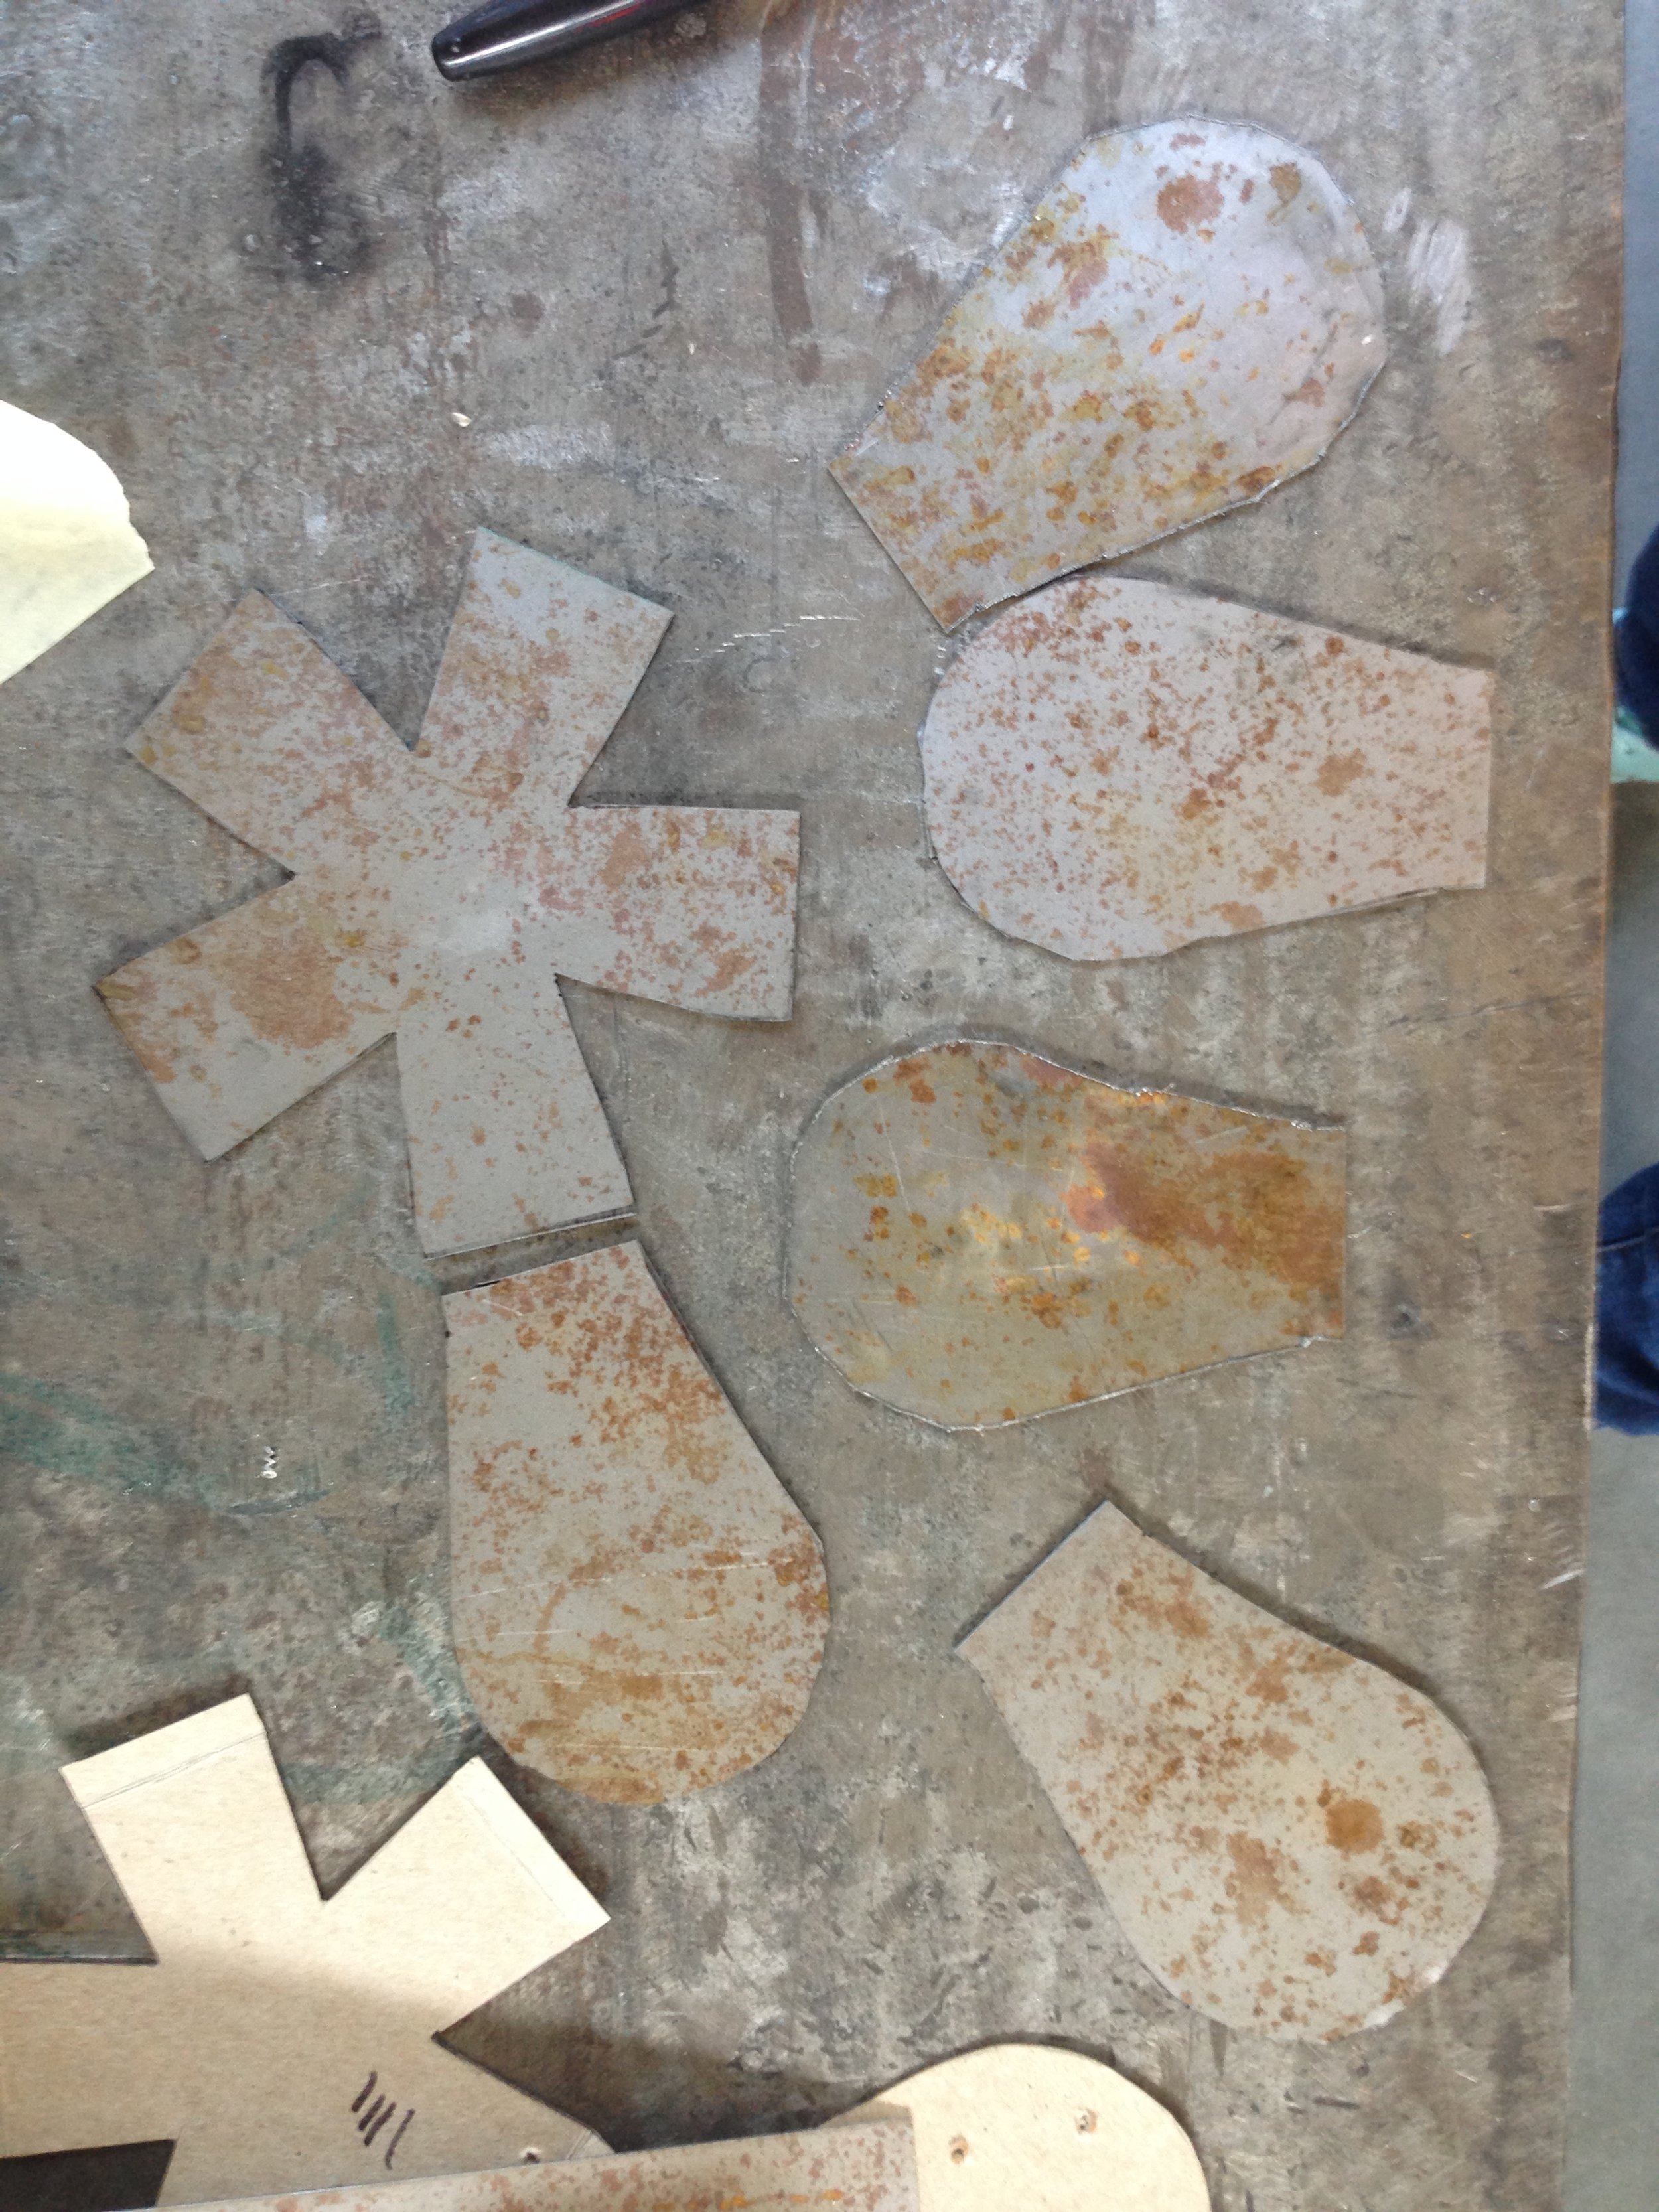
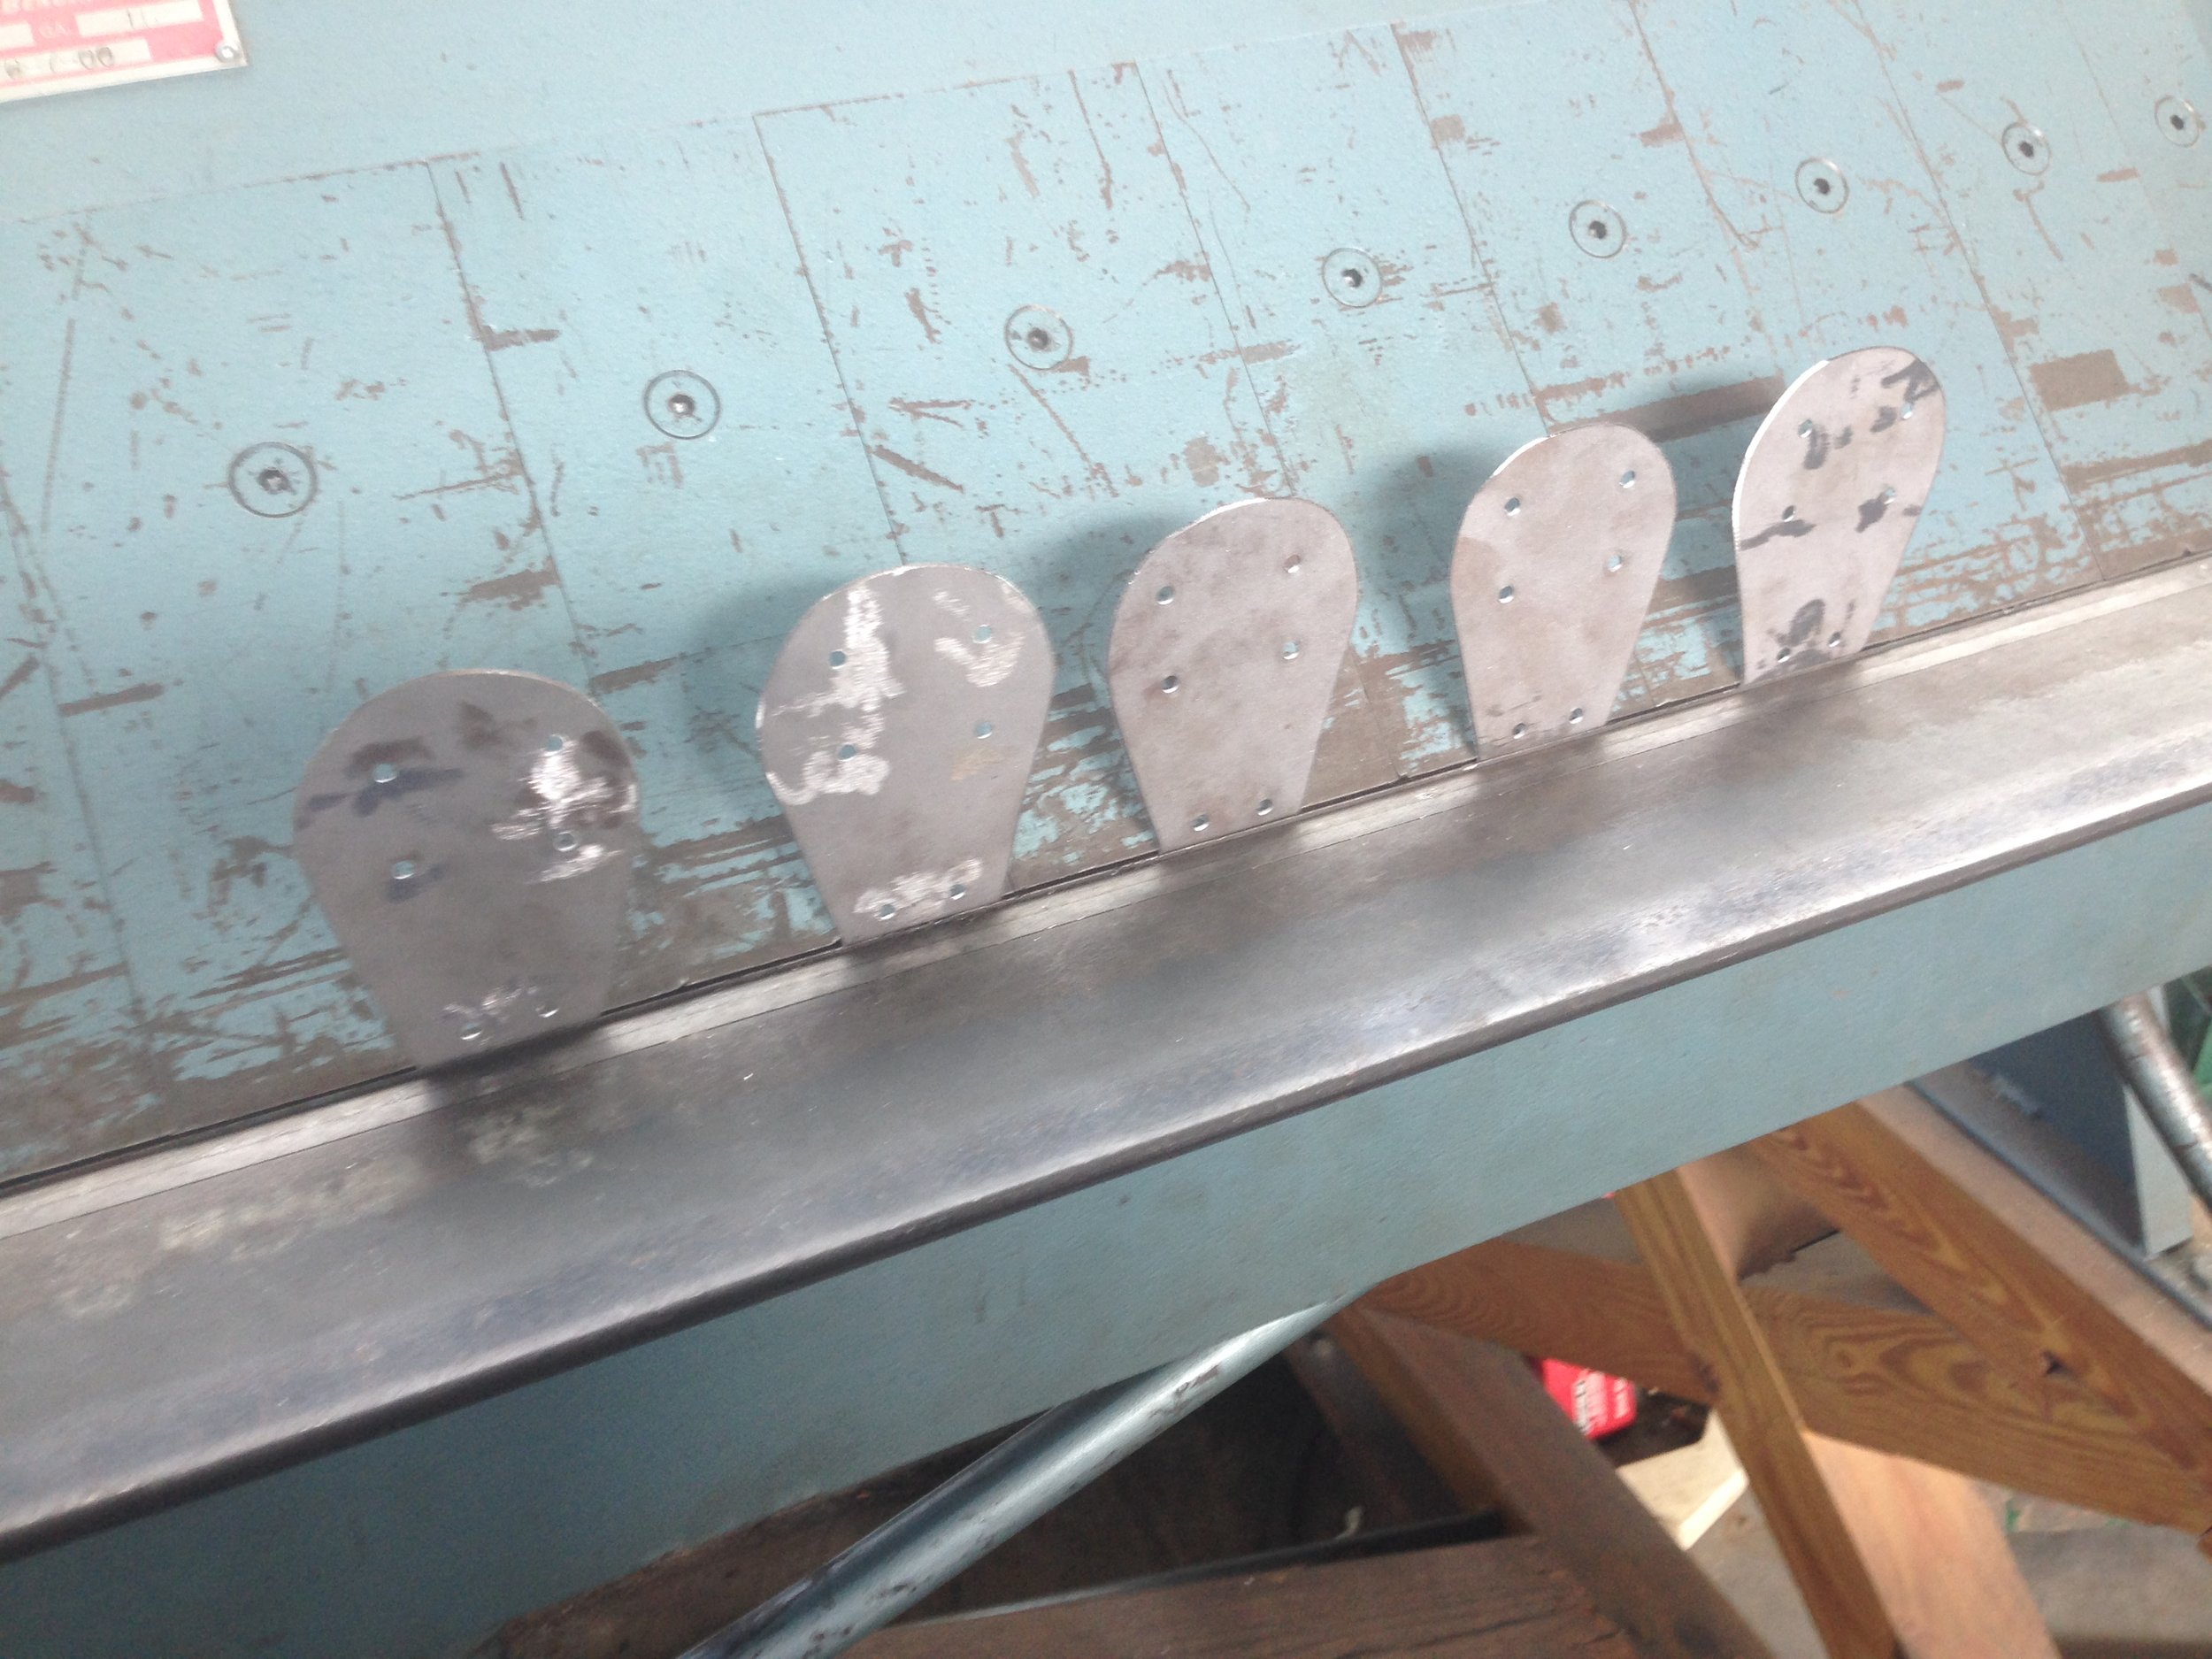
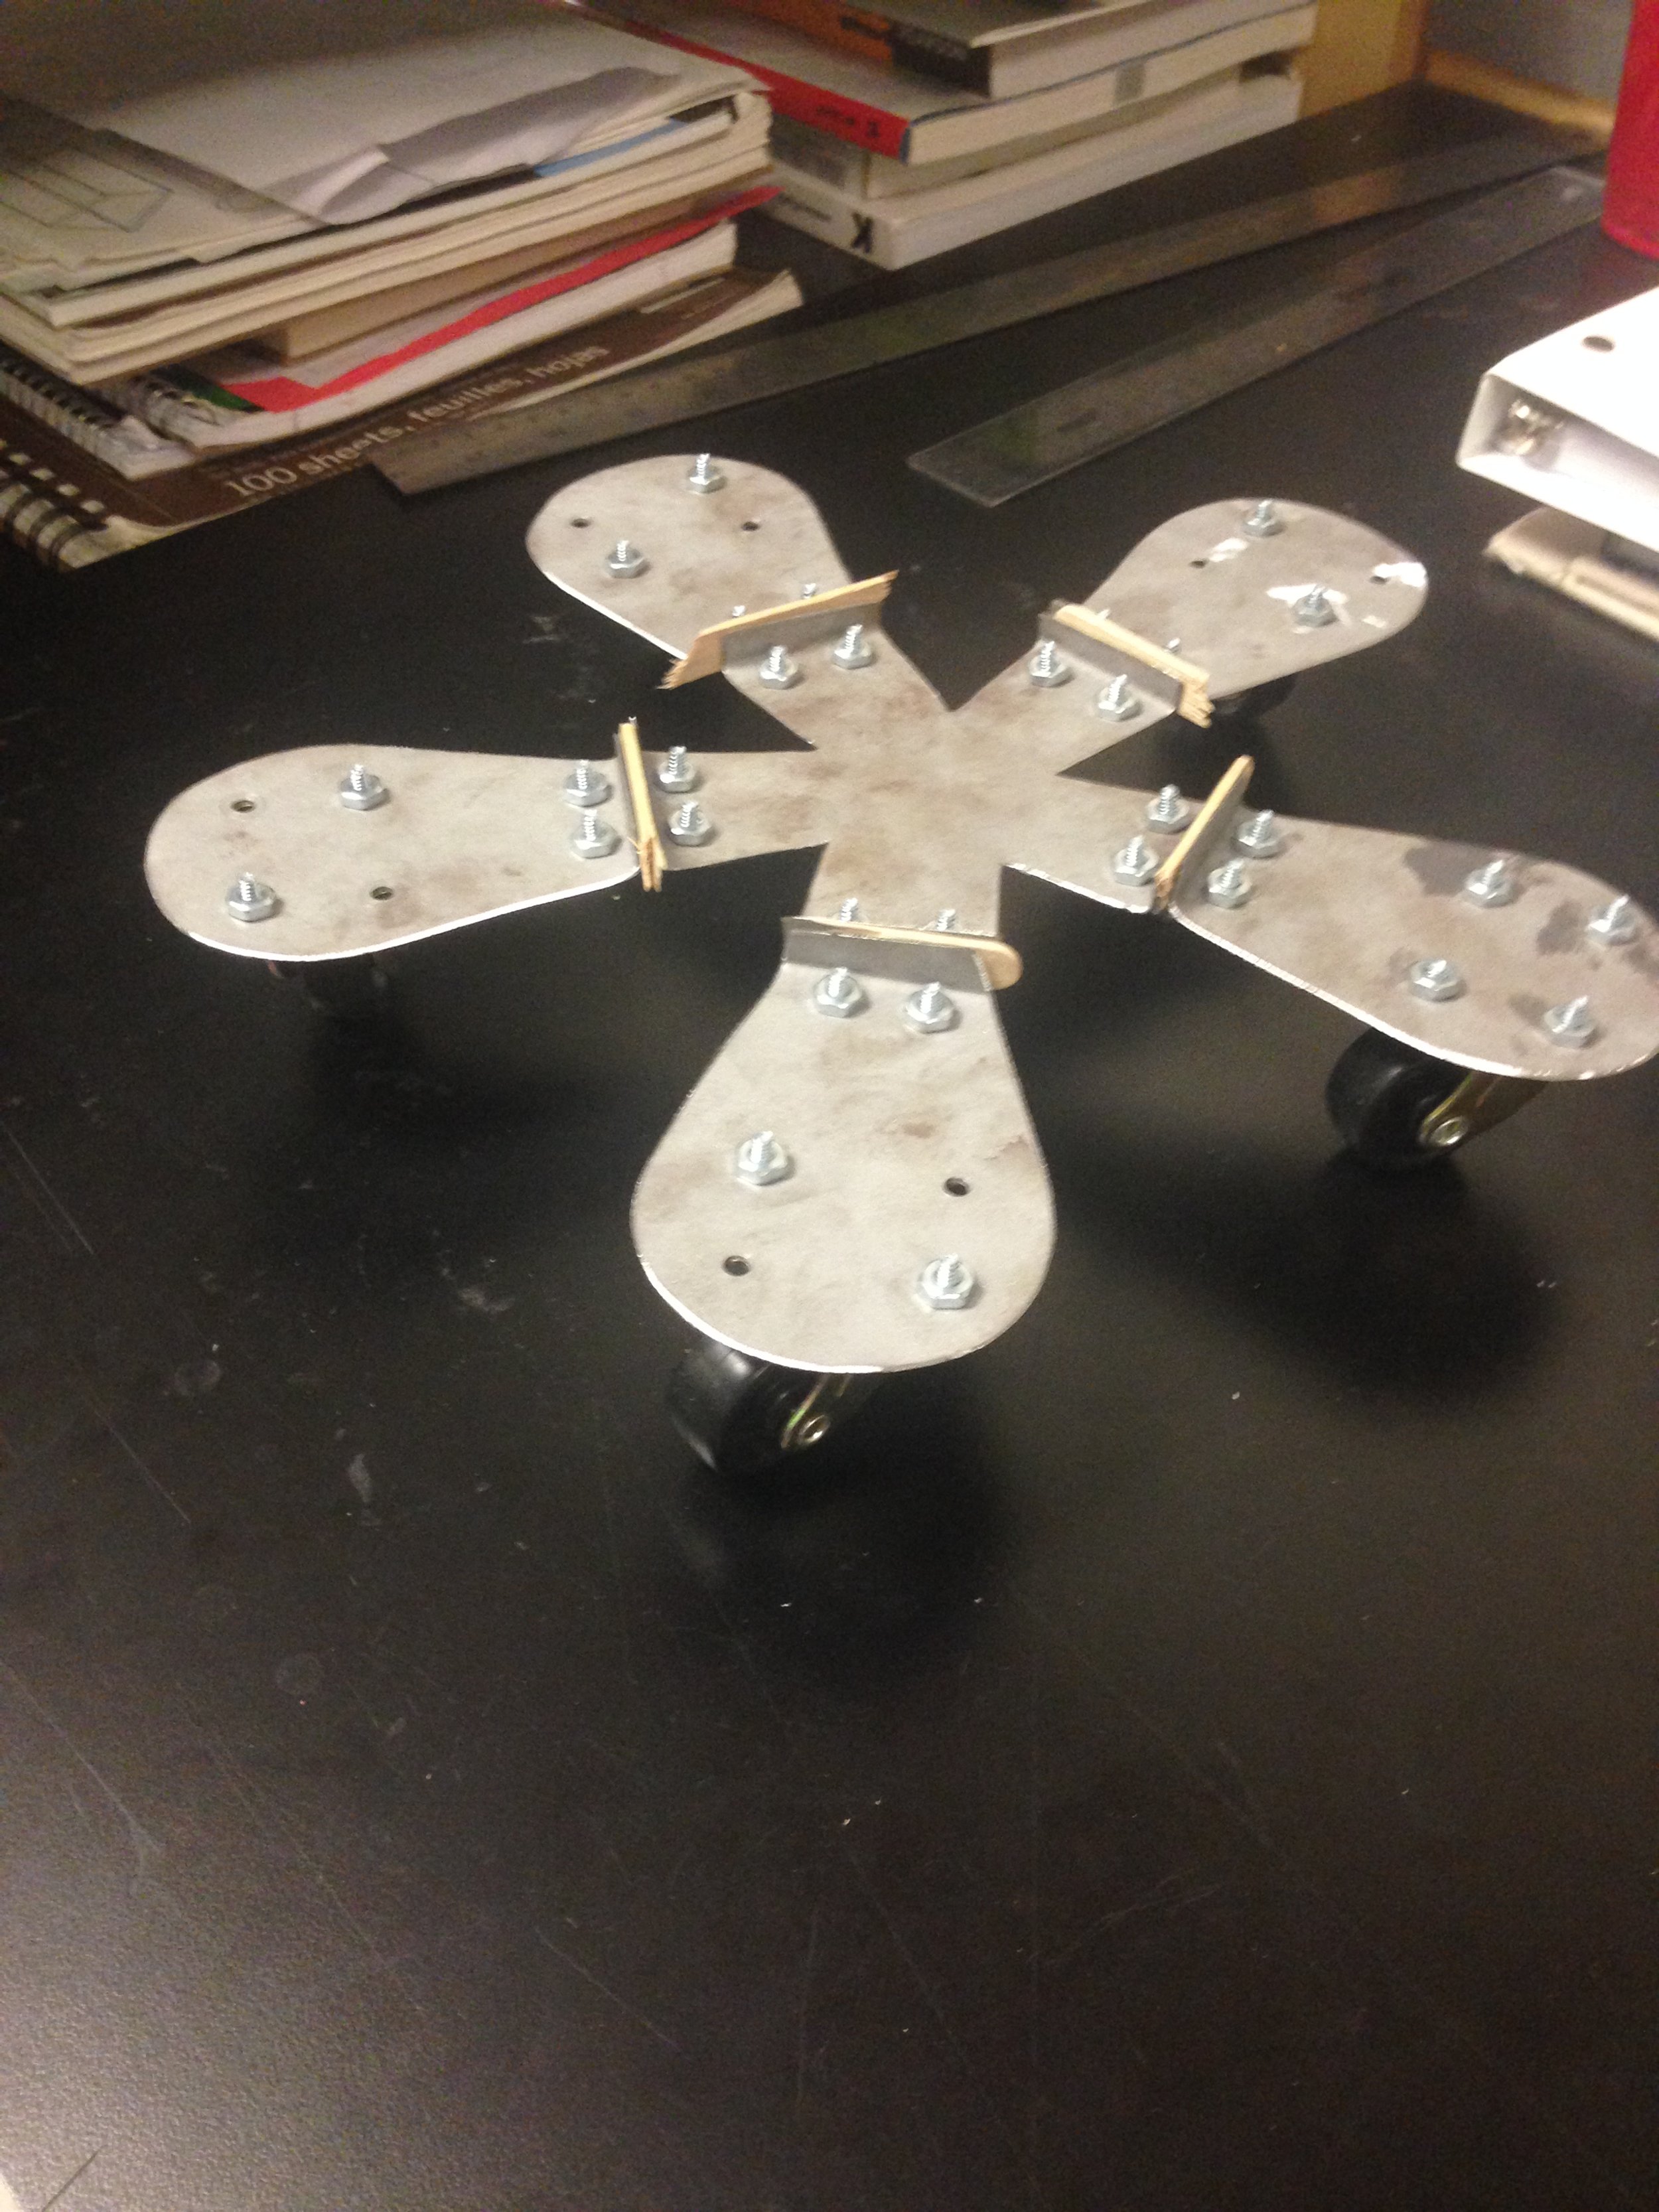
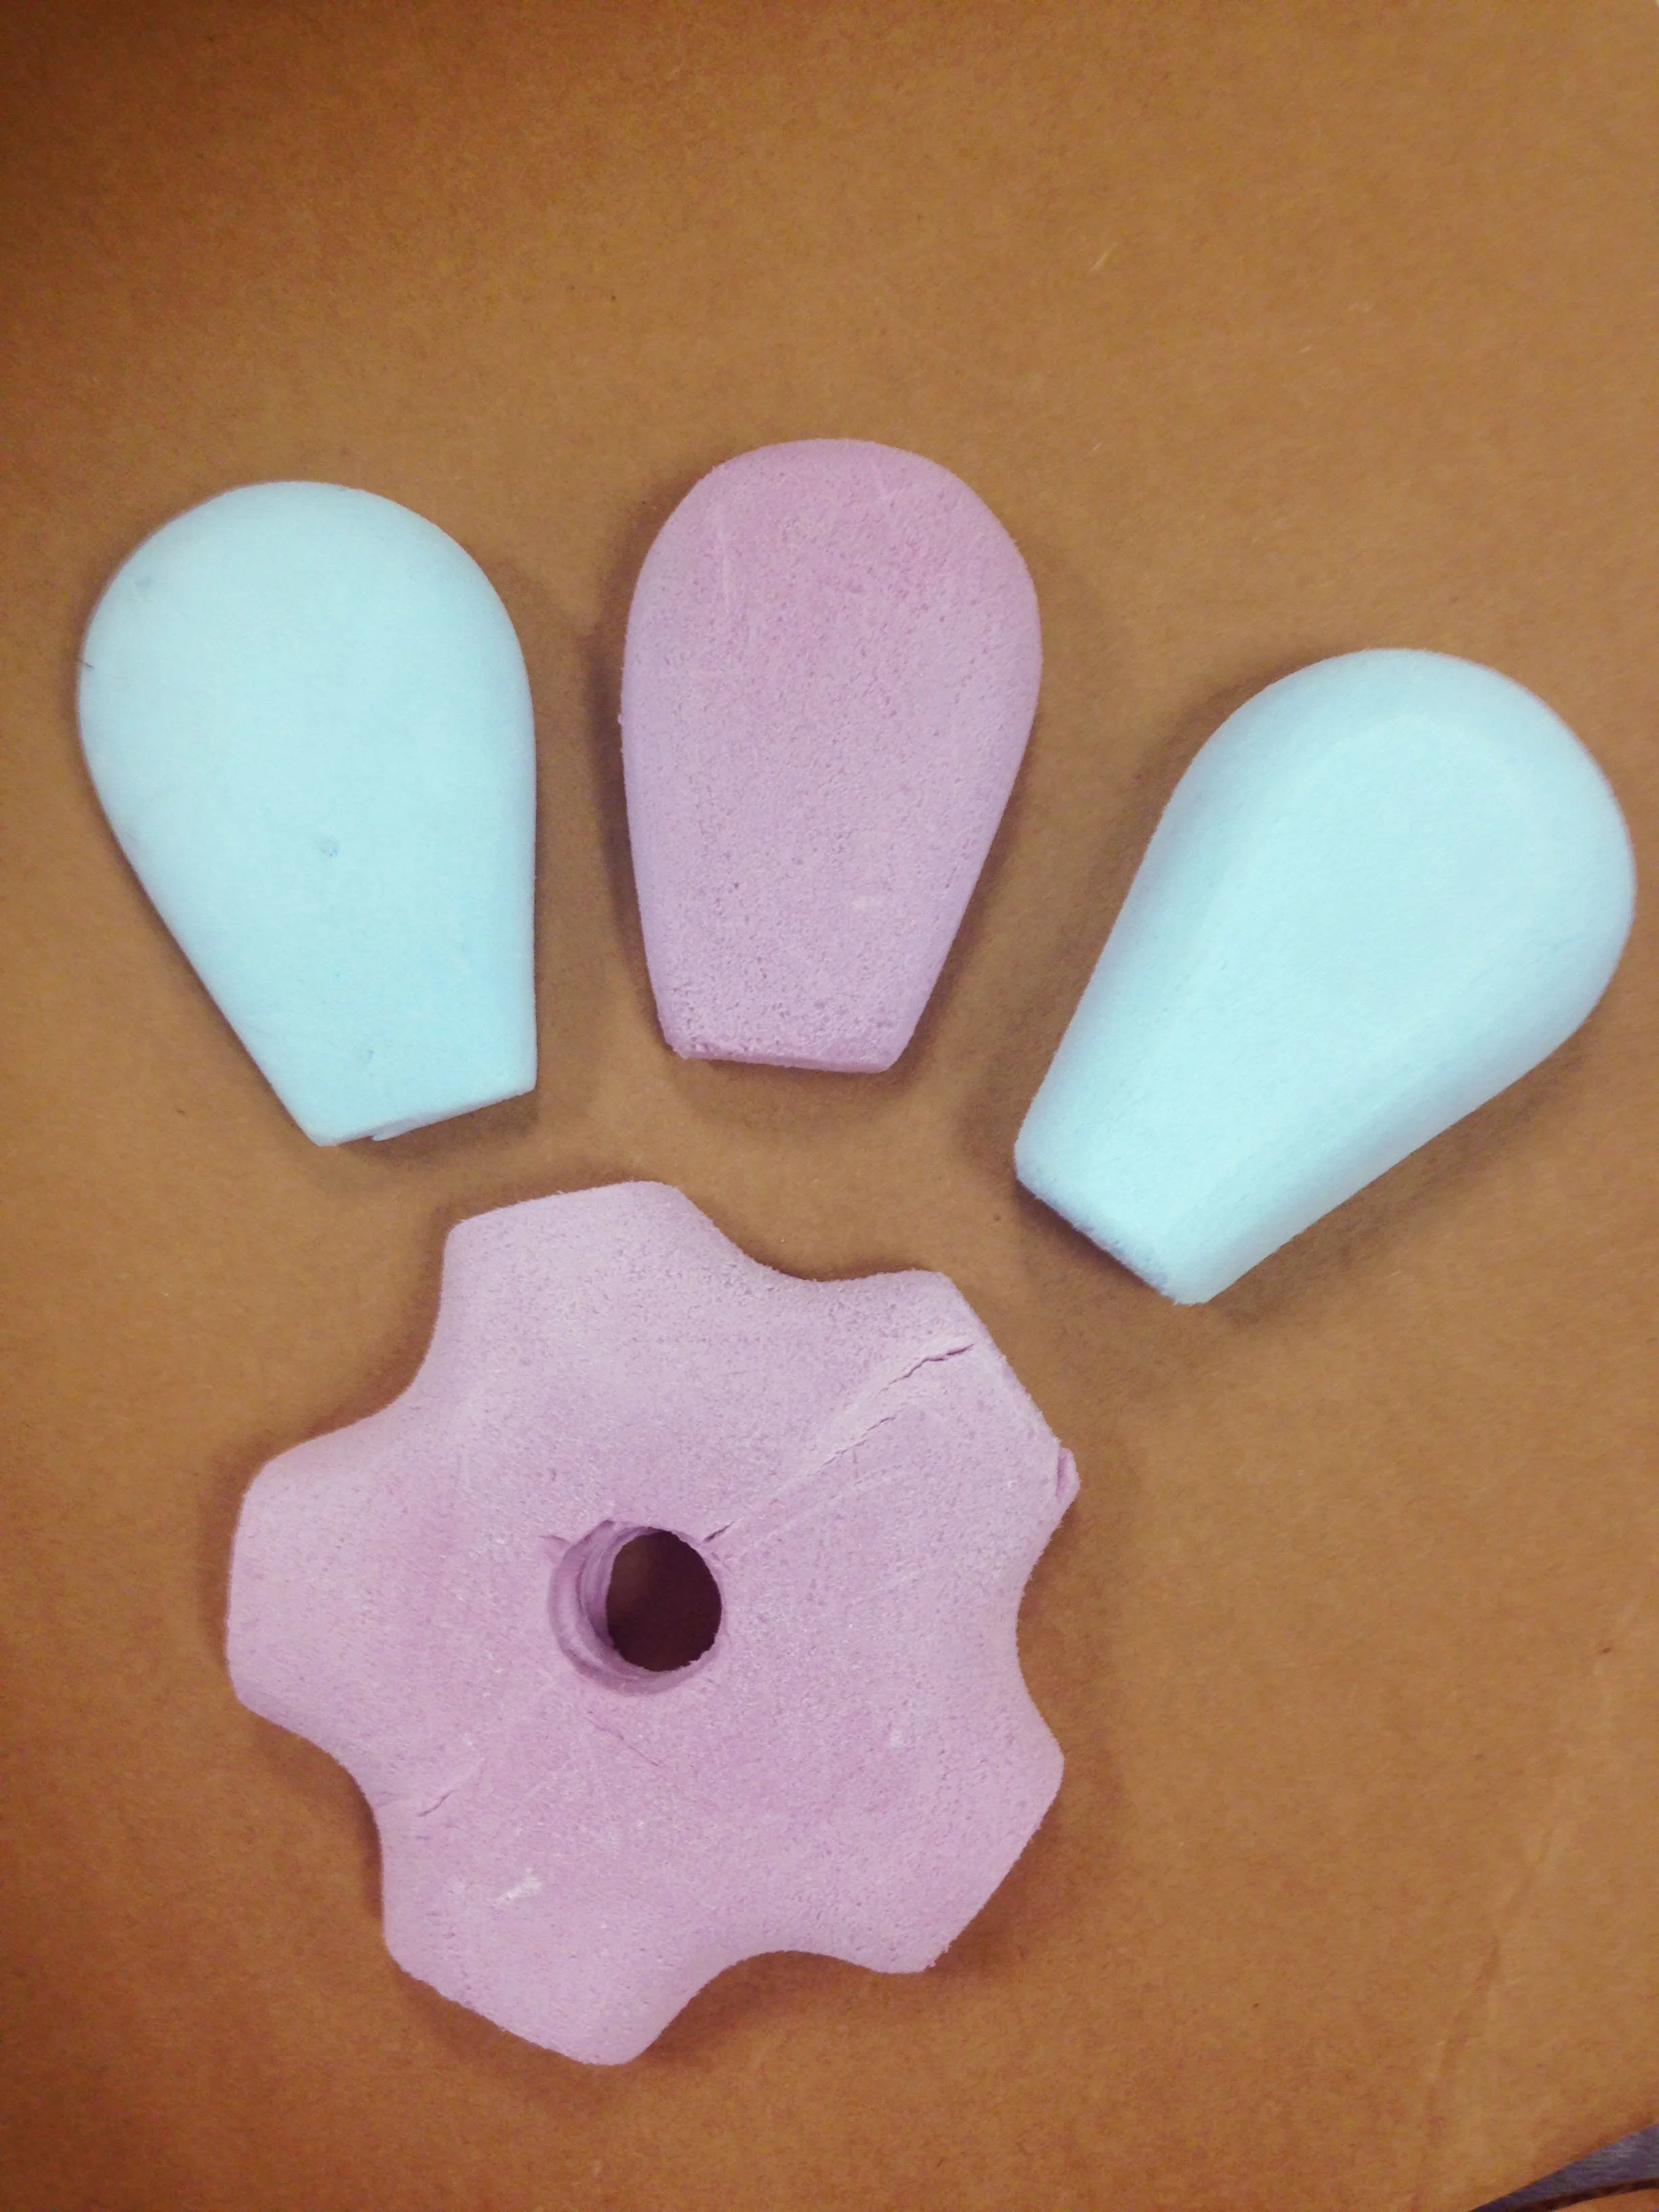
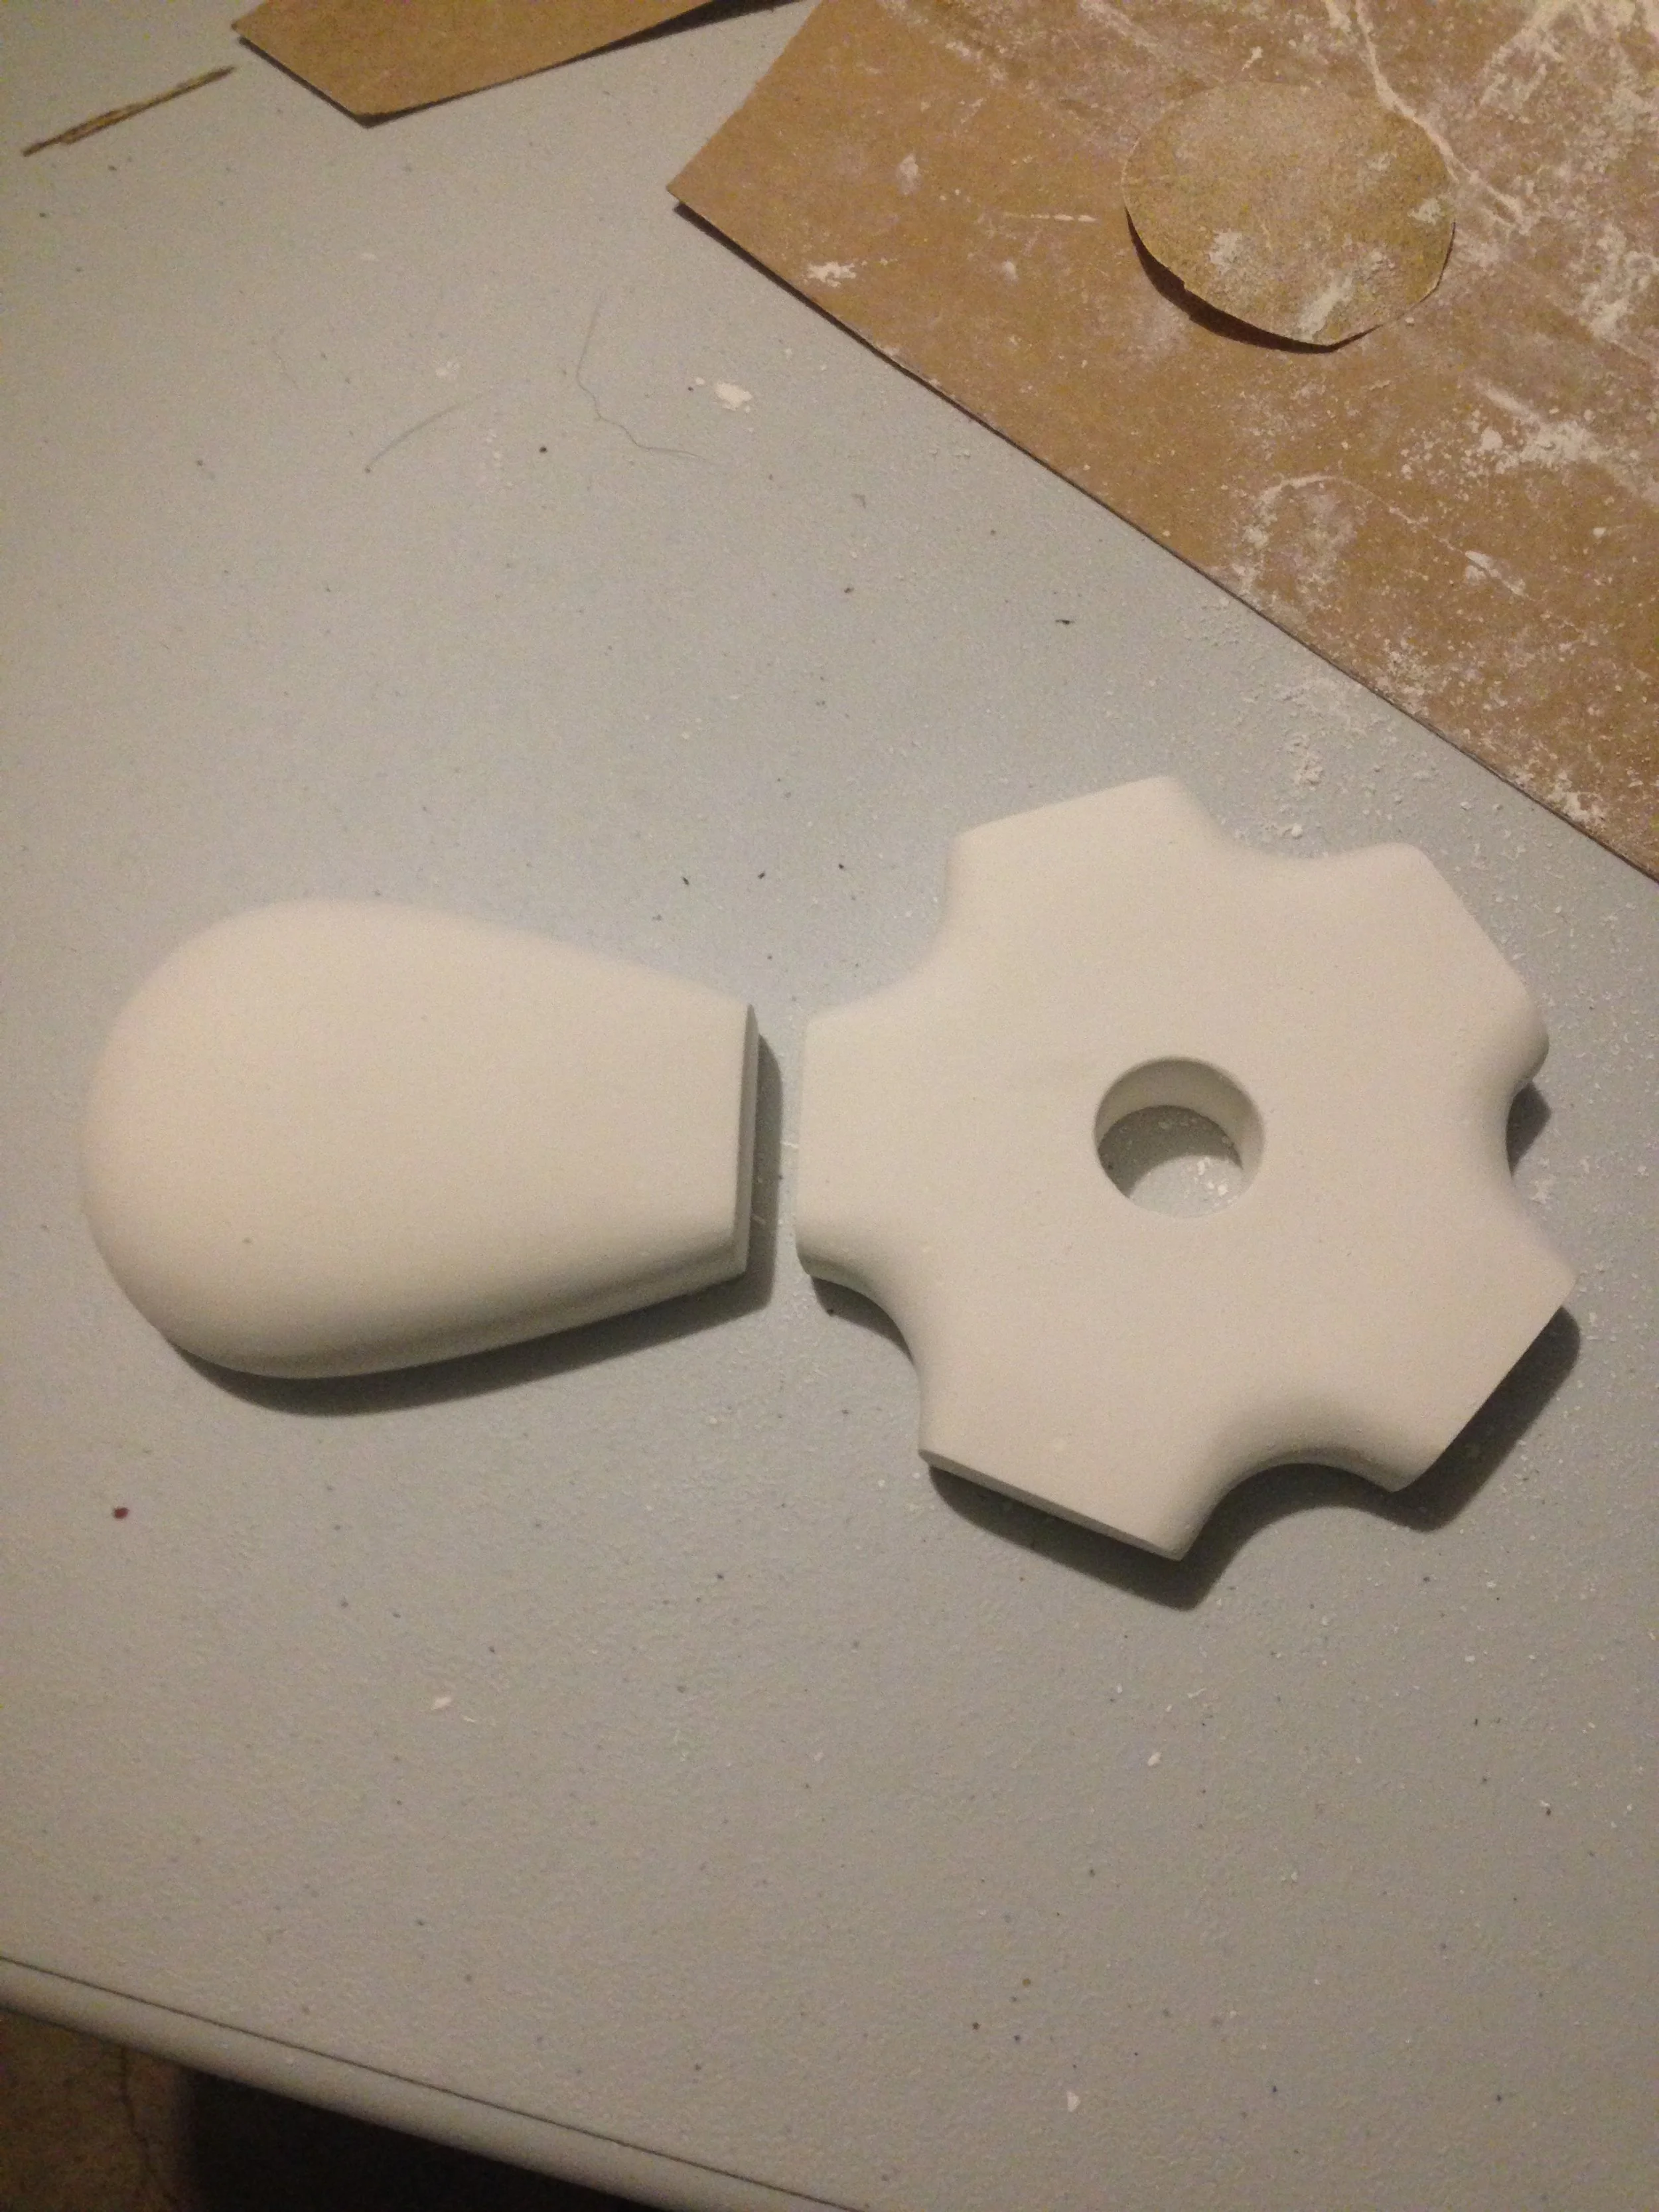
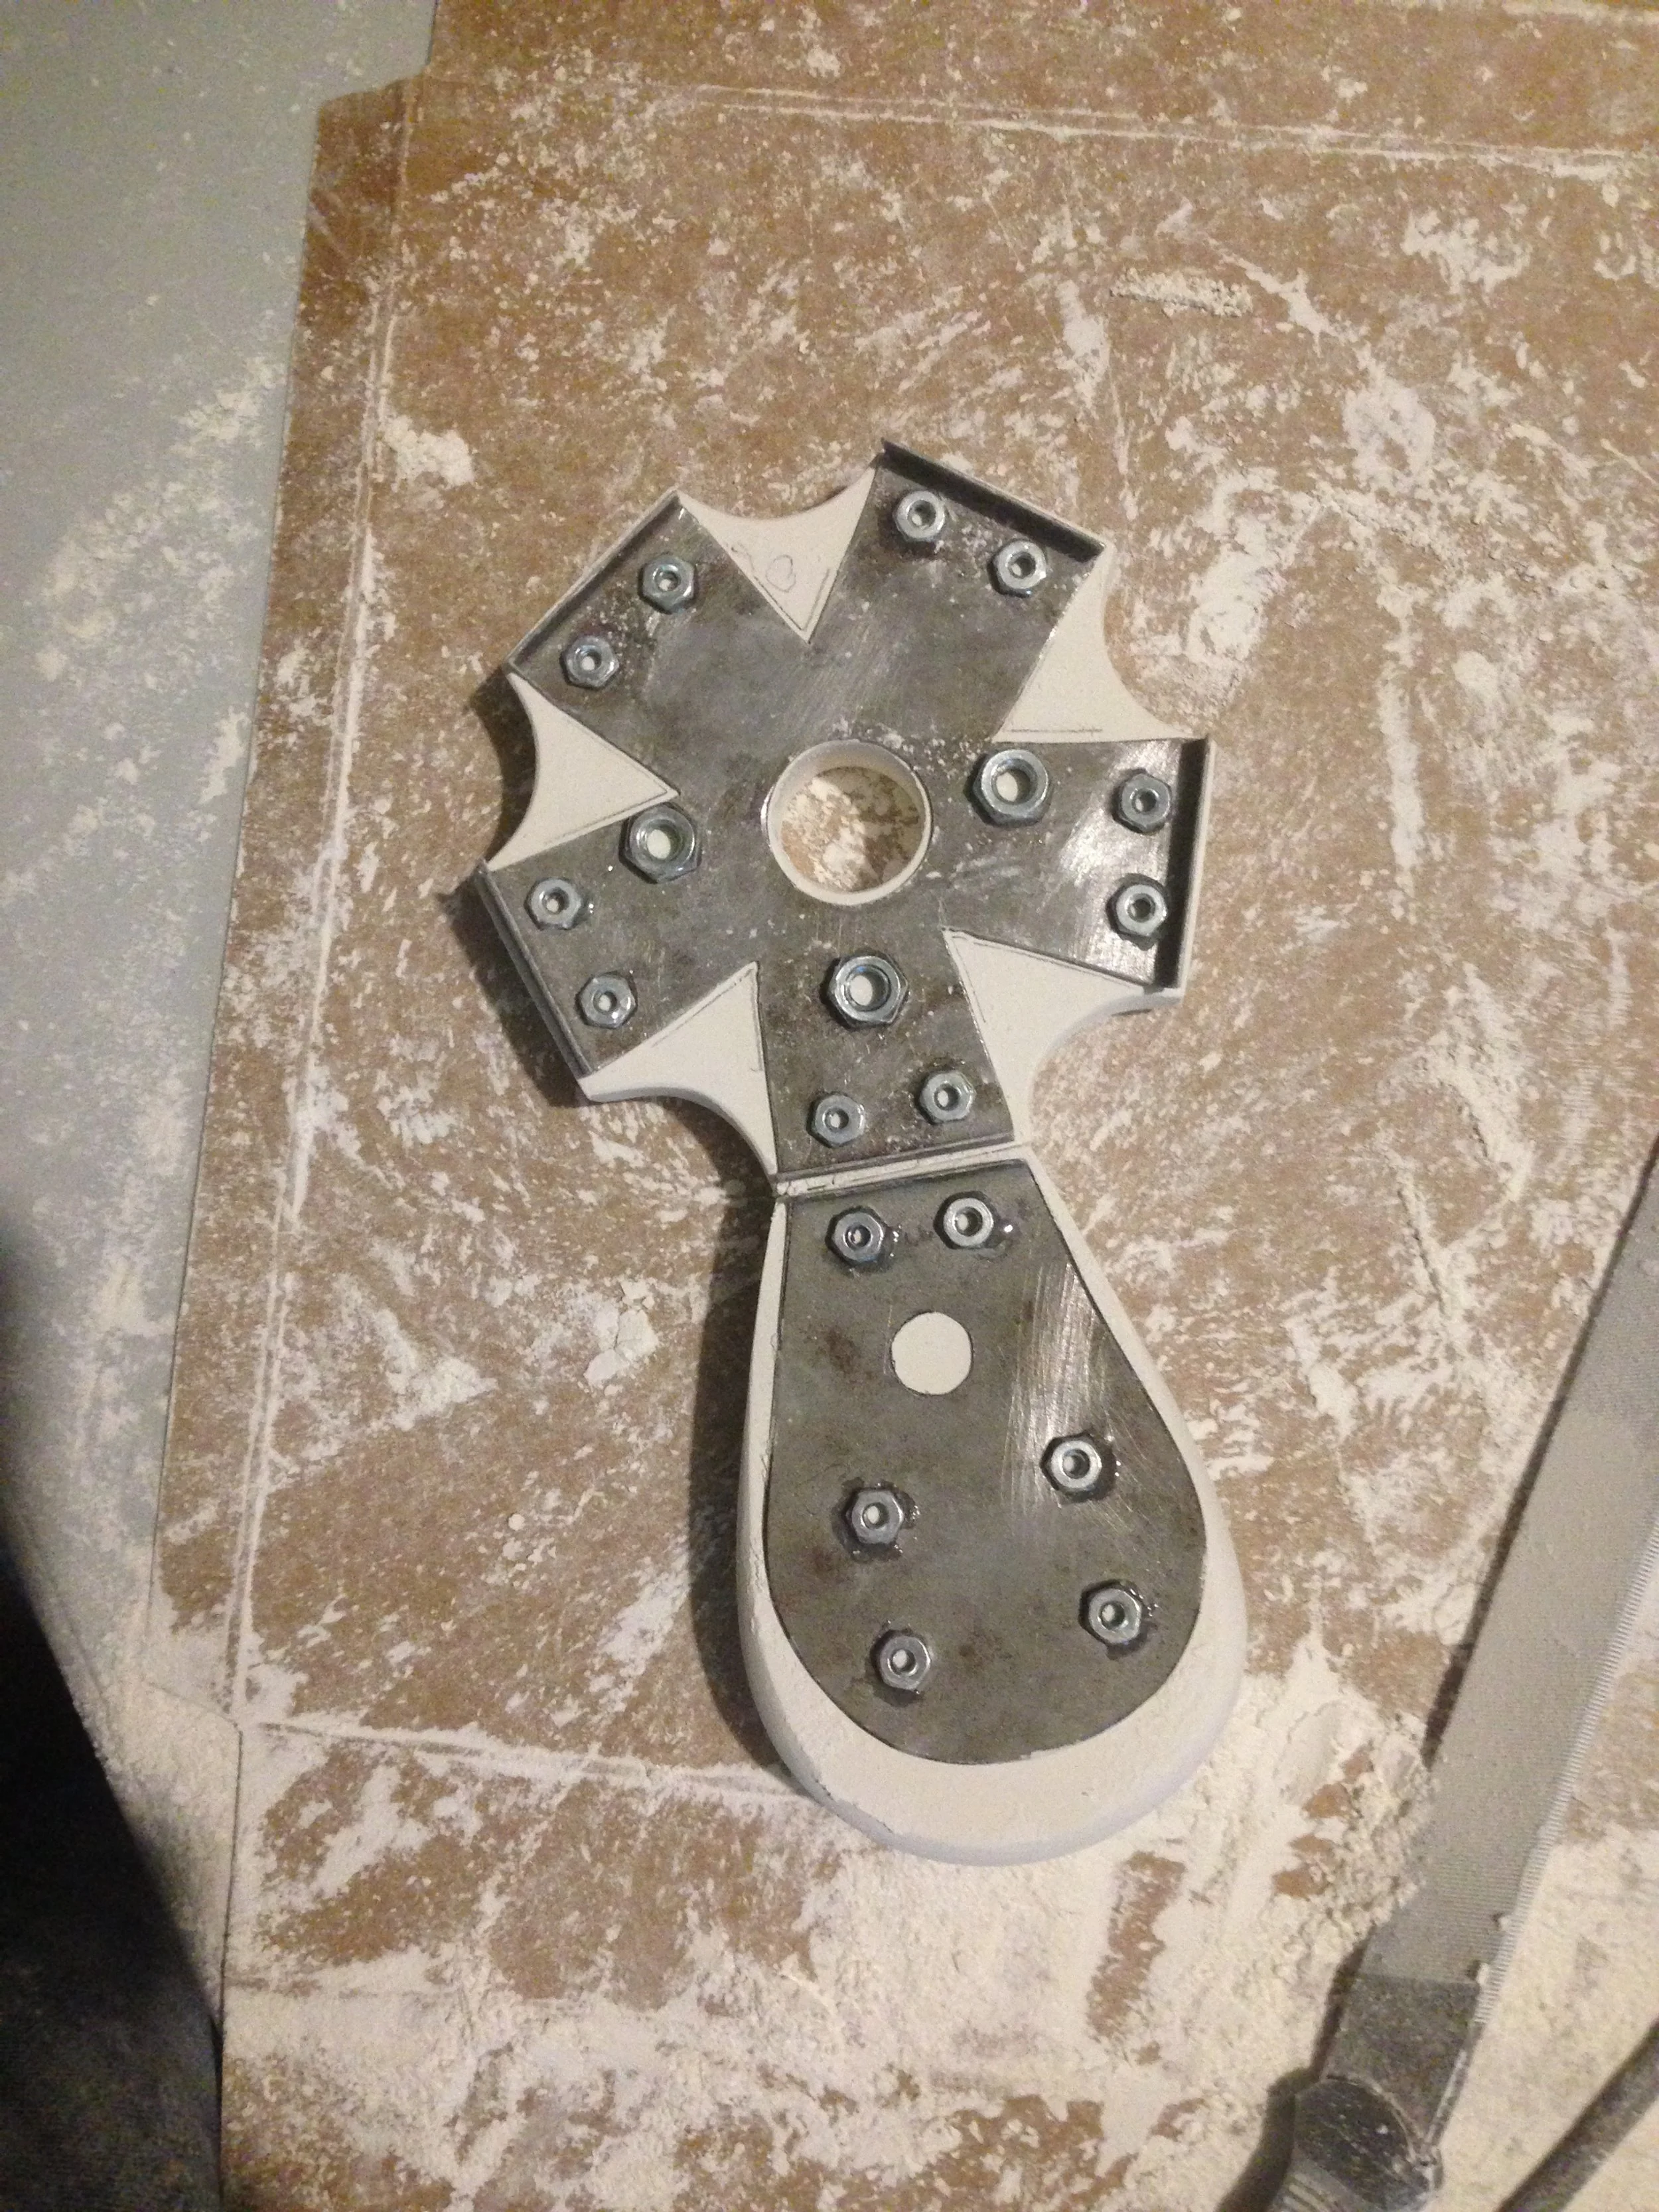
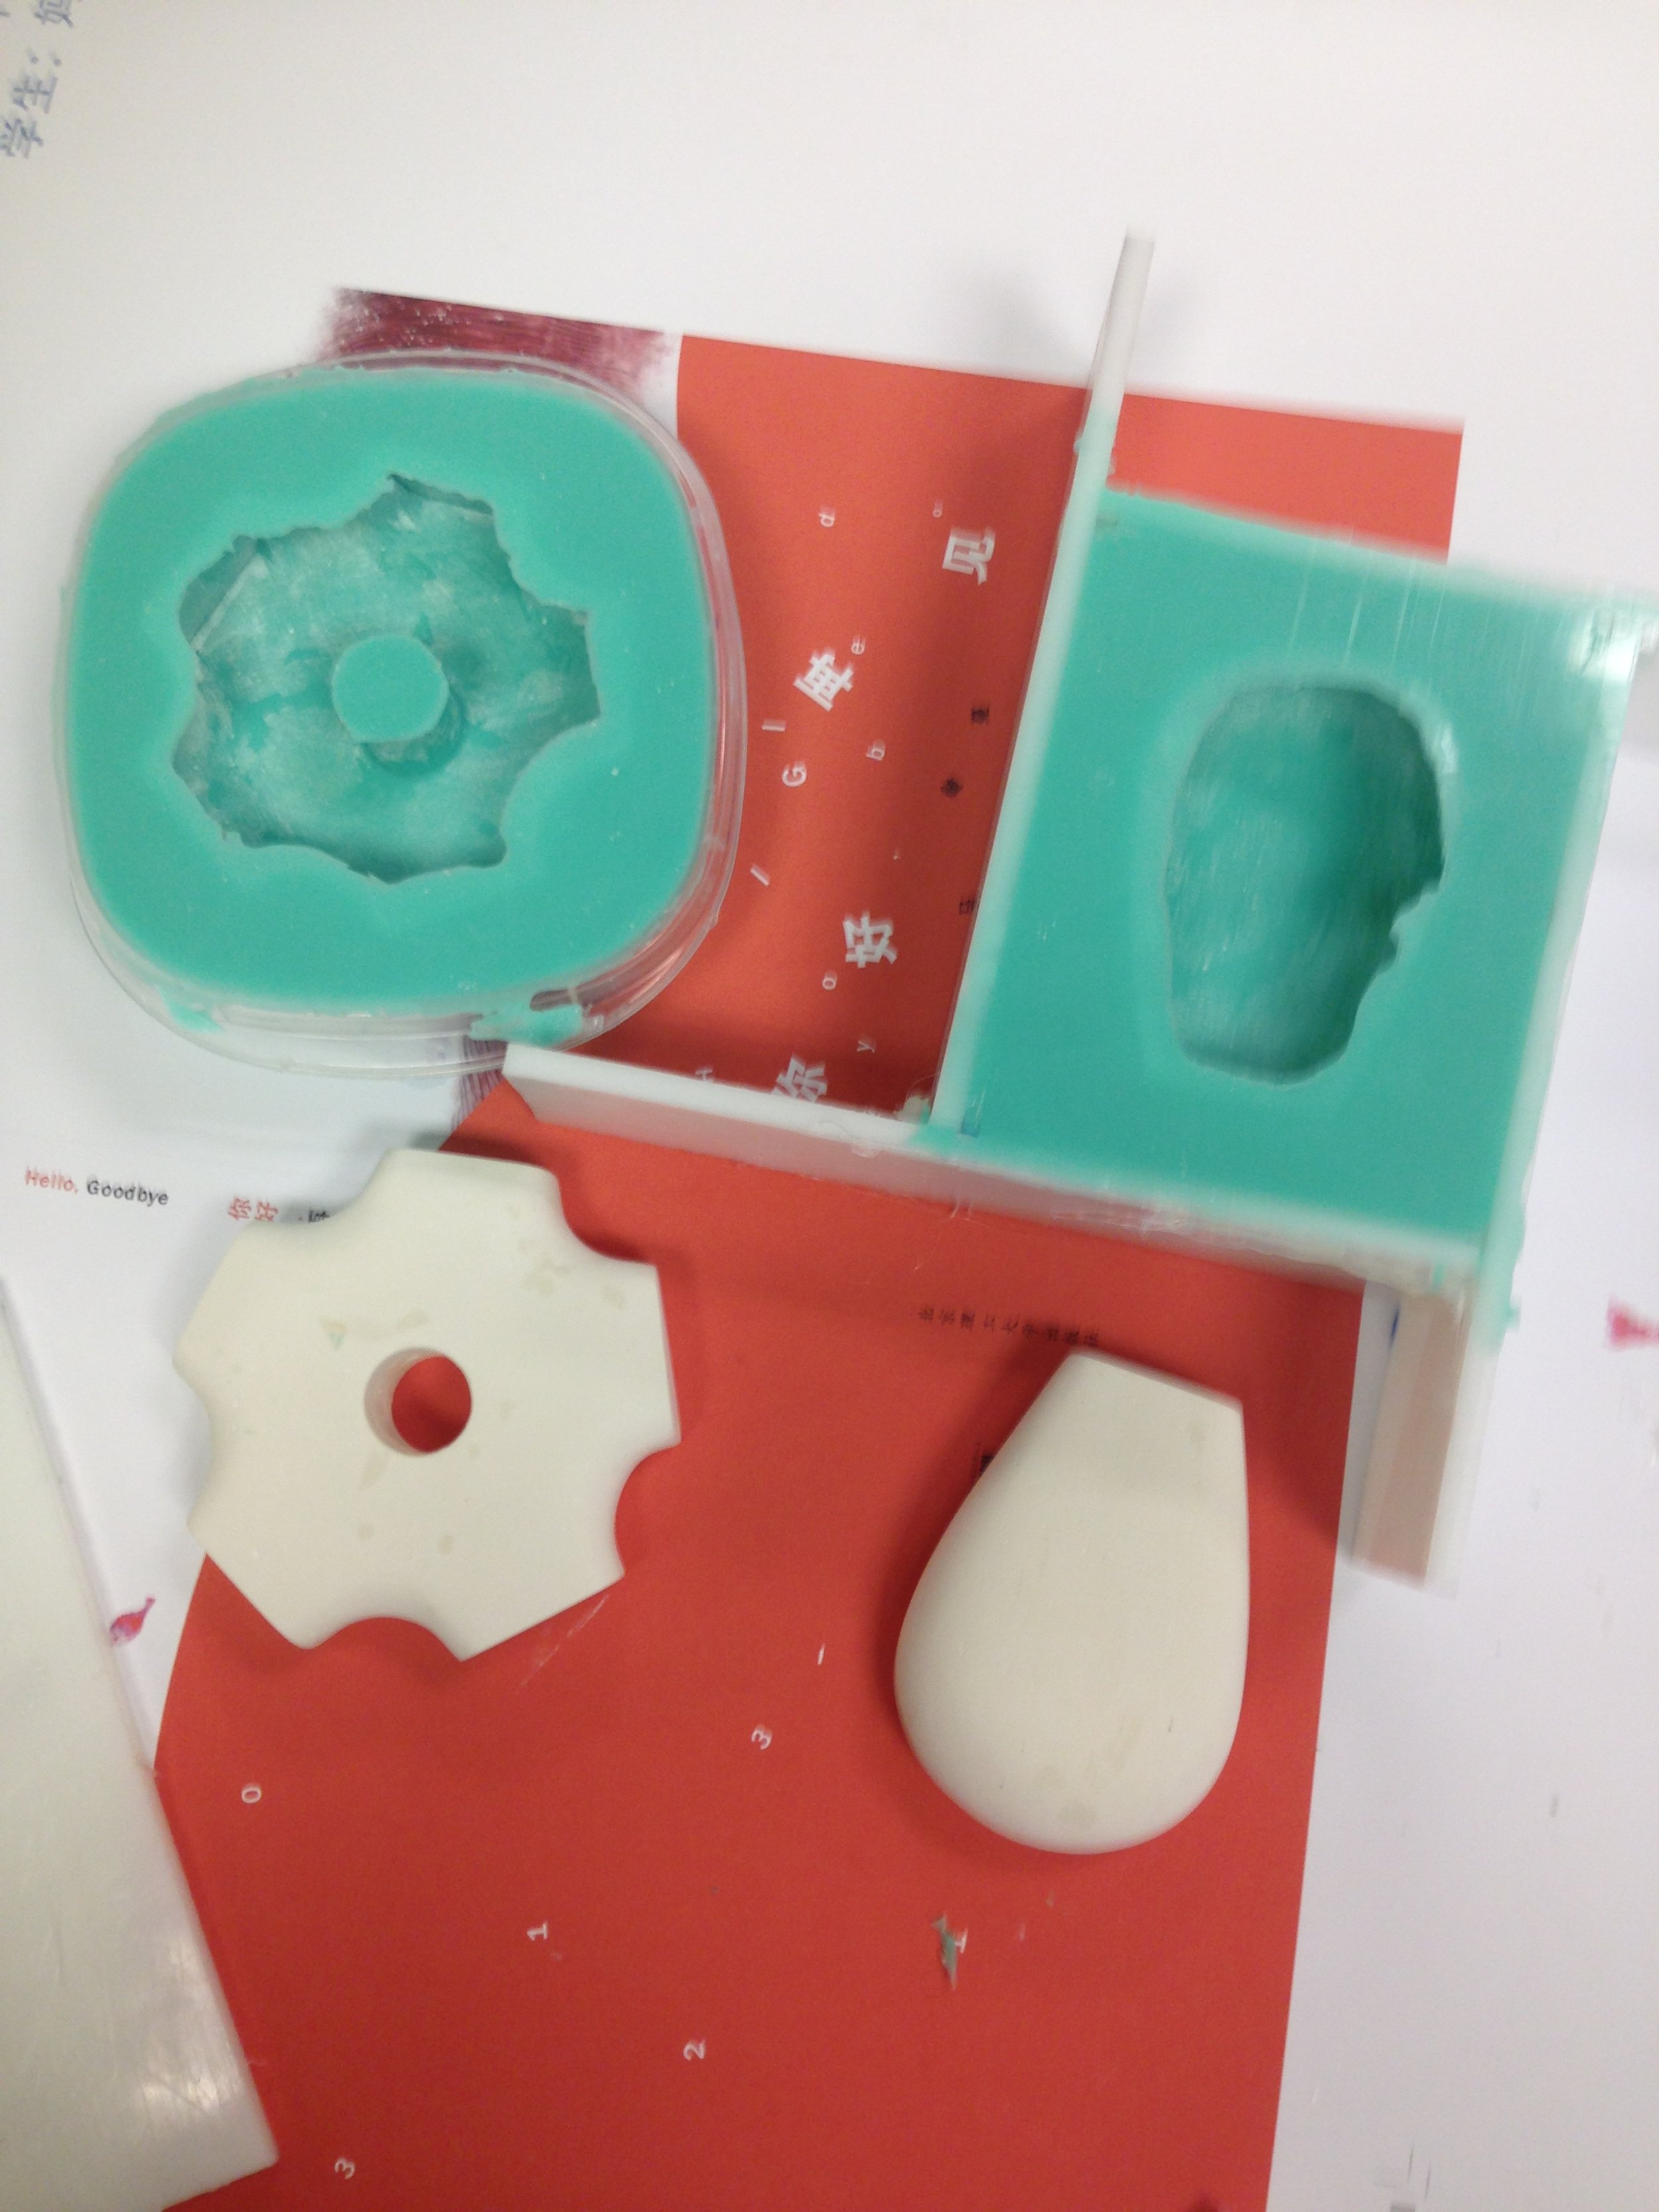
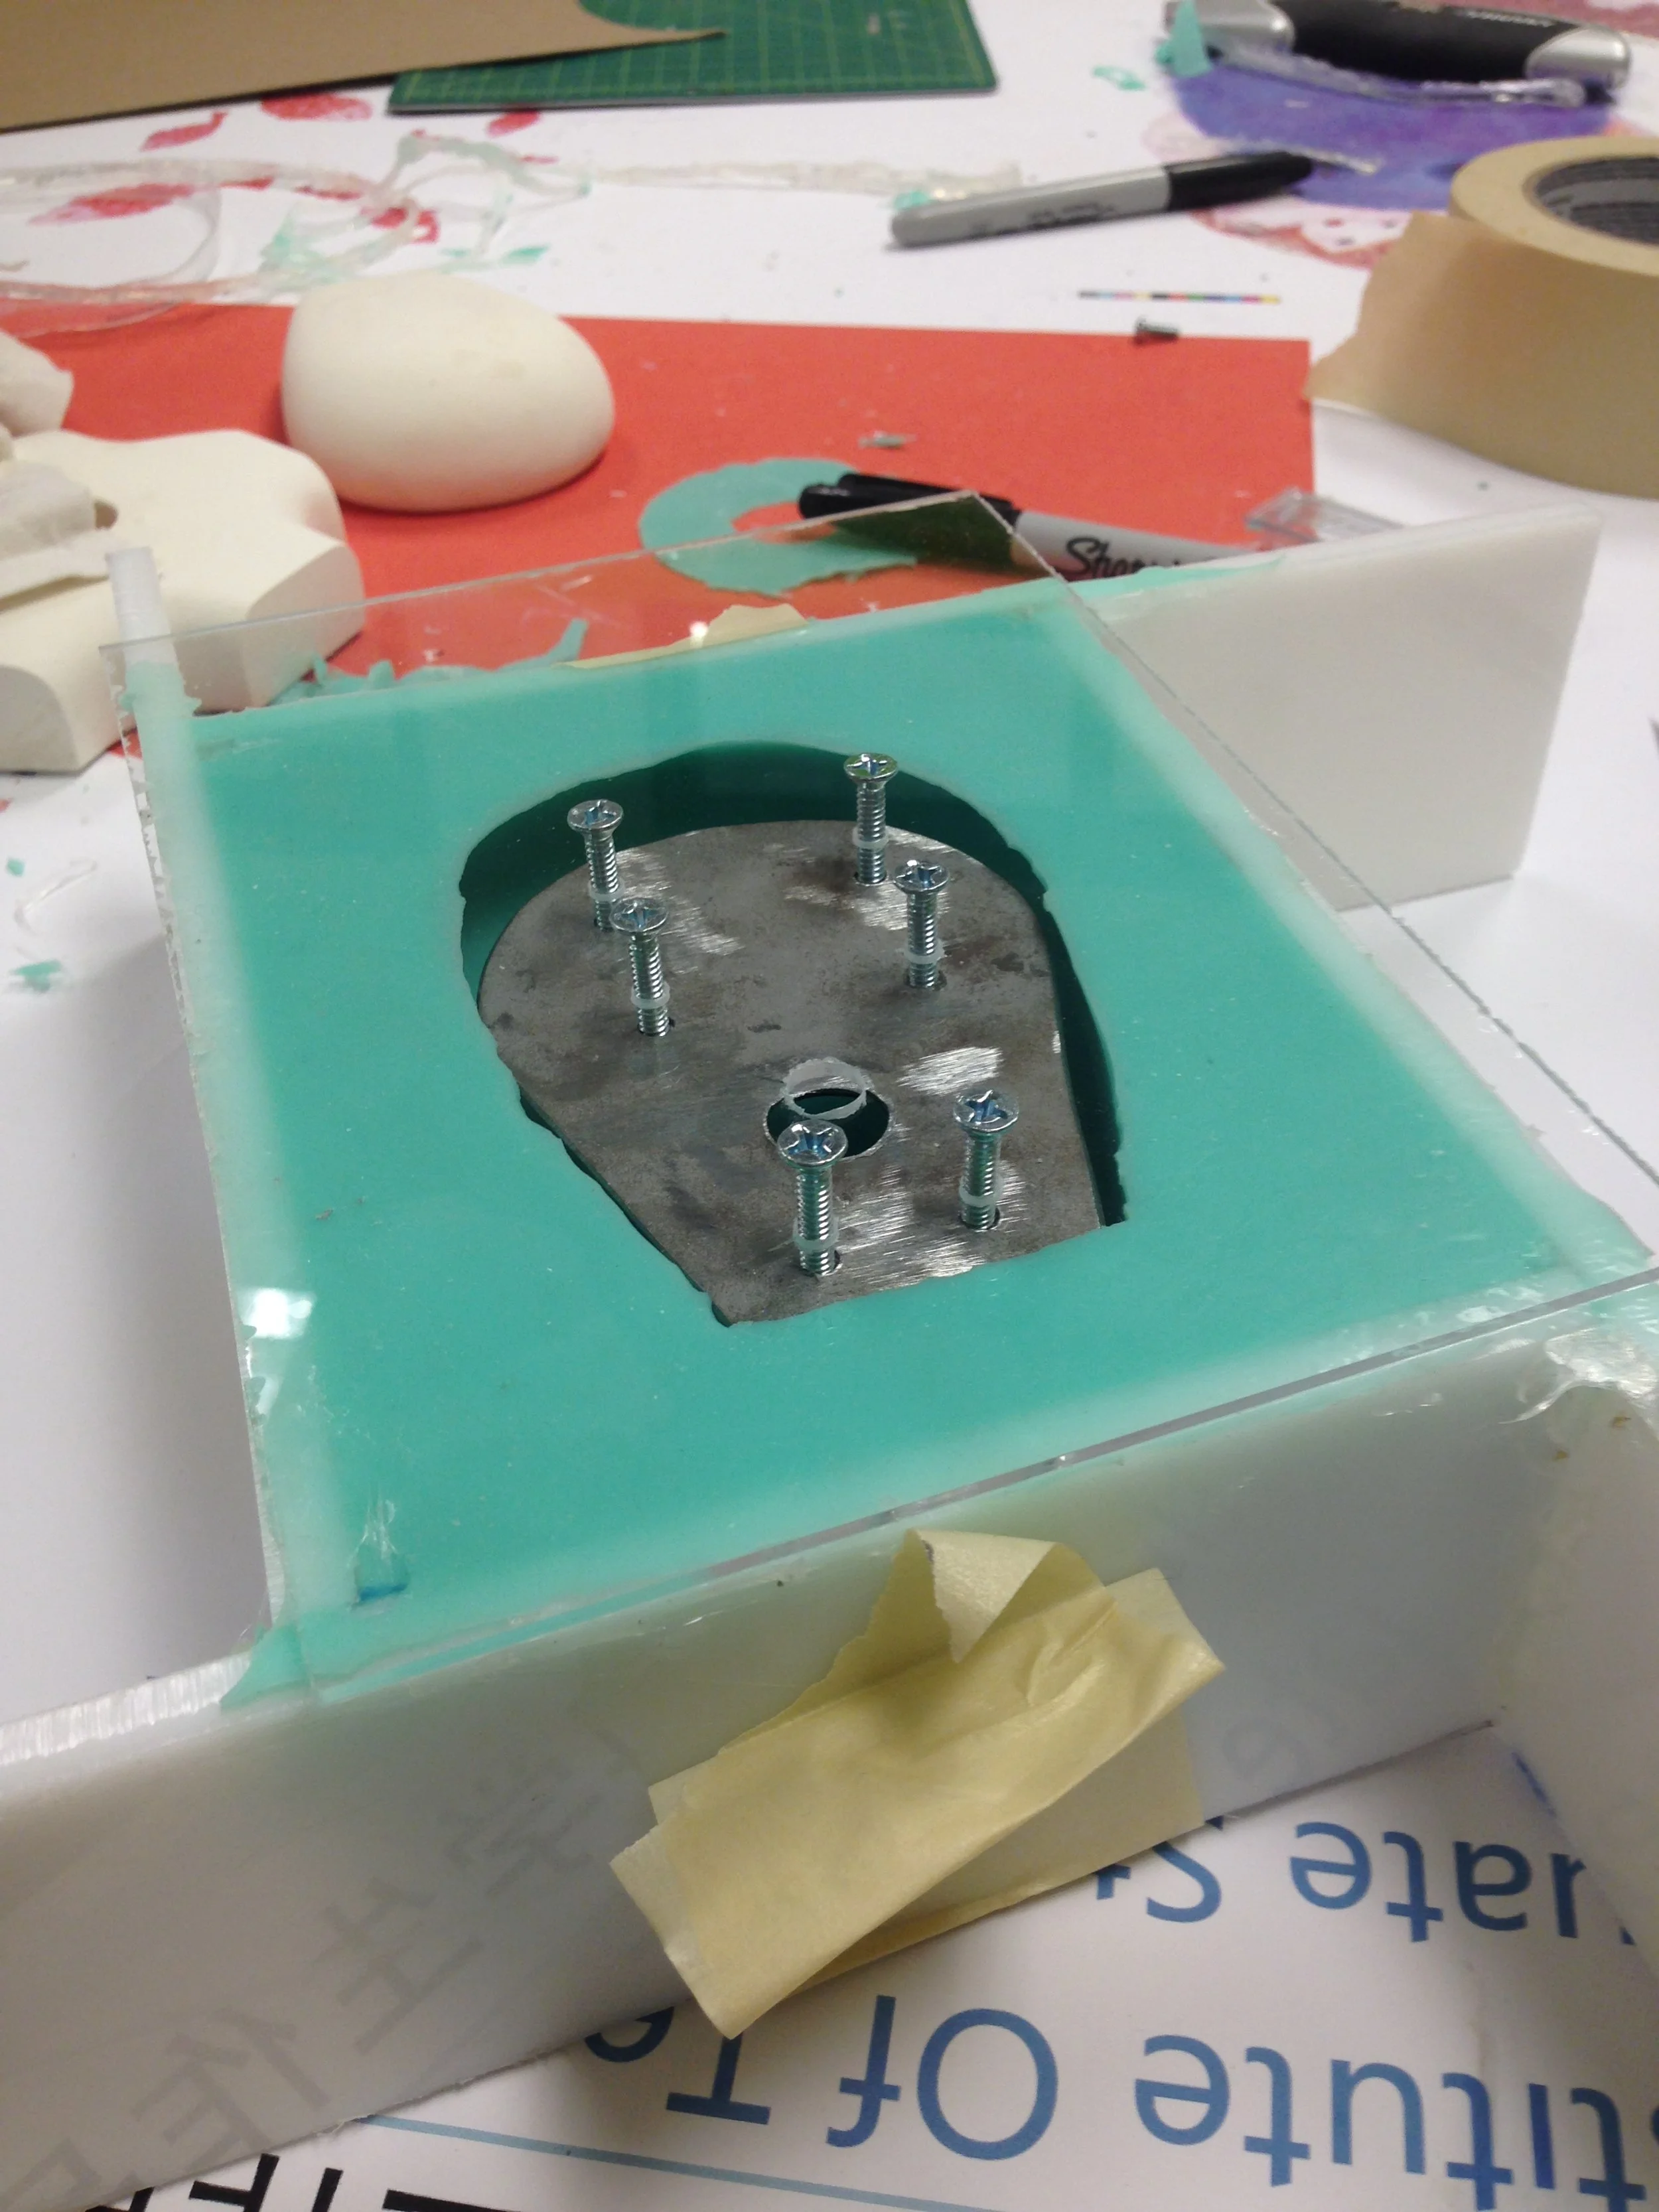
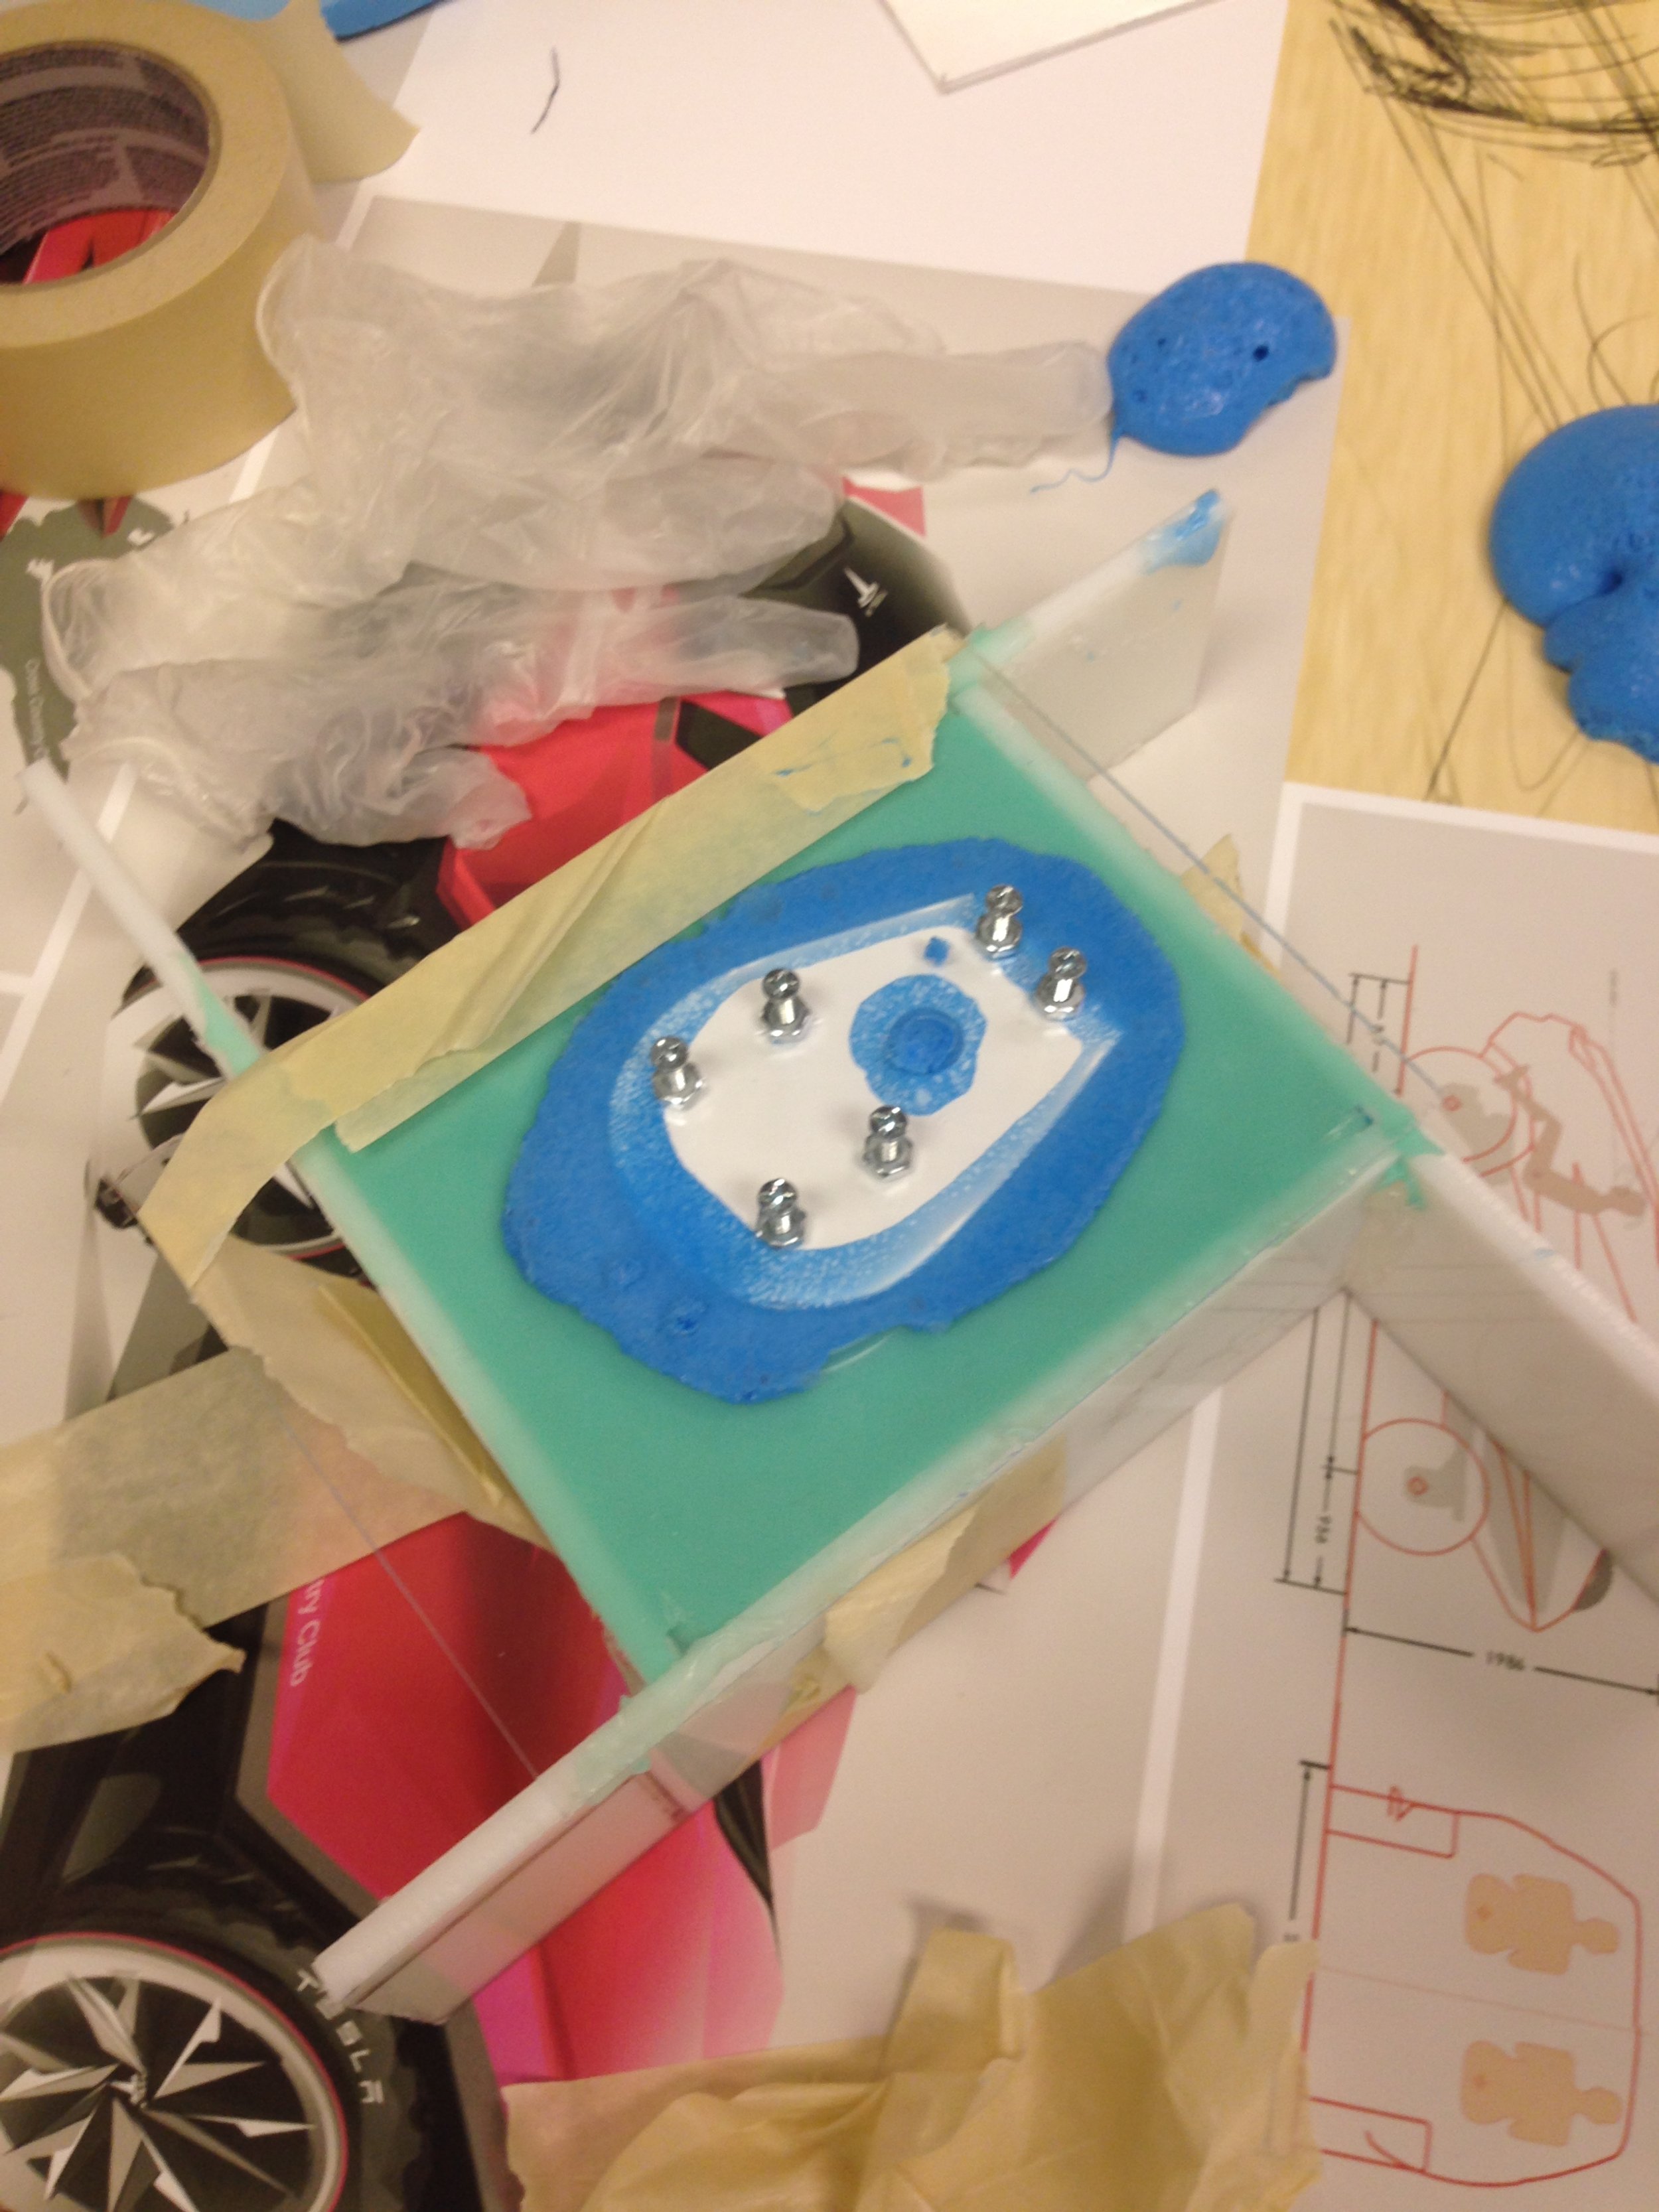
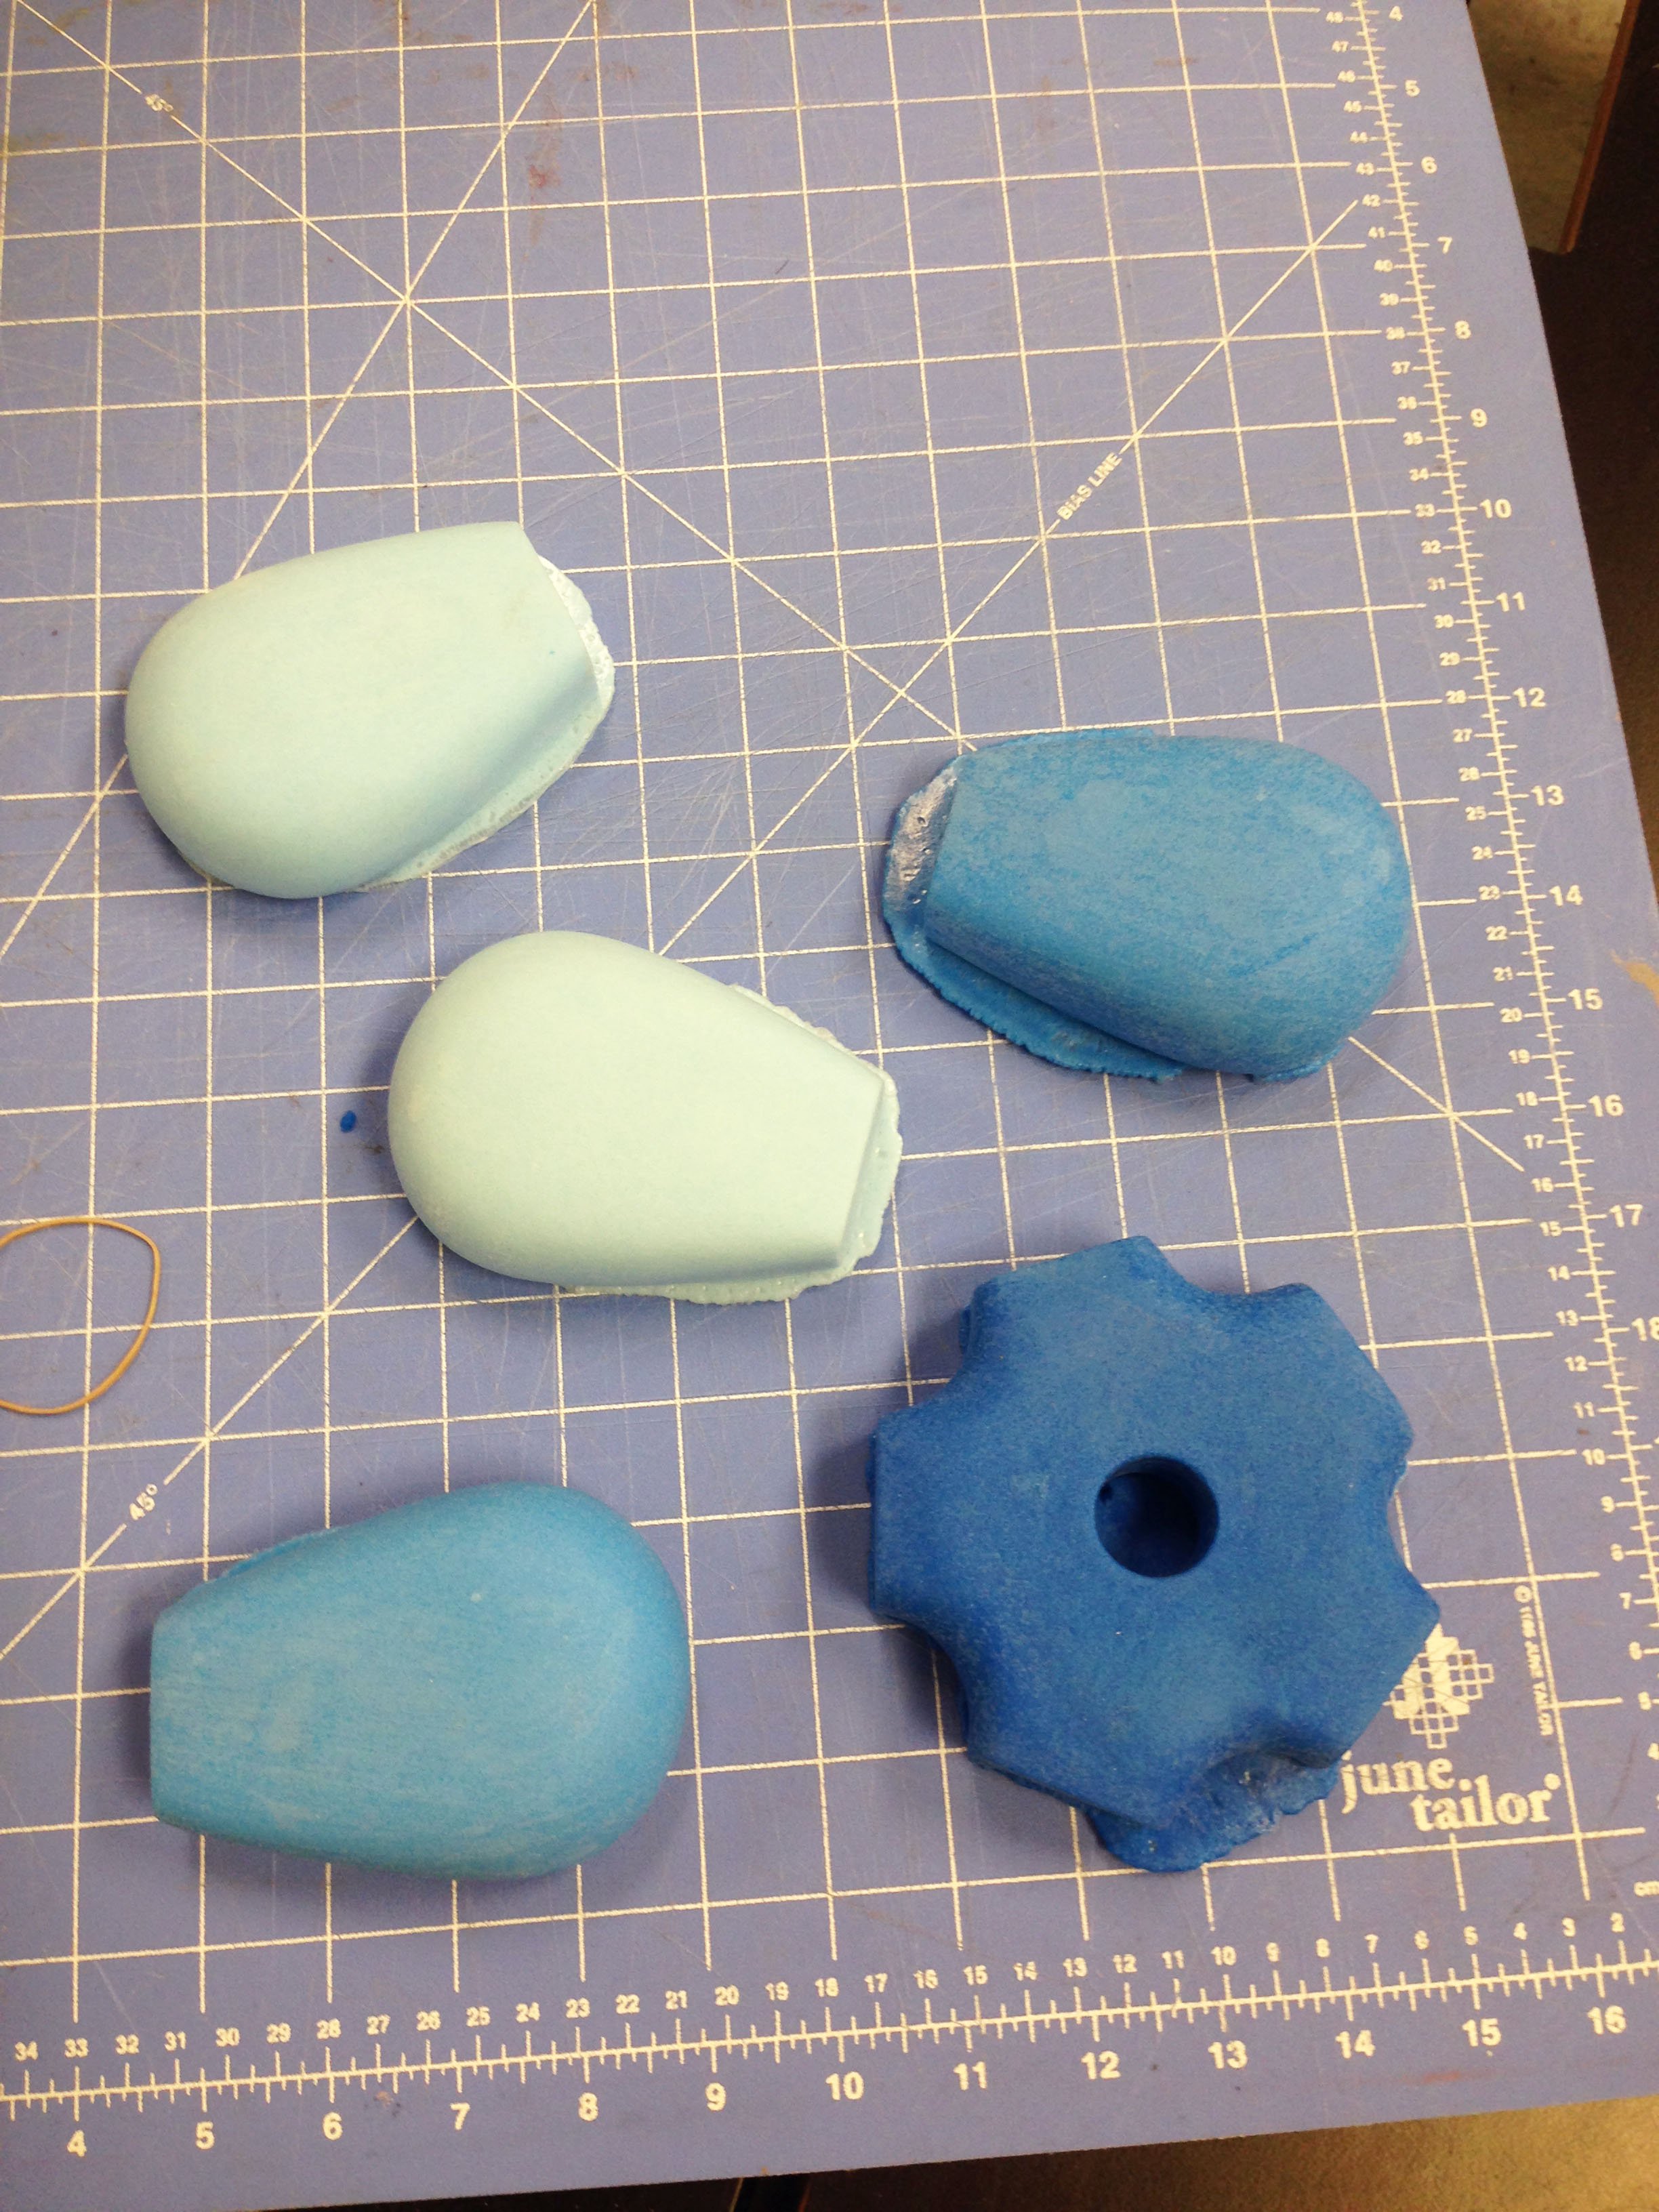
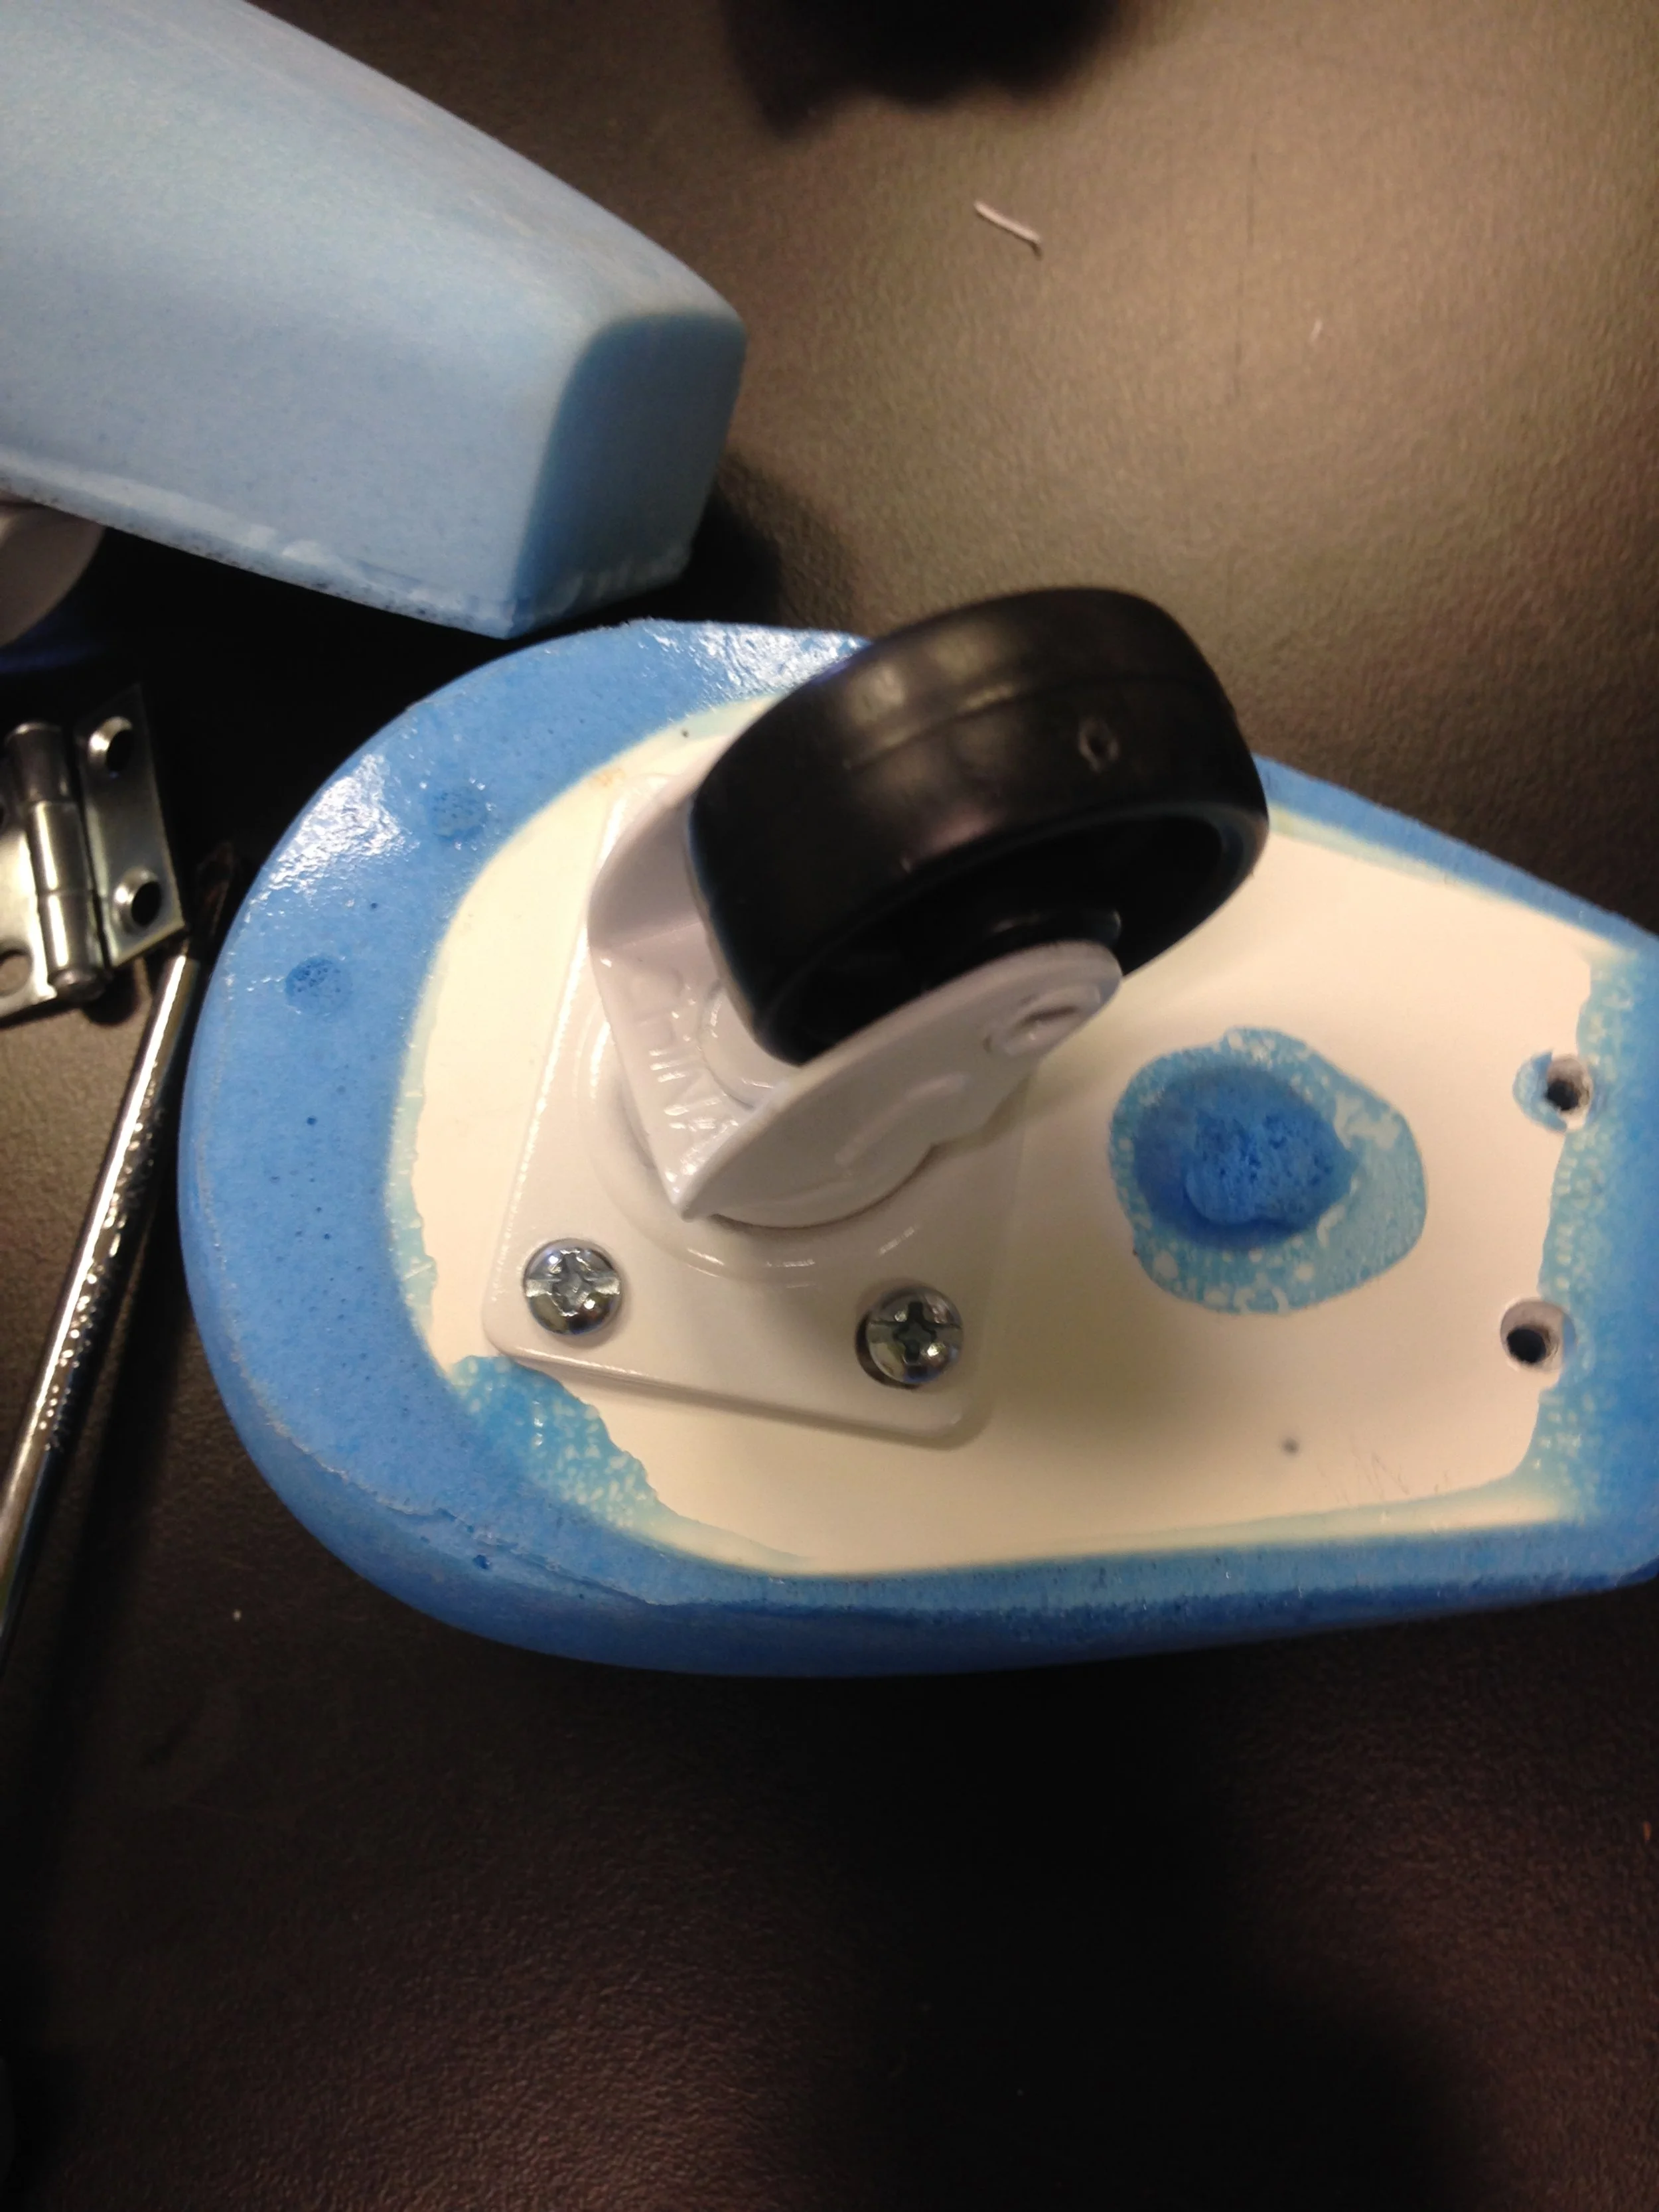
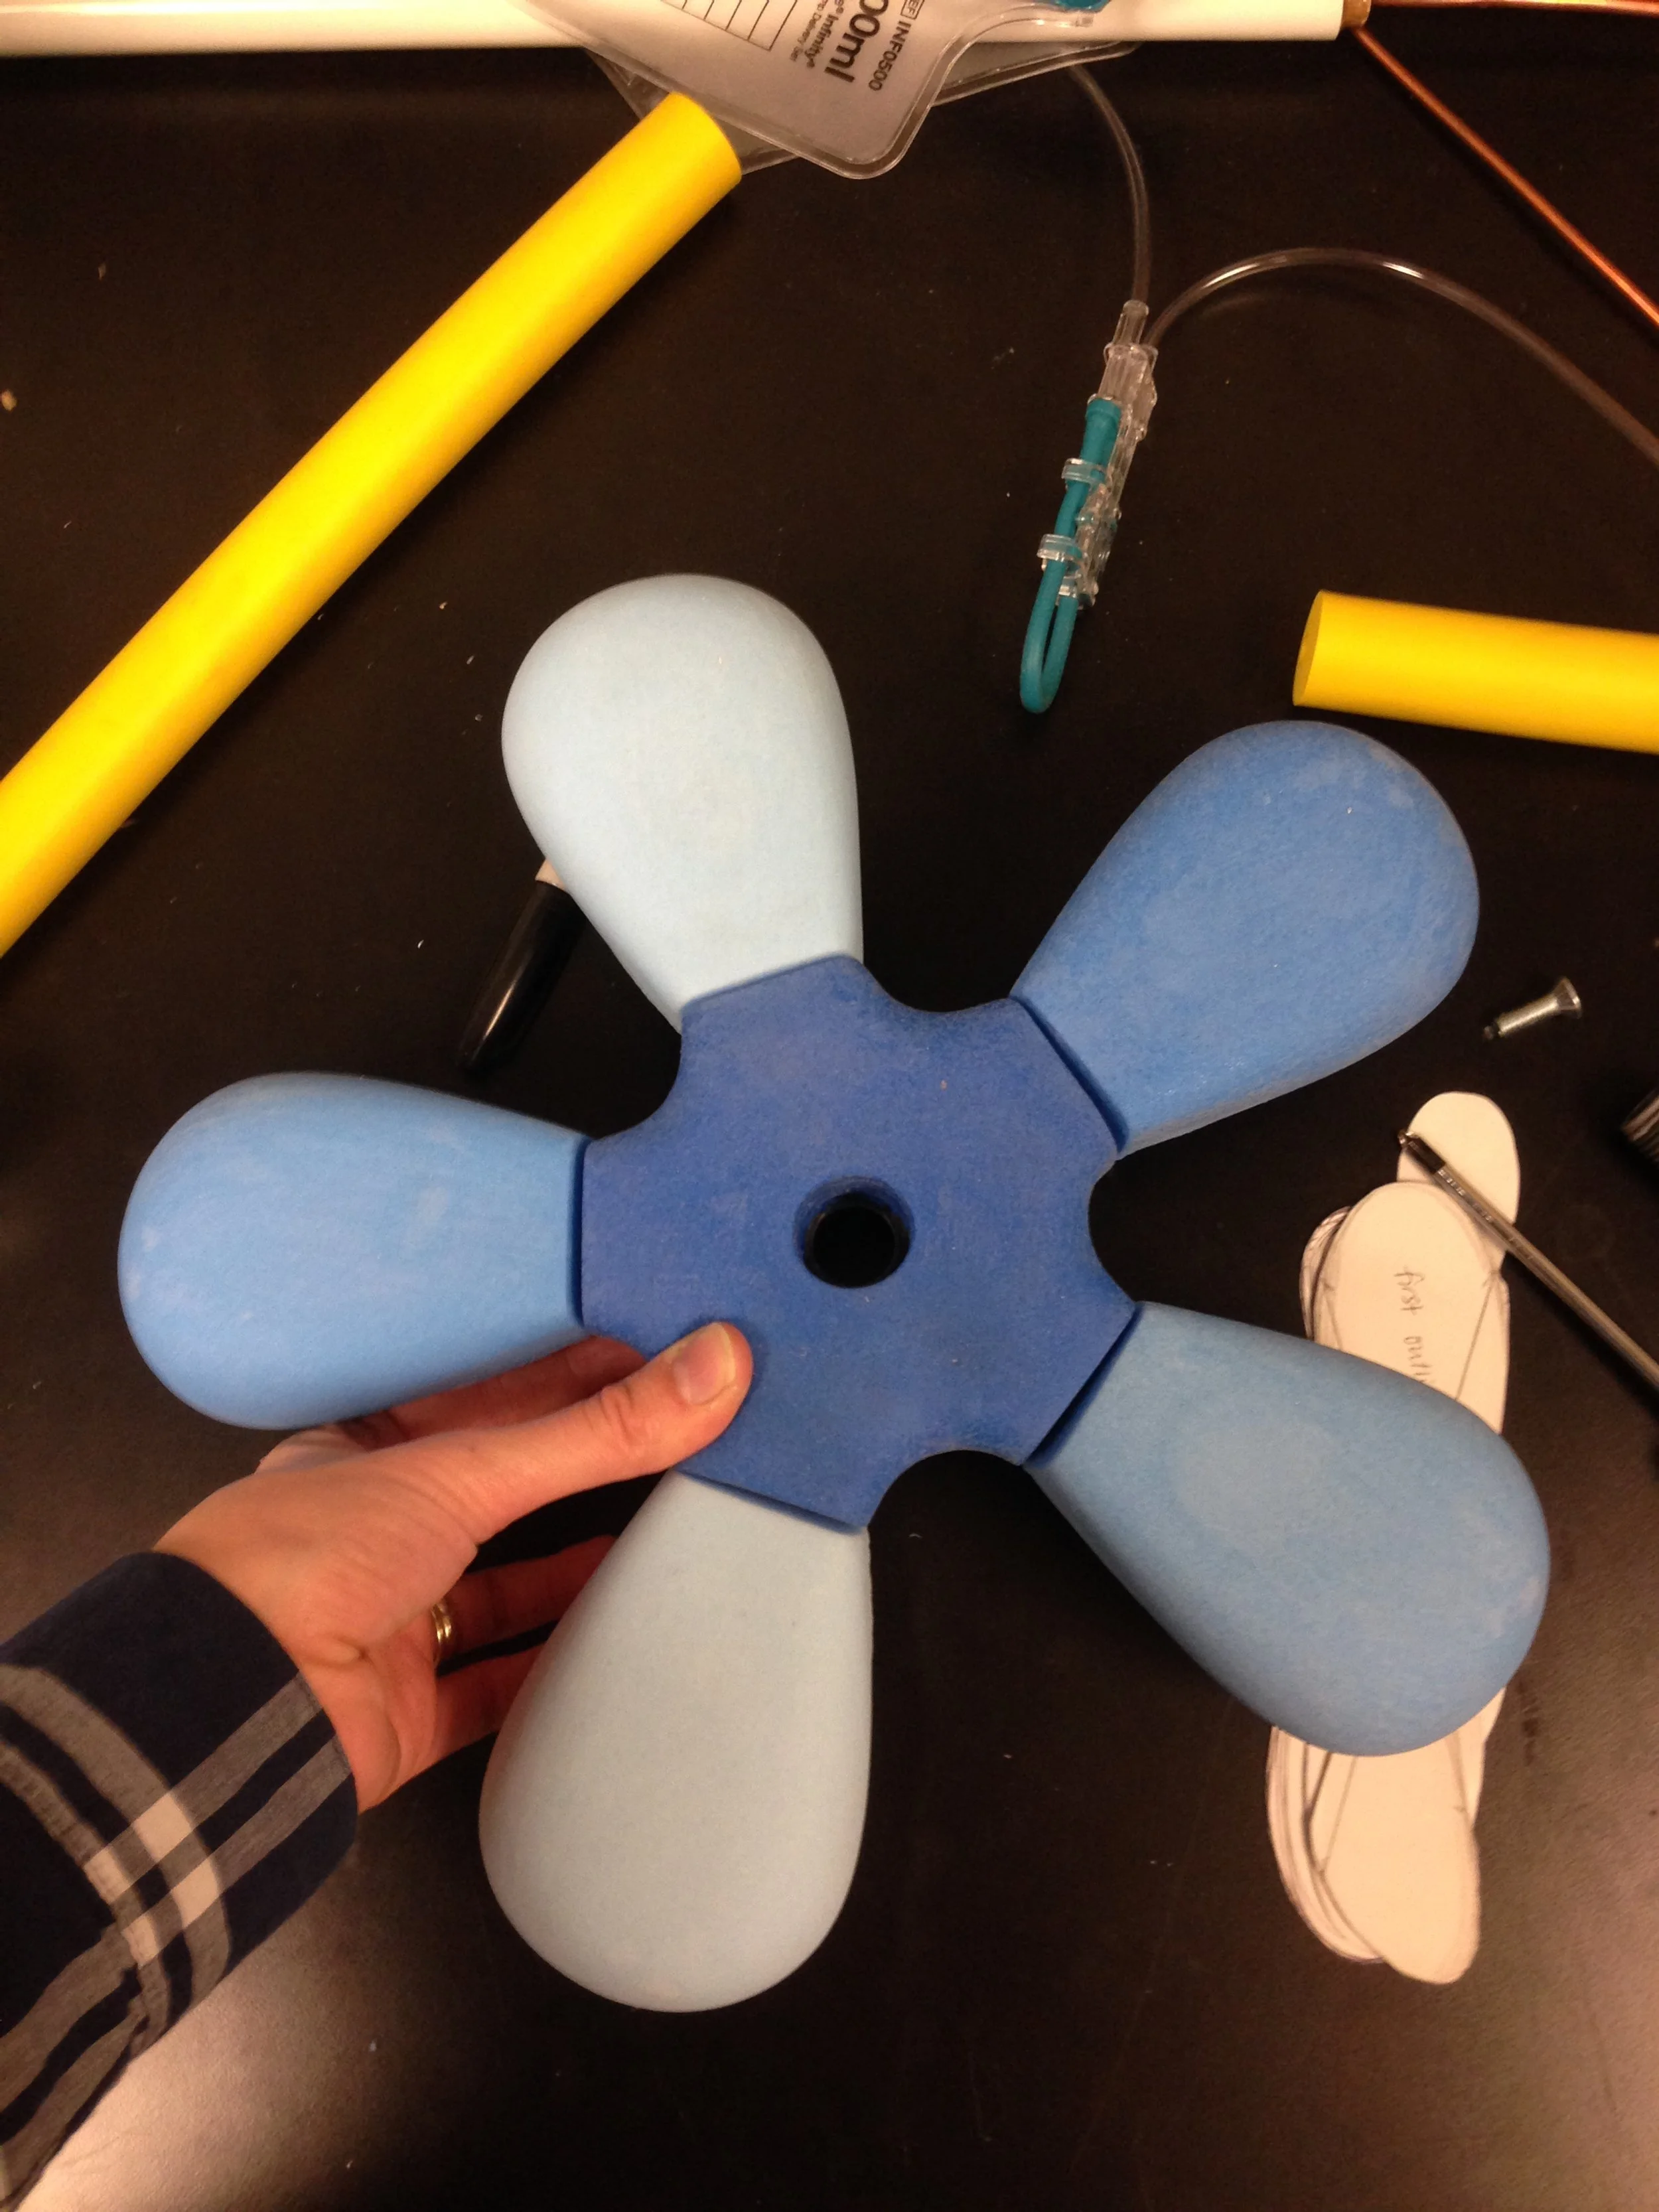
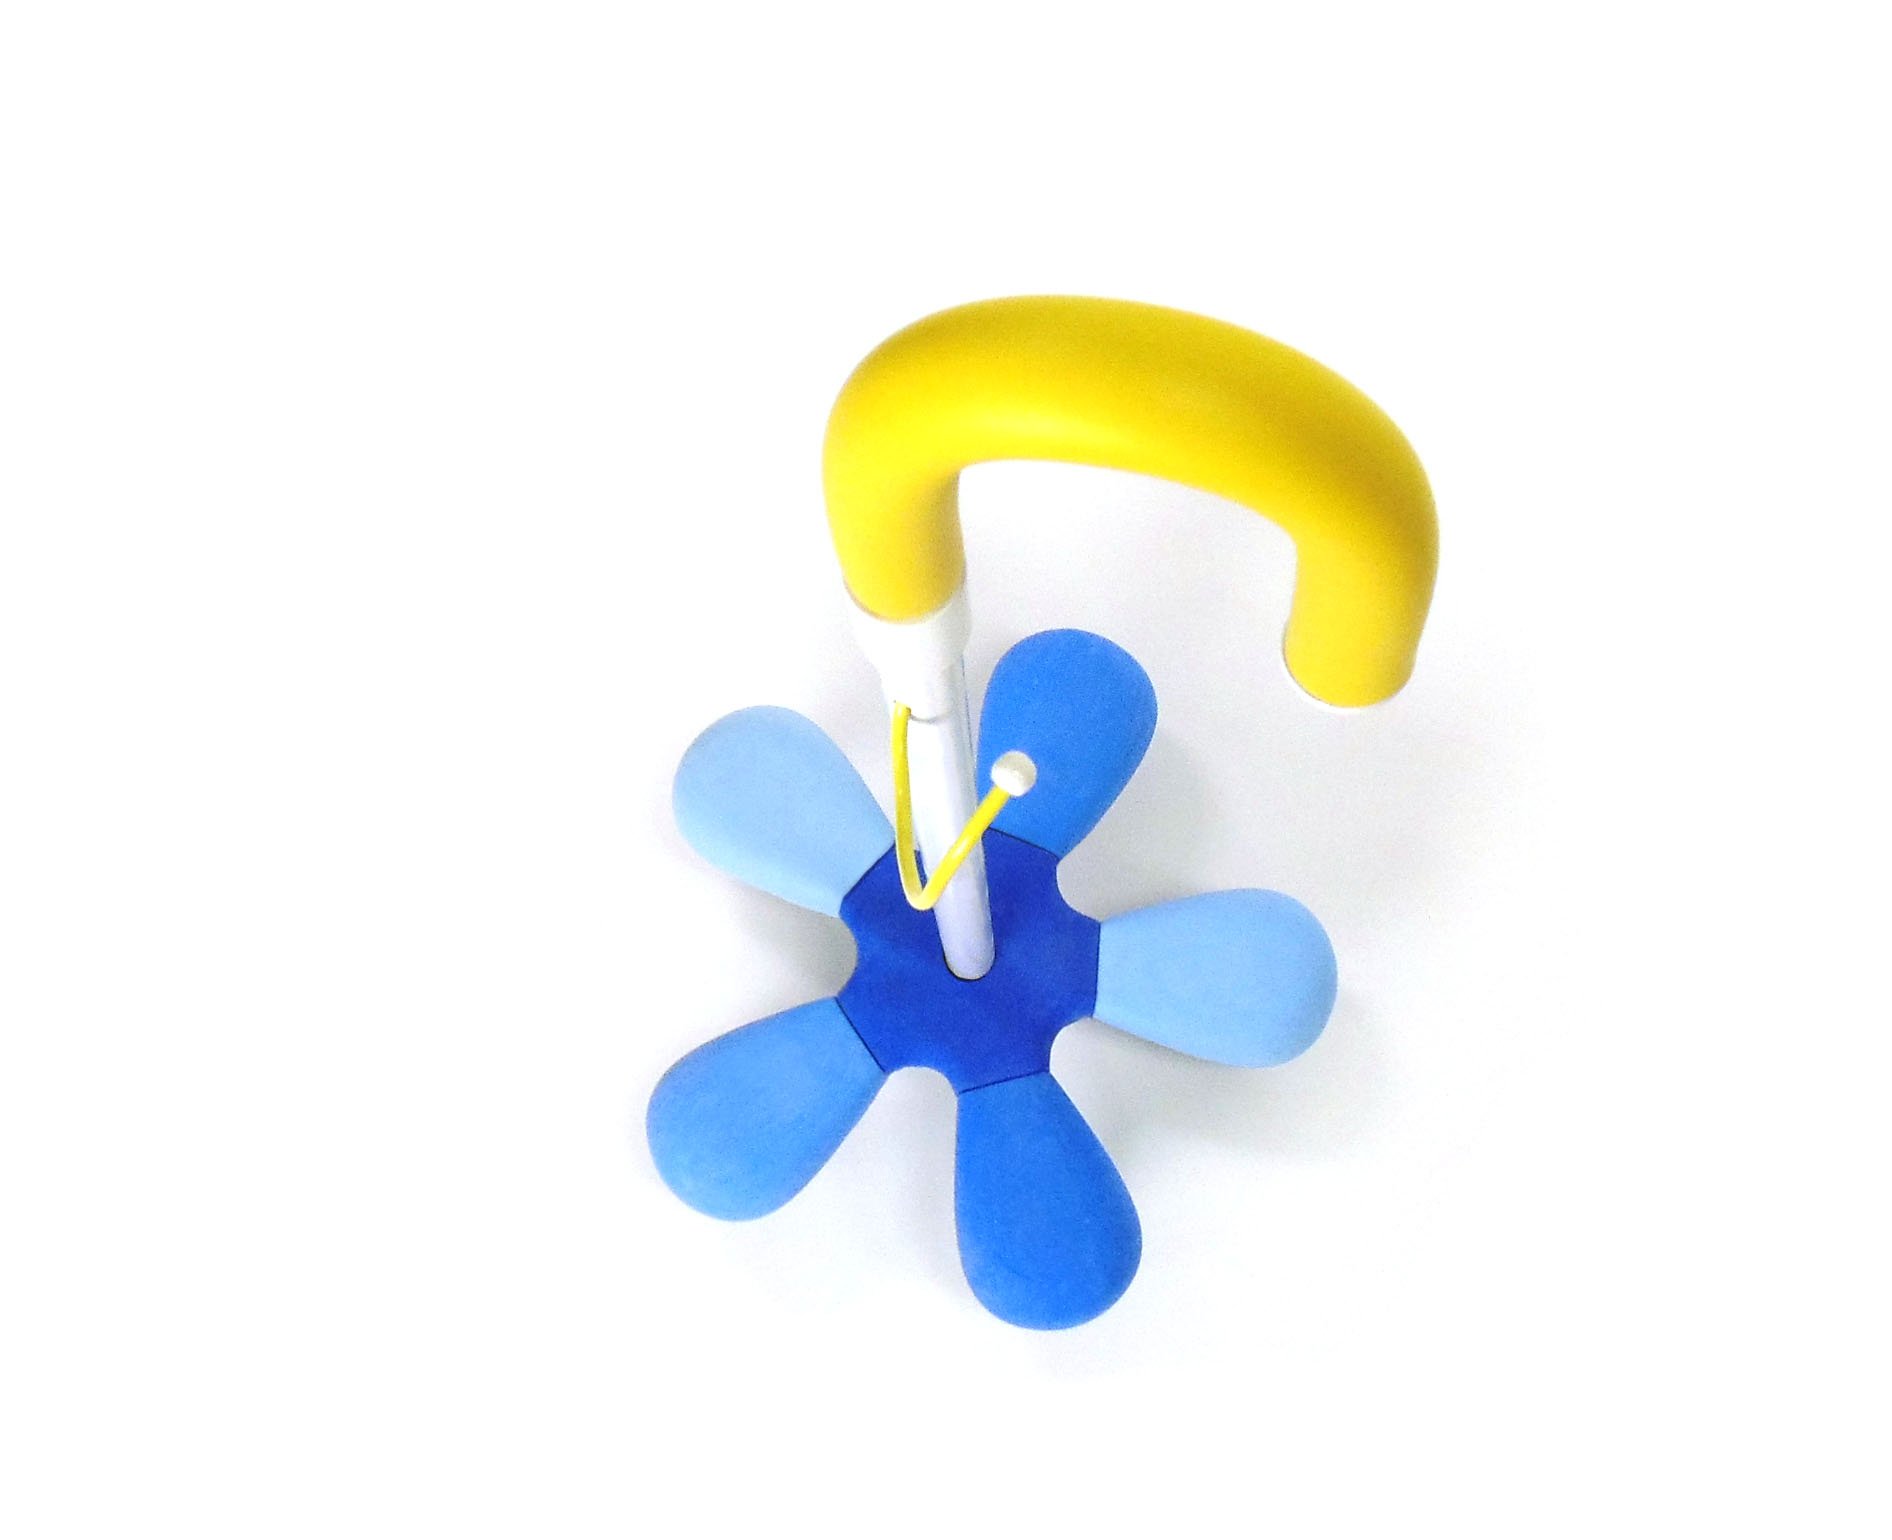
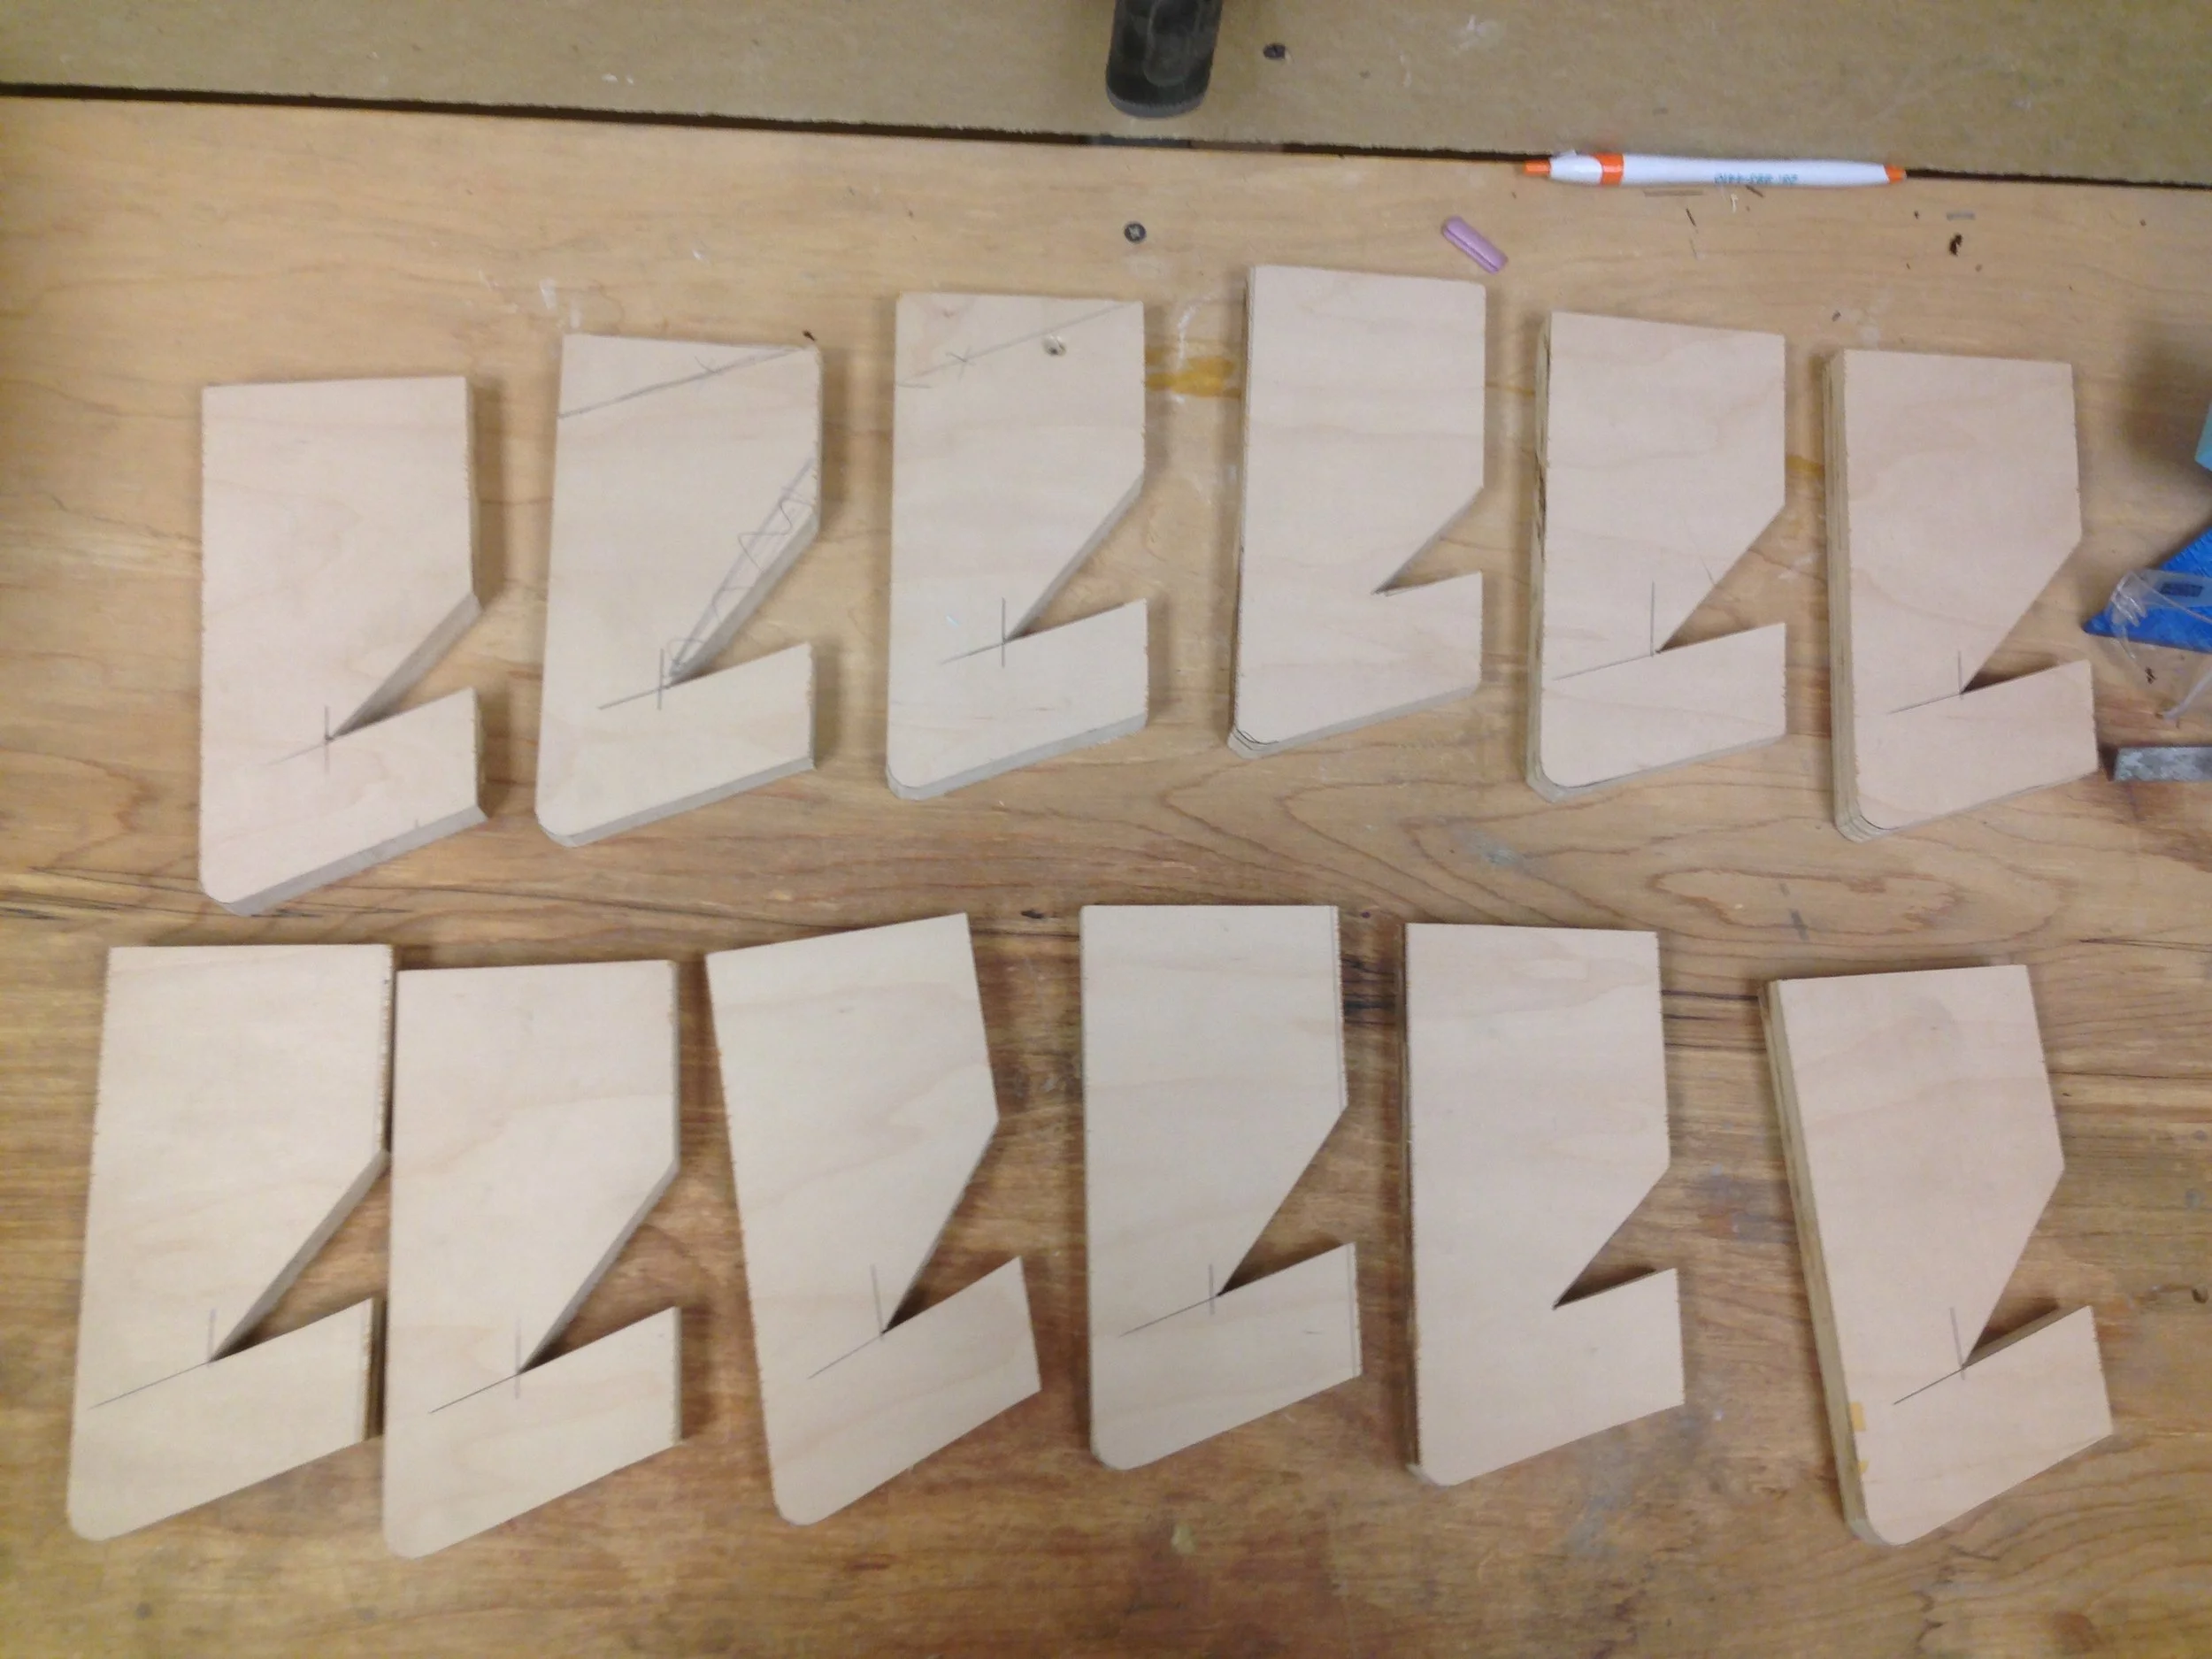
After making foam models to get the shape for the flower base, I cut the metal pieces out of steel with a band saw. I smoothed the edges with a bench grinder and sandblasted the parts to remove rust. I then painted the metal parts white to protect from future rust. To create the foam molded parts, I first sculpted models out of Plaster of Paris (this project was for a class in which we were not supposed to use computer-aided design, so every step was done by hand). I then sealed the plaster with “Ease-Release,” glued them in place in mold boxes, and poured “Mold Start 15” molding silicone over each one. I cut clear acrylic to serve as a top for the mold box, and suspended the metal parts inside using screws. I used “Flex Foam-it! 14” from Smooth-on with blue UVO dye to make the final pieces. This expanding foam had a very short pot-life and began expanding very rapidly, so I had to work very quickly.
